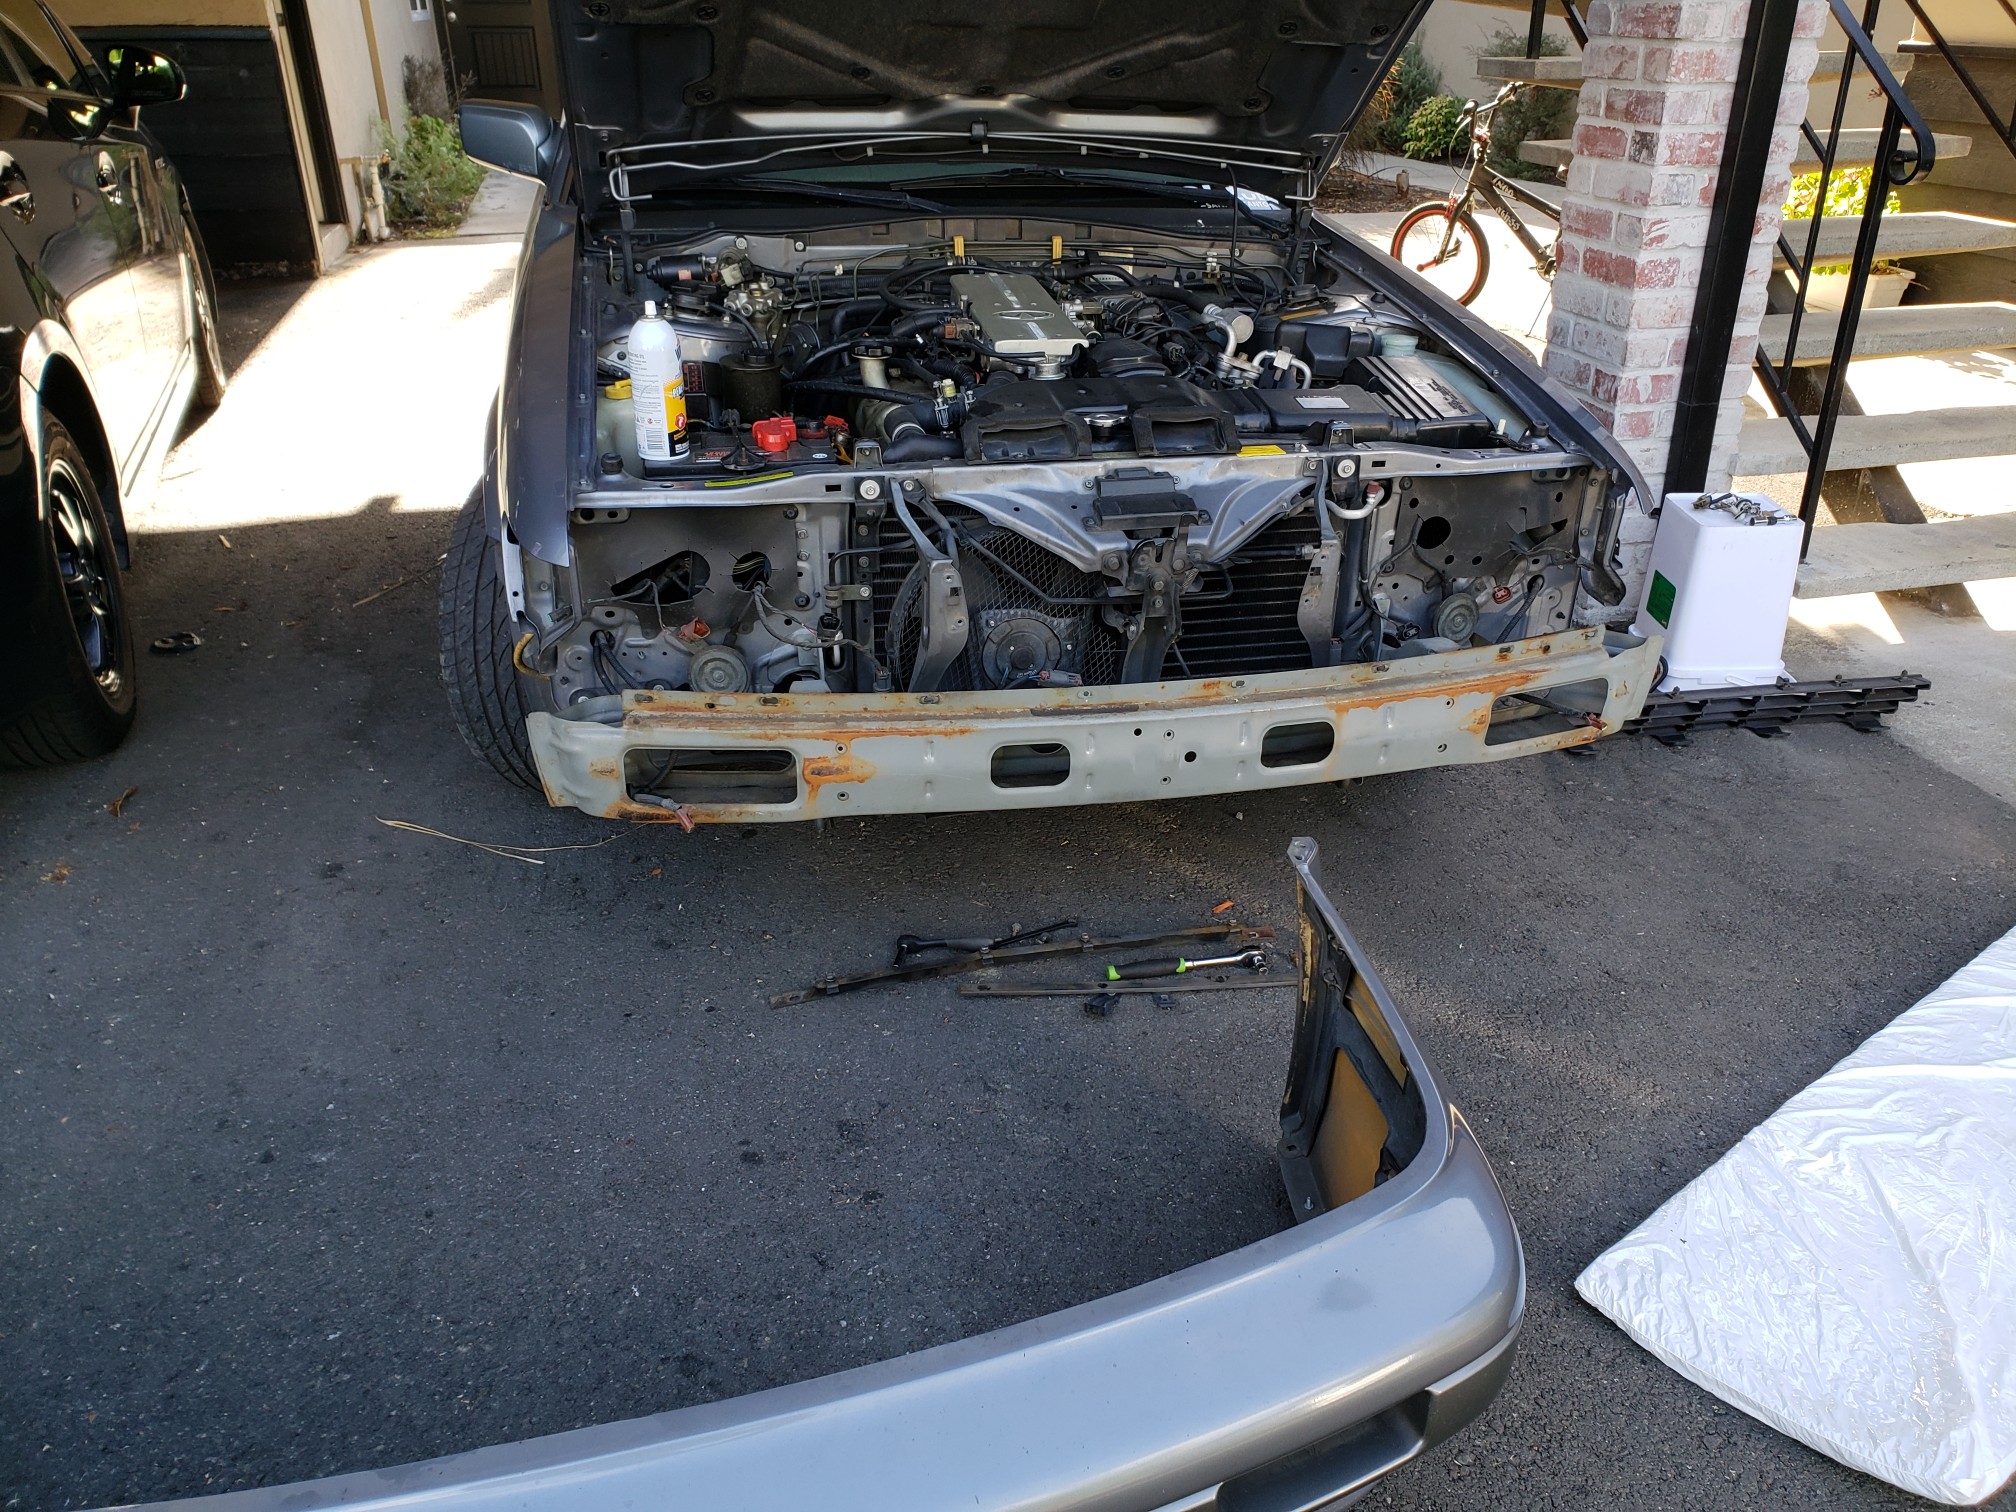
I finally got to the headlights part LOL. Kinda.
I looked up my old write up and printed it out. It was 90% there, but some small details were missing. I also wanted to wire up my Leopard corner lamps.
Let me also be clear. My original blue print was based on relays. I used H3C pig tails and bulbs (original to the Leopard). These are not common in the US and there are other ways to get around without using H3C bulbs. I am nostalgic and I wanted to use my original write up and improve on it.
I never got a chance to wire up my old corner lamps. Originally, one of my corners was cracked and I also forgot that the JDM corner lamps use a 1157, which is bigger, but also hits the M30’s fender support in the front (leopard fenders are different).
Anyways, Let’s get to the break down.
Goals: Headlights and Front bumper.
- Take off front bumper.
- Remove Licence plate frame (stripped nut from behind)
- Repair chipped paint on lower right side (paint).
- Clean up front lip (paint).
- Install license plate bracket.
Headlights
- Wire up headlights
- Wire up JDM corner lights
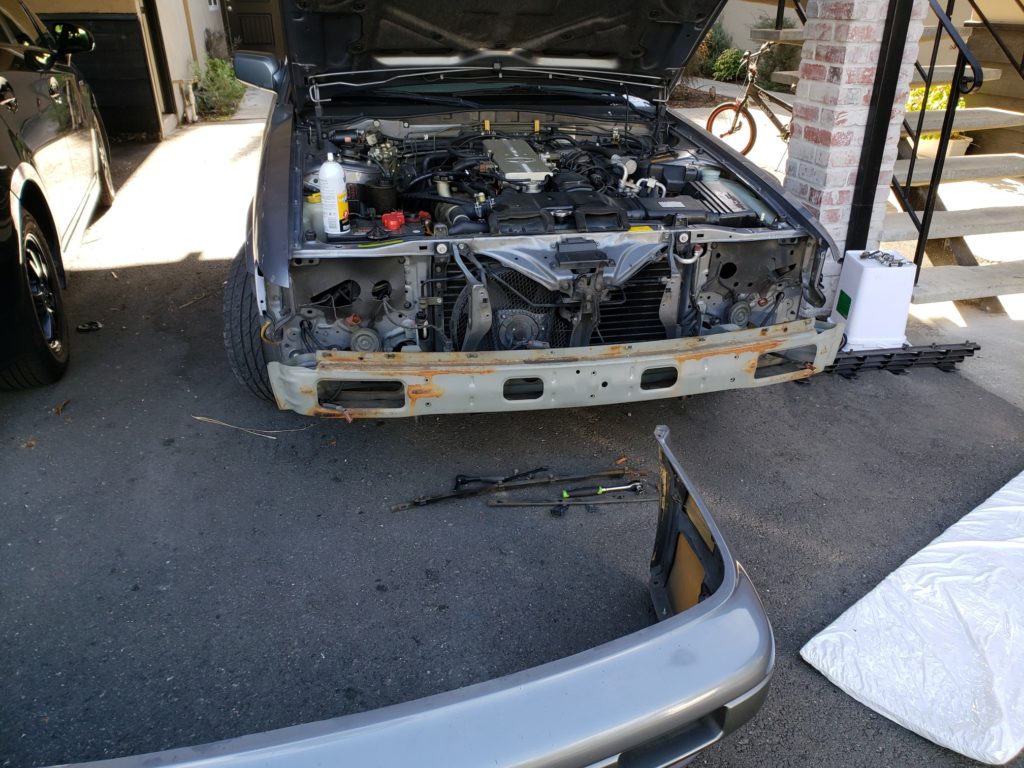
After removing the headlights and corner lights, I looked at the manual on how to remove.
The manual didn’t really help much step by step wise, but by the explosive diagram, I can see there were a few bolts to remove behind the bumper.
Once I got those all done, Had to go from underneath the bumper and remove bolts and a undercarriage covering.
1.Take the bolts that attach the bumper to the fender on each side.
2. Where the bottom of the headlights were, there are 6 nuts.
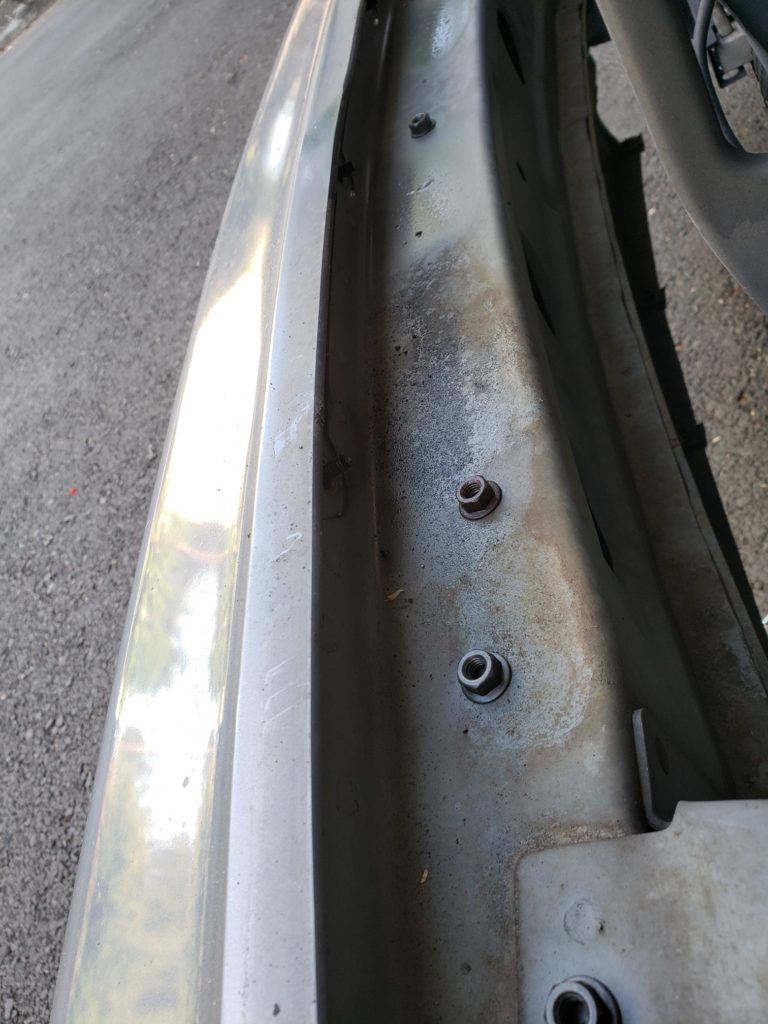
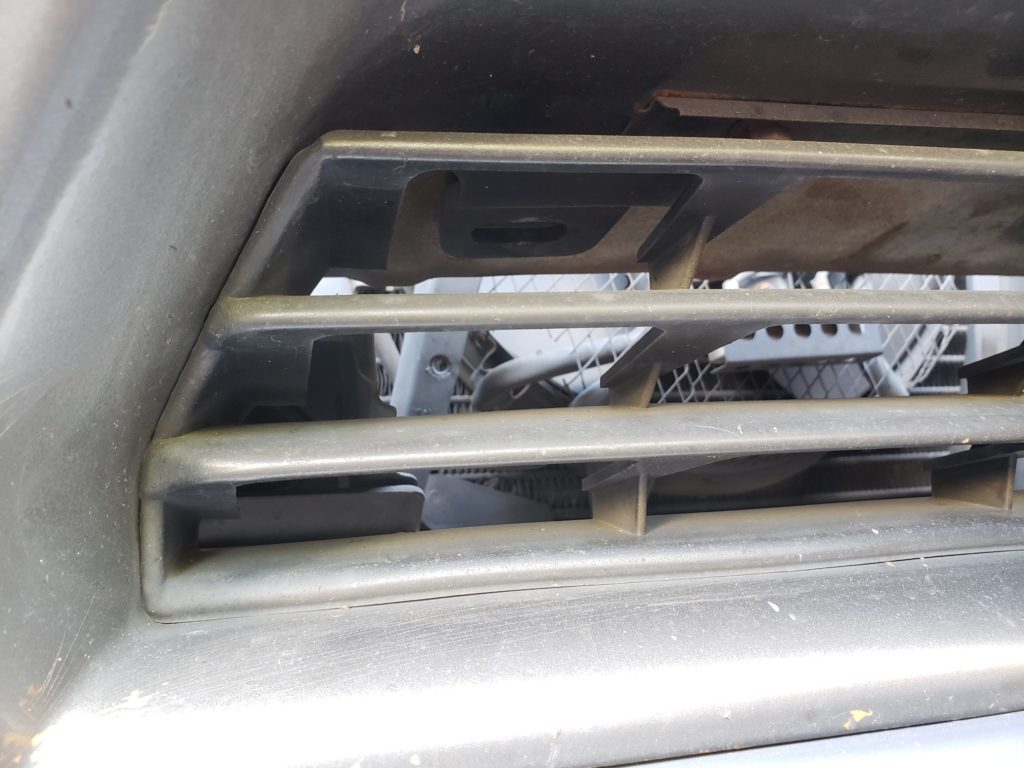
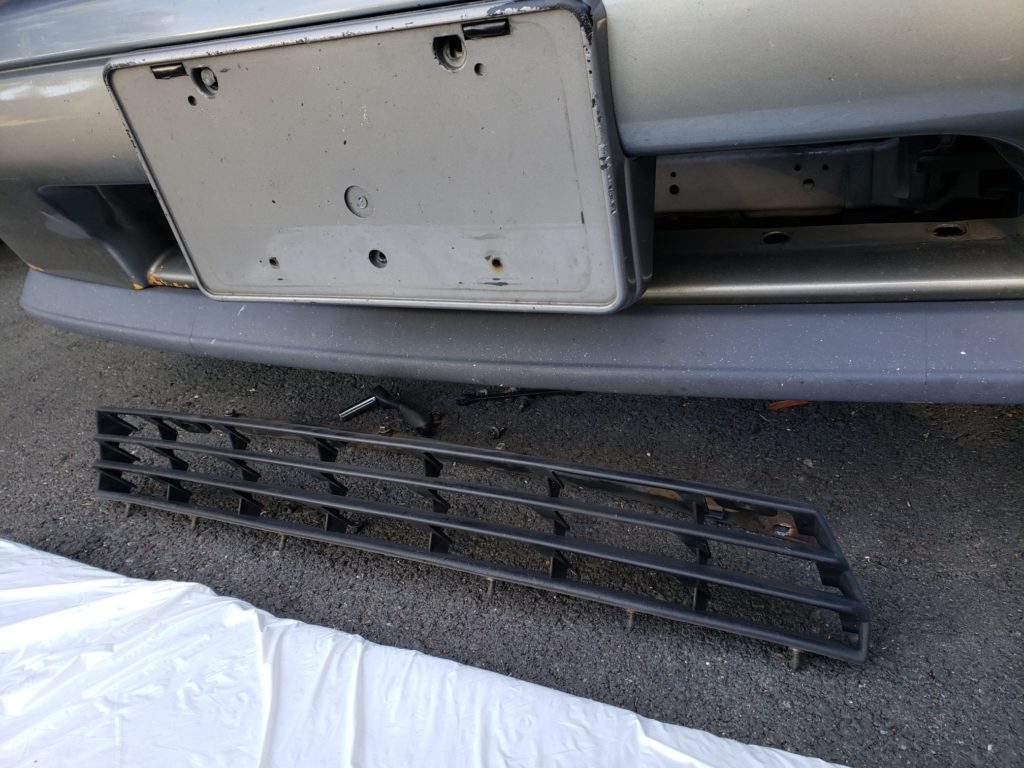
3. The lower bumper grill needed to be removed. There are bolts on the top and underneath.
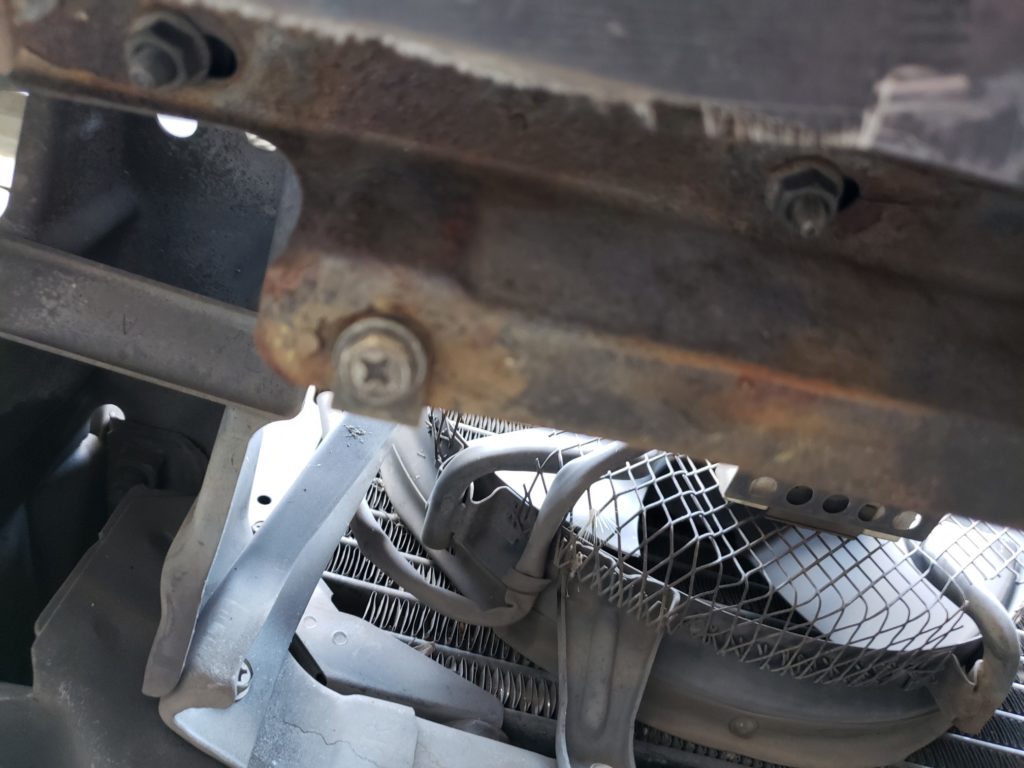
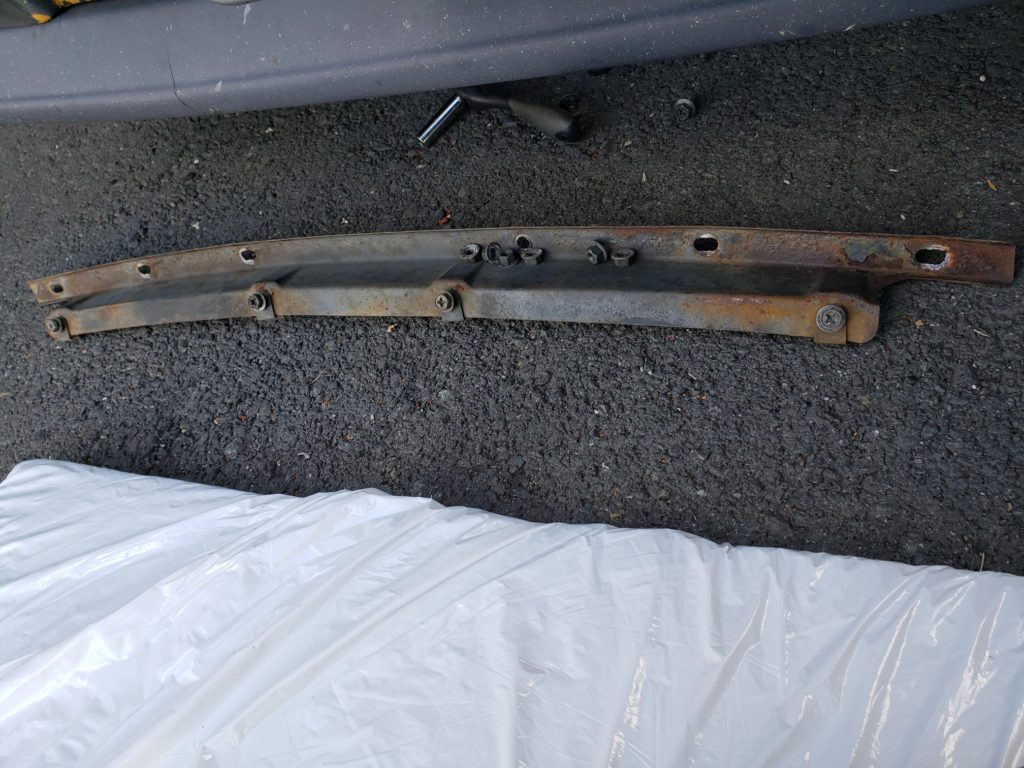
One bracket was kinda rusty, so I went out and bought a wire brush and got all the paint and rust off it for a fresh spray.
Maneuver the lower grill to remove.
The last bracket to take out.
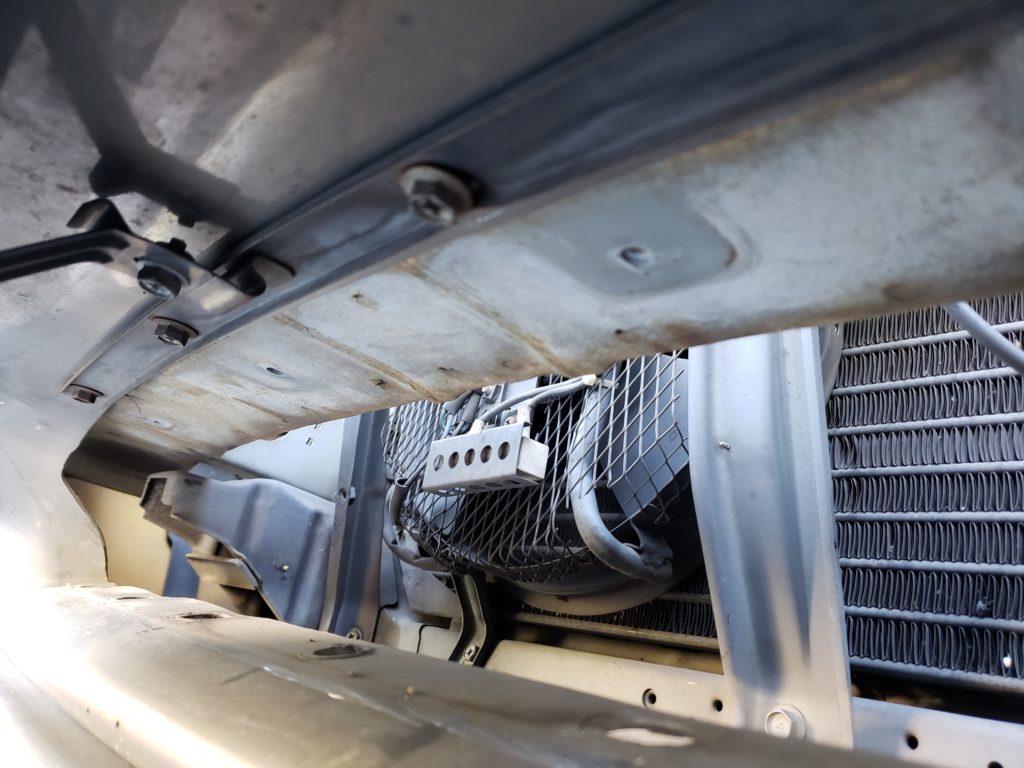
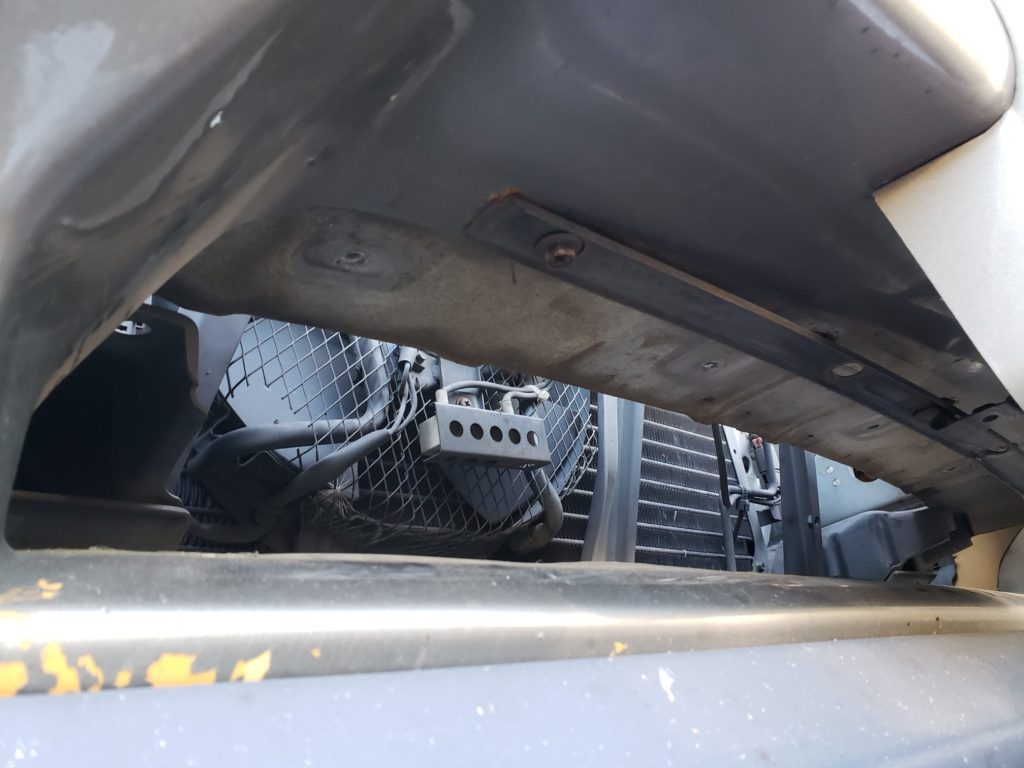
After I got the bumper off, I started to clean it and some of the pieces of the dirt behind it.
I started to prep the bumper for primer, so I removed the front lip. Sanded both the lip and where the paint was chipping.
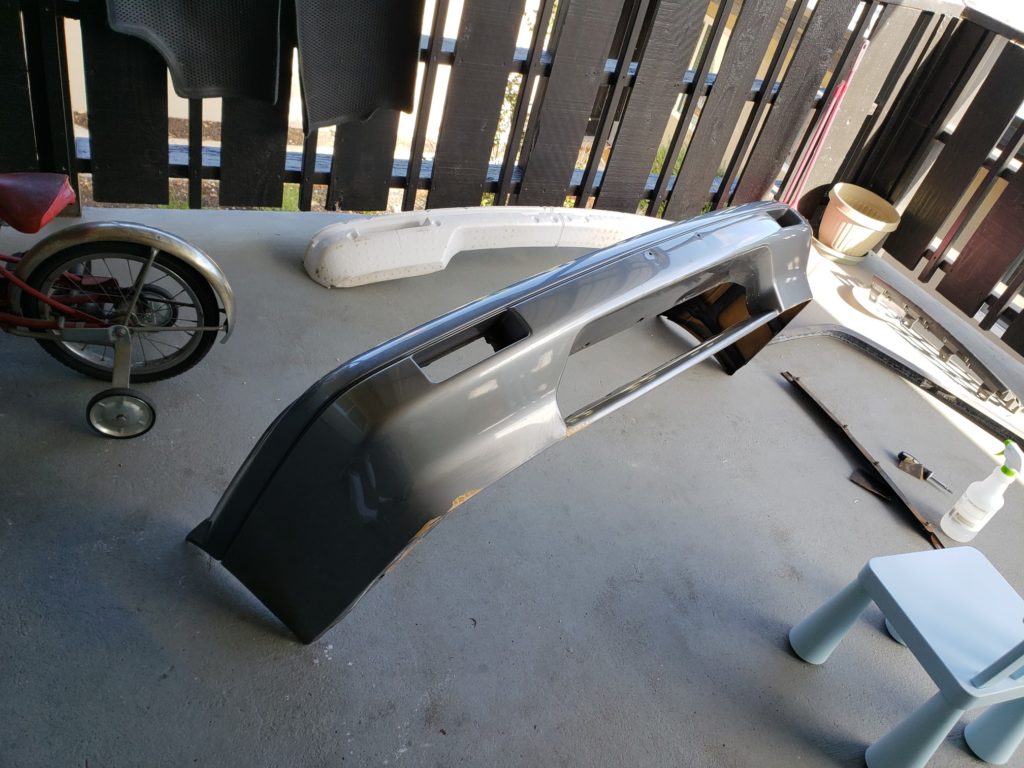
The weekend before, I got some paint made. The blue grey storm came out darker when I painted the Zenki tail lights, but I didn’t know how the lower paint would look. A quick spray and it was pretty close.
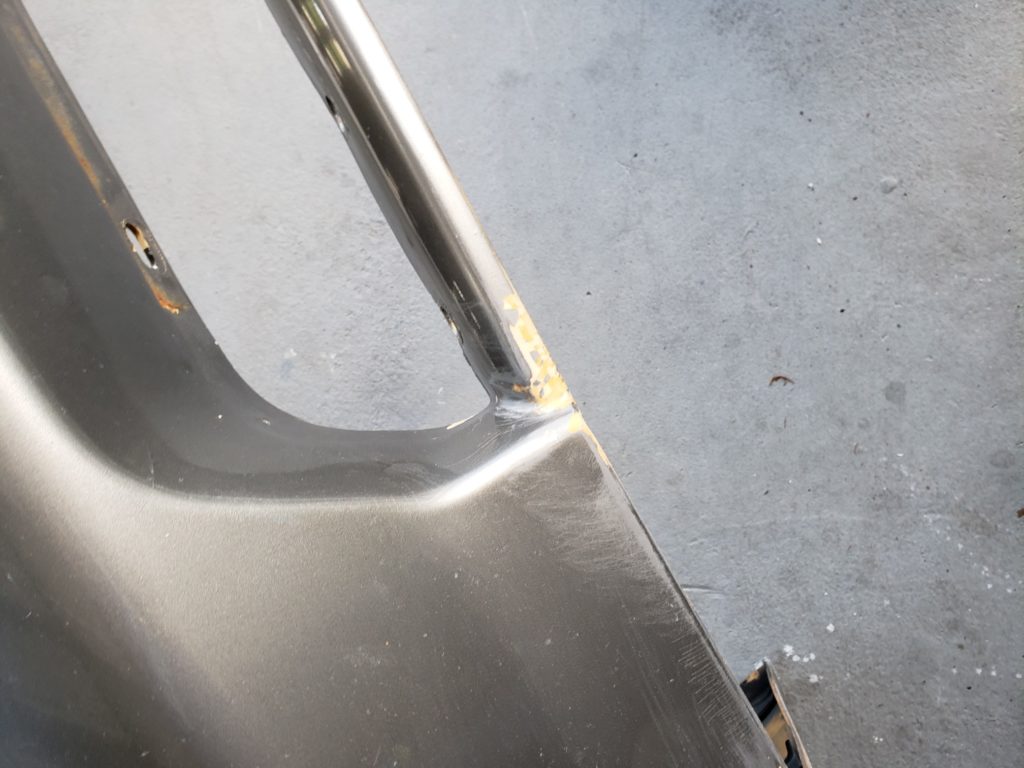
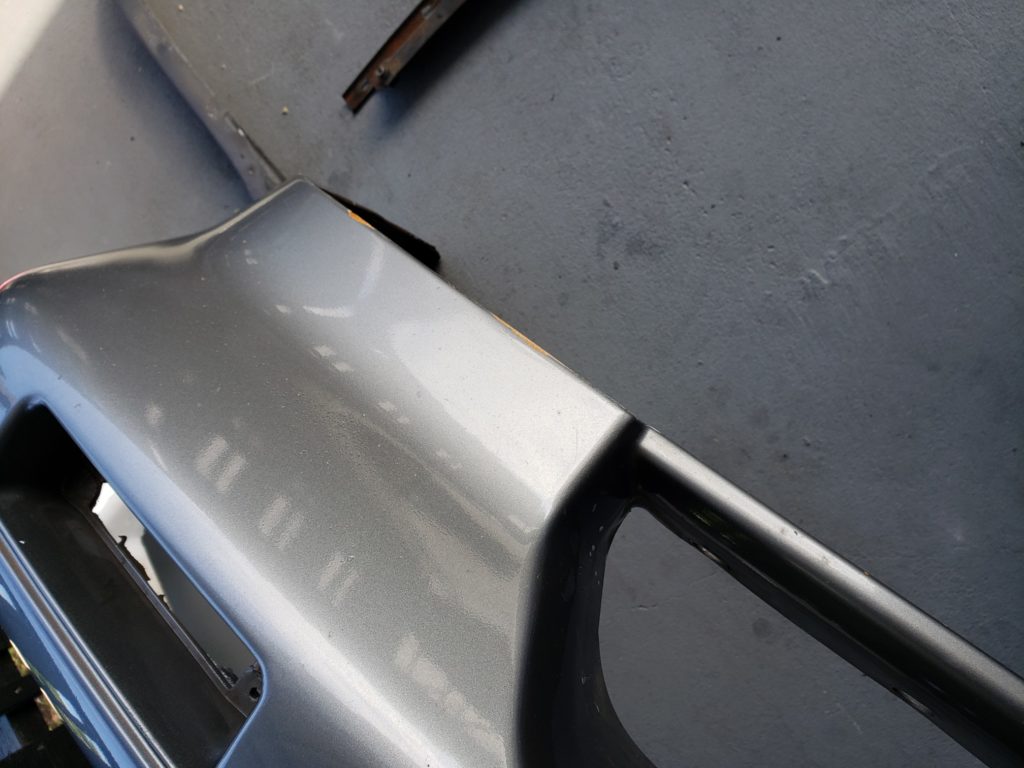
I chipped some of the paint away and sanded a bit more. The cracked paint looks like it come from a small impacted, maybe a bump against a parking barrier or curb. No cracks or massive gashes, but some pits.
There was also some scratching.
I sanded those areas and primered. Gave it a bit and painted them.
While all that was curing (it did not take a few minutes, this was throughout the weekend), I also started on the headlights.
I also painted the rusty bracket and impact bumper.
