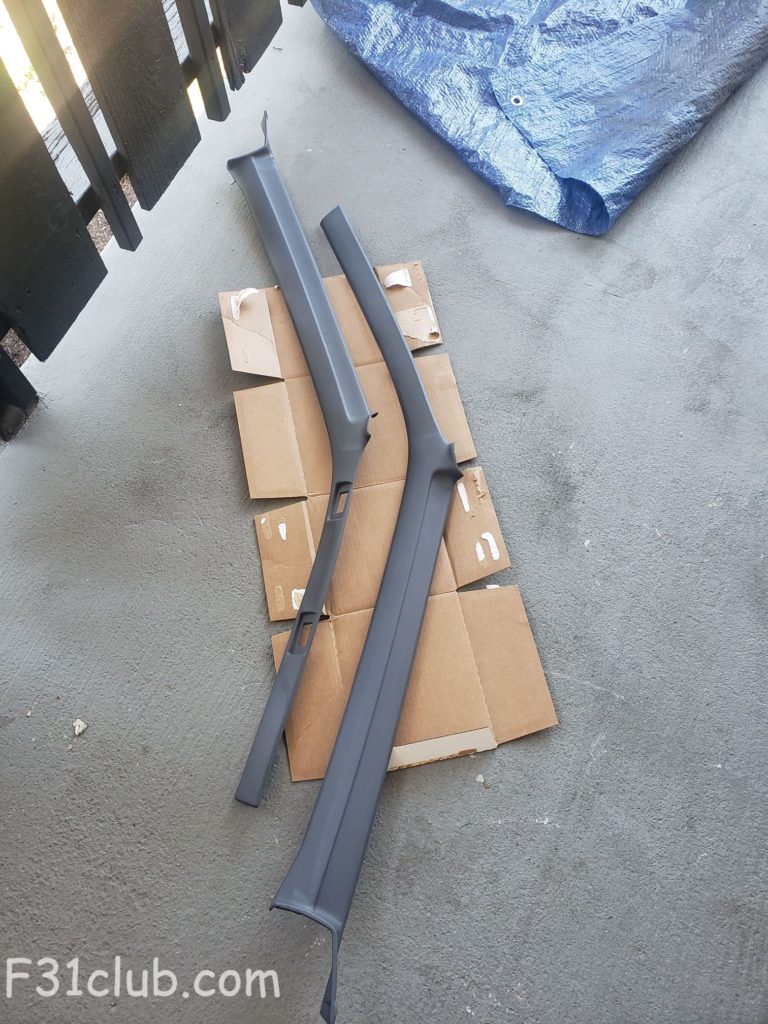
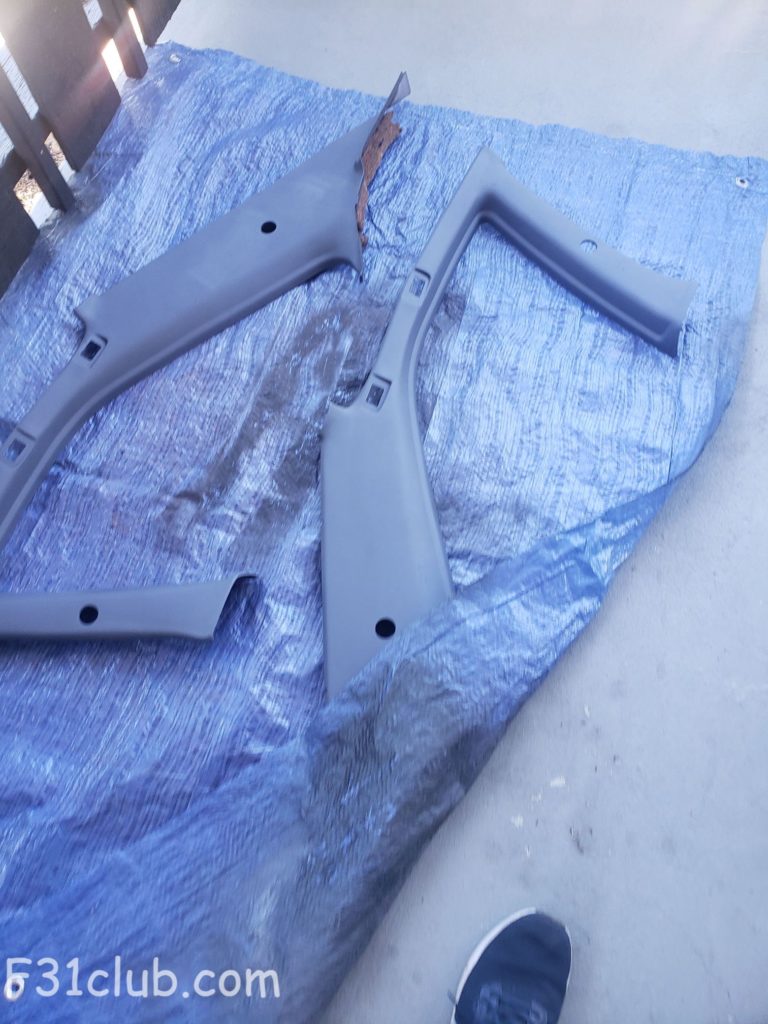
Originally, Project Leopard had brown/tan interior. The interior was rough like the rest of the car. When I decided to use the R31 door cards (grey/black) I would have to change the theme of the interior as well.
It was going to happen either way because the dash was cracked and everything needed to be redone like seats, panels and trim.
After Roger V. and I removed the brown interior in Project Leopard, I came upon an M30 with grey interior.. which I grabbed so I could put in Project Leopard.
What I realized is that I needed to redo the interior pieces regardless of brown or grey (either paint, hydrodip, wrap….etc). When I really thought about it, I realized that I could just use the brown interior for those that need to be redone. I had panels, rear seats, dash, glove box all redone.
Now that most of the interior is done, this leaves the upper trim. As I said, I wasn’t sure what to do, but talking with friend who does a lot of airbrushing, he said he would help me out.
While I do have the grey trim:
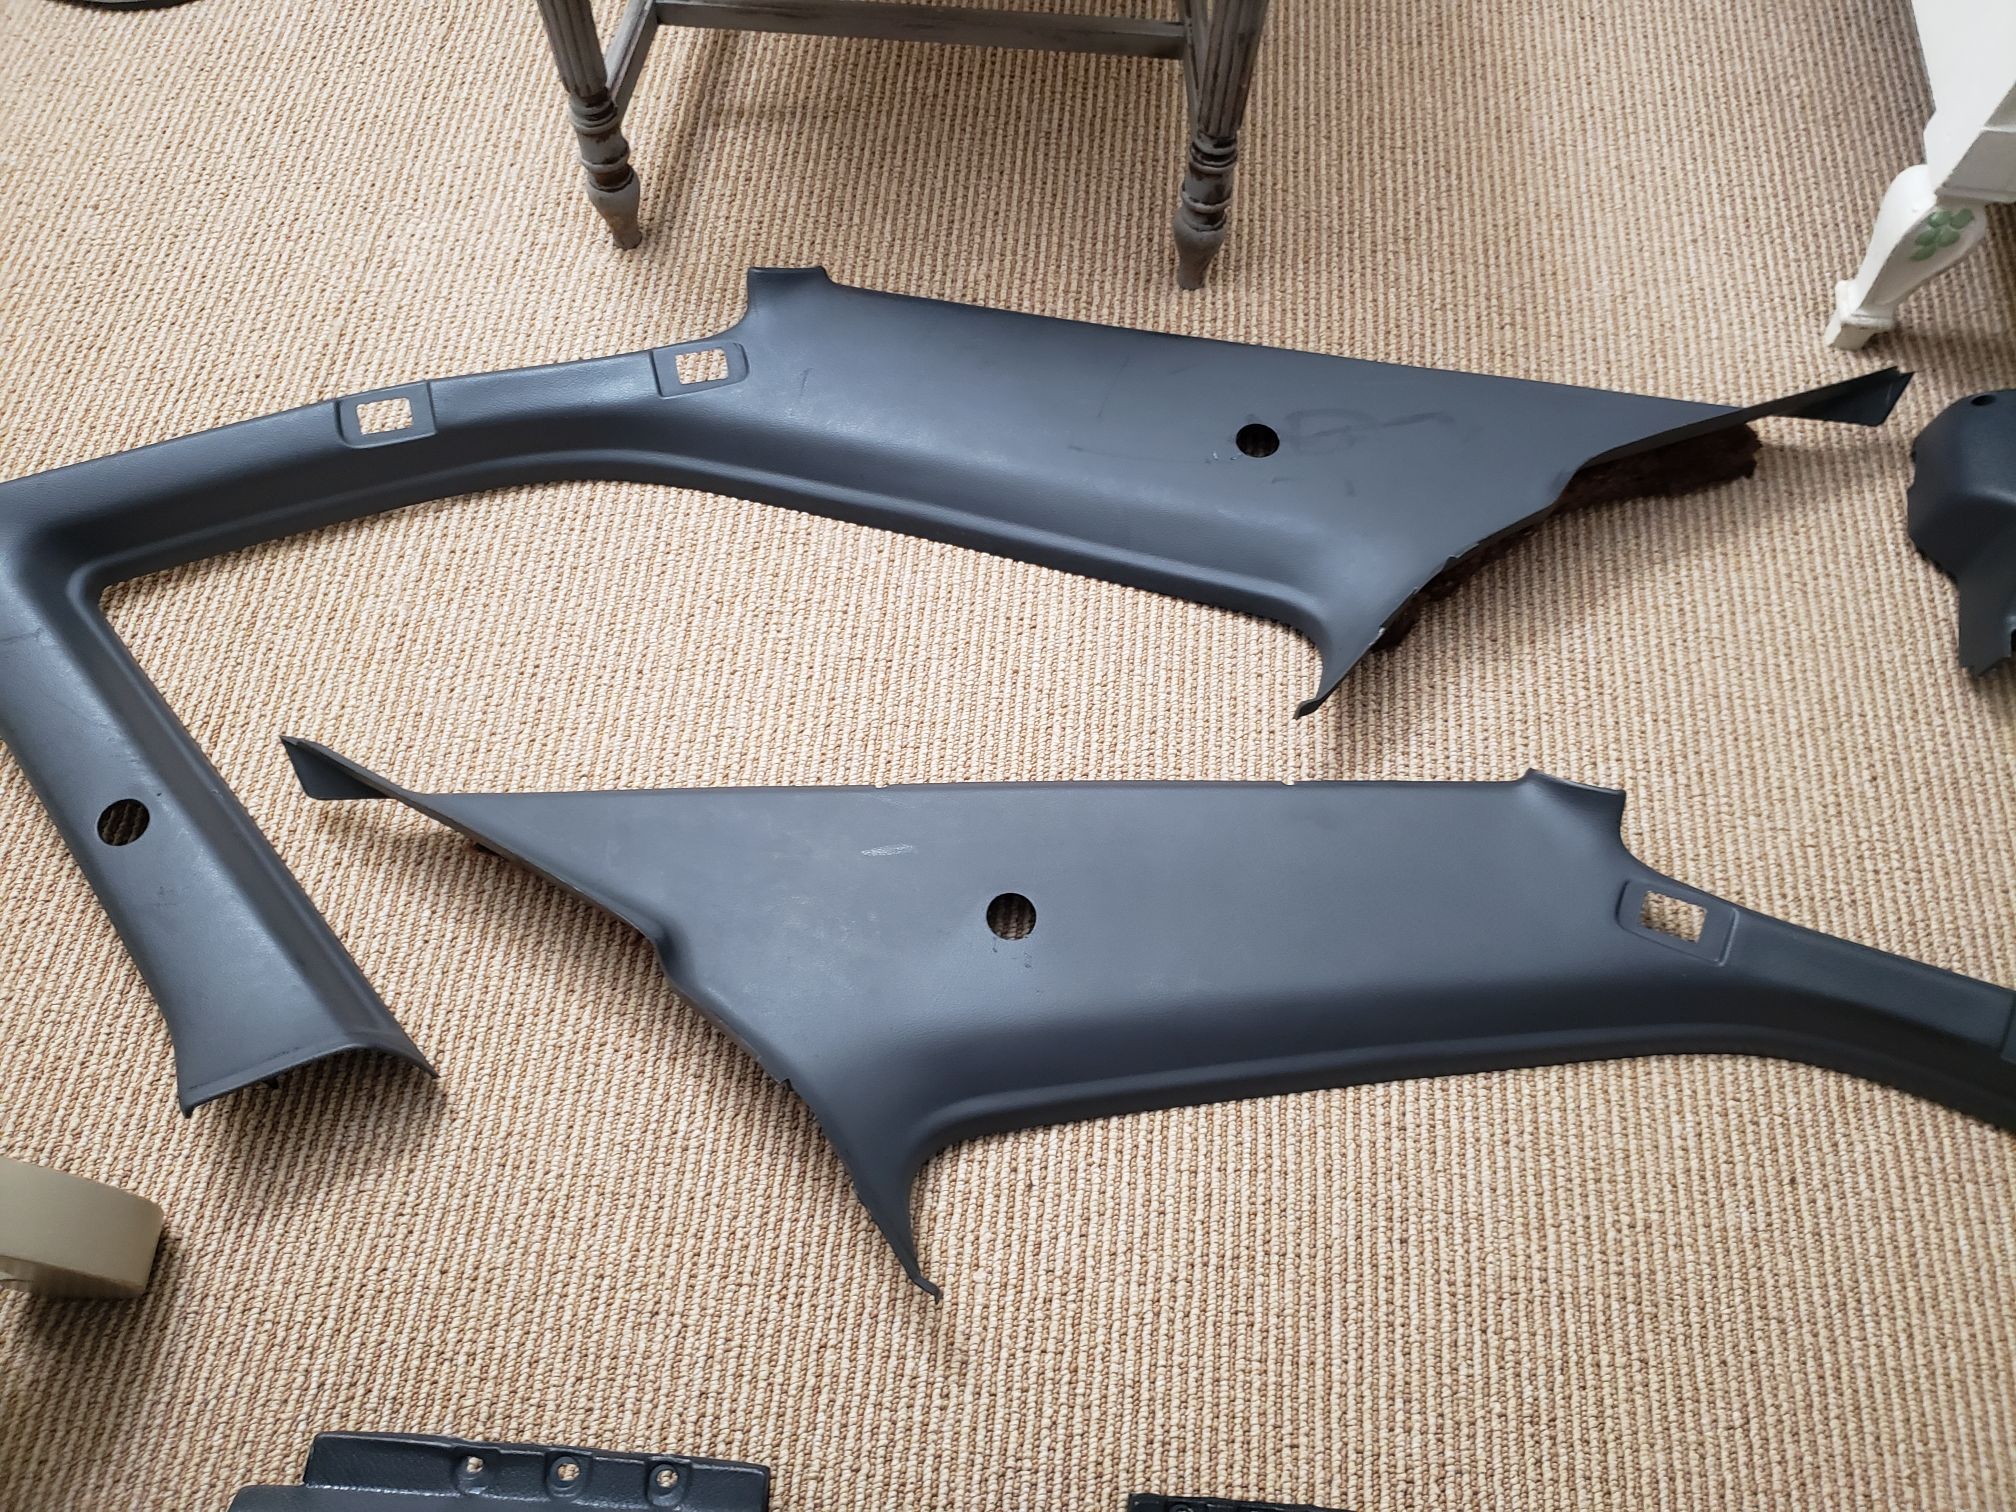
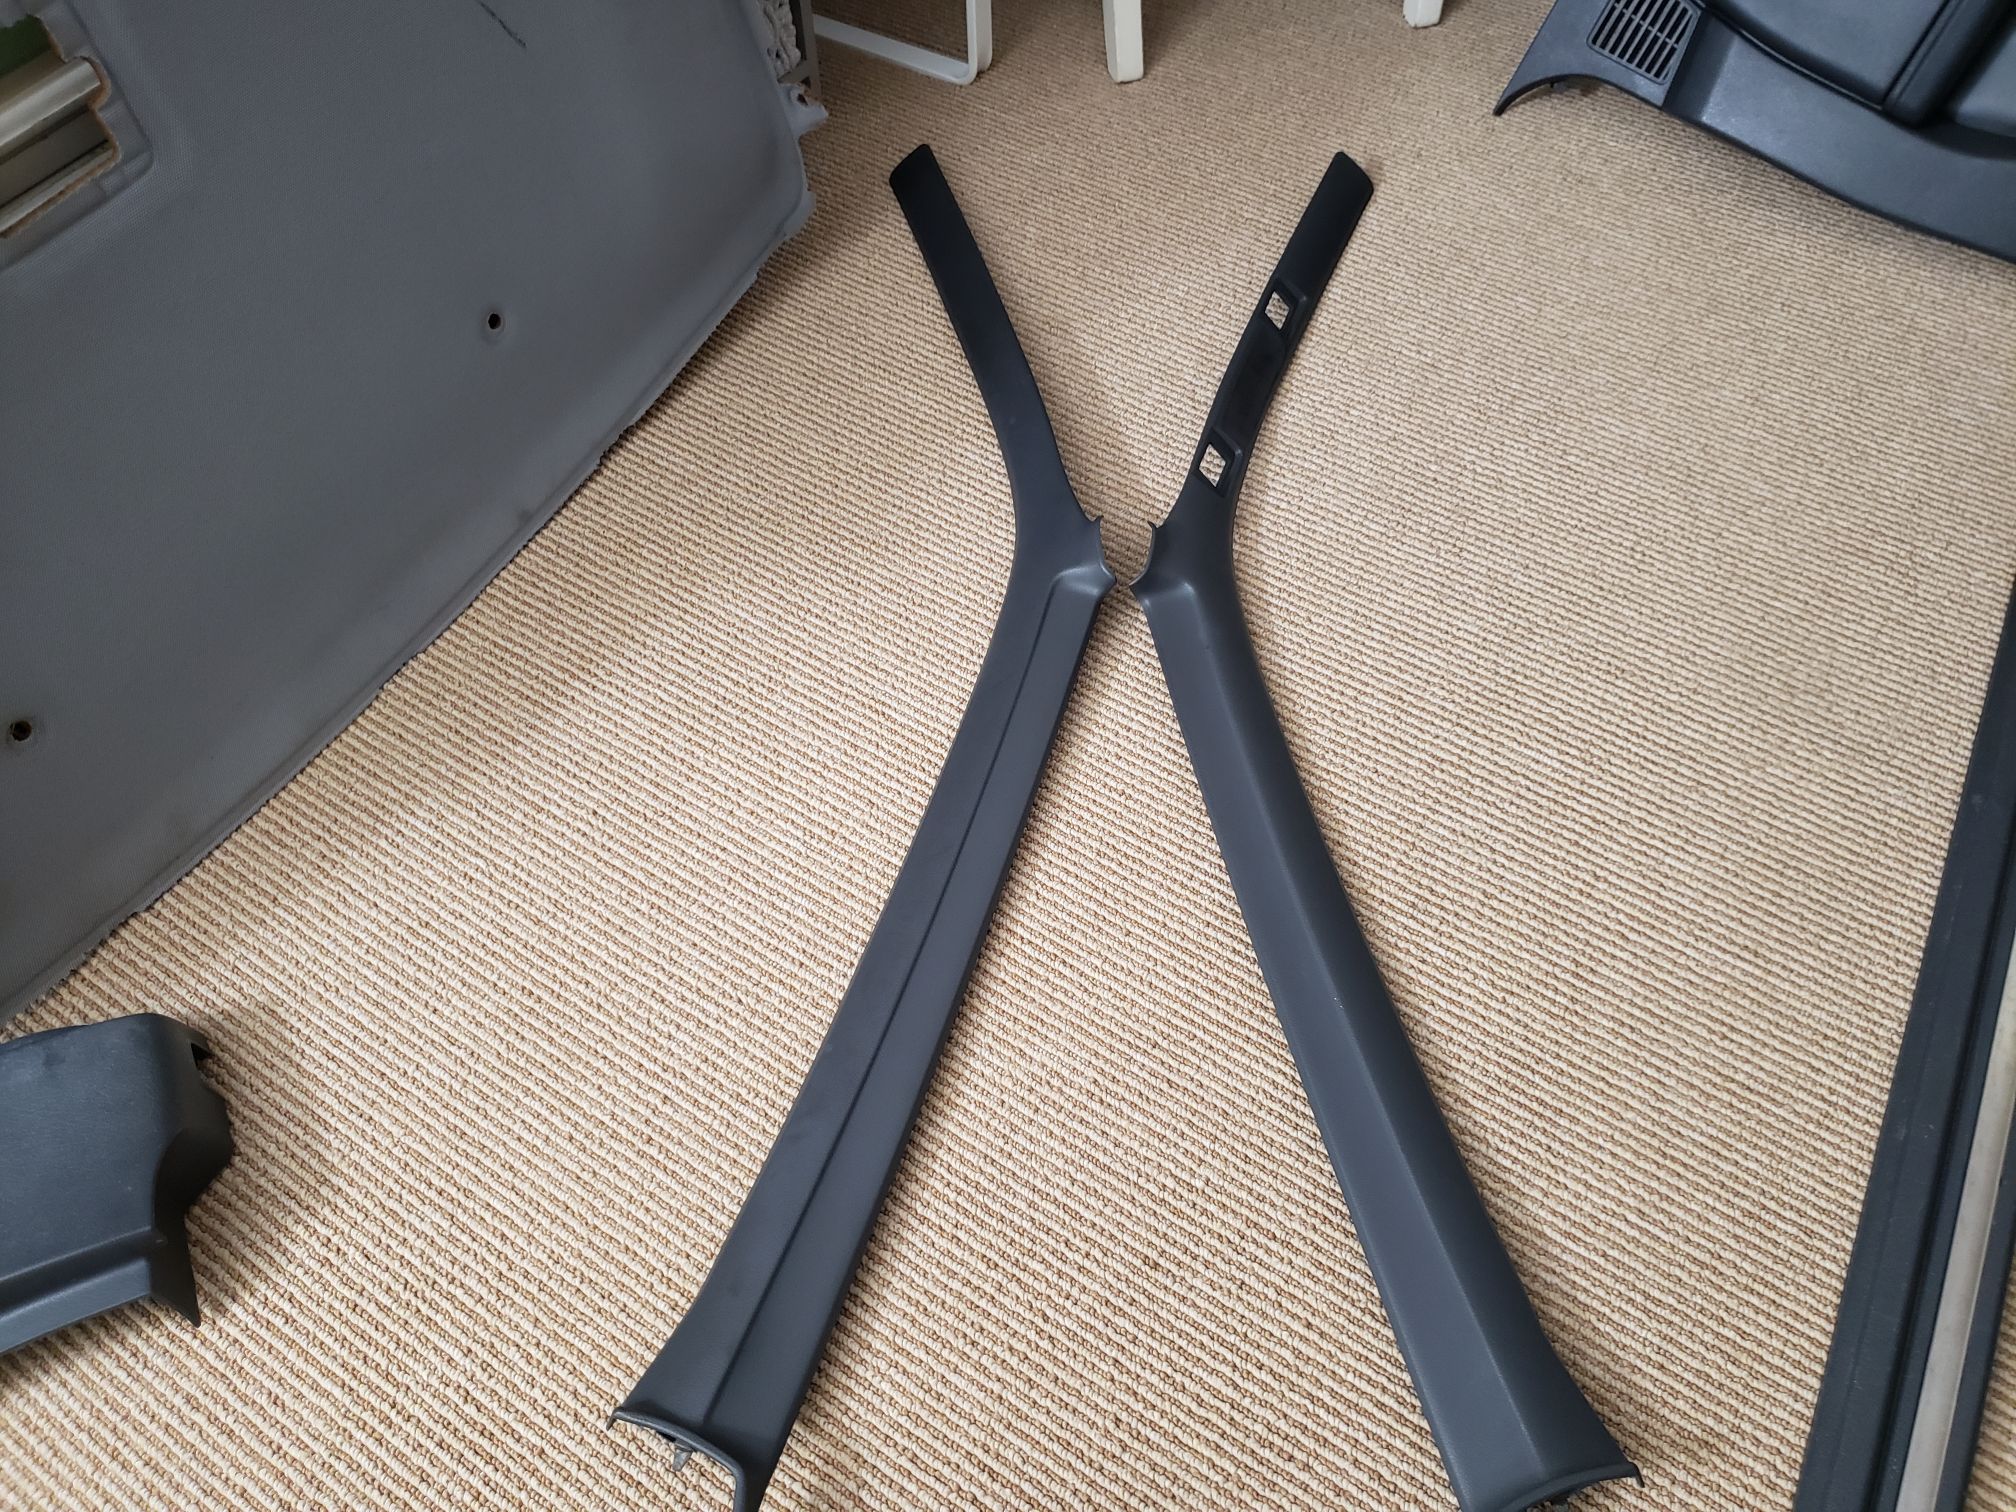
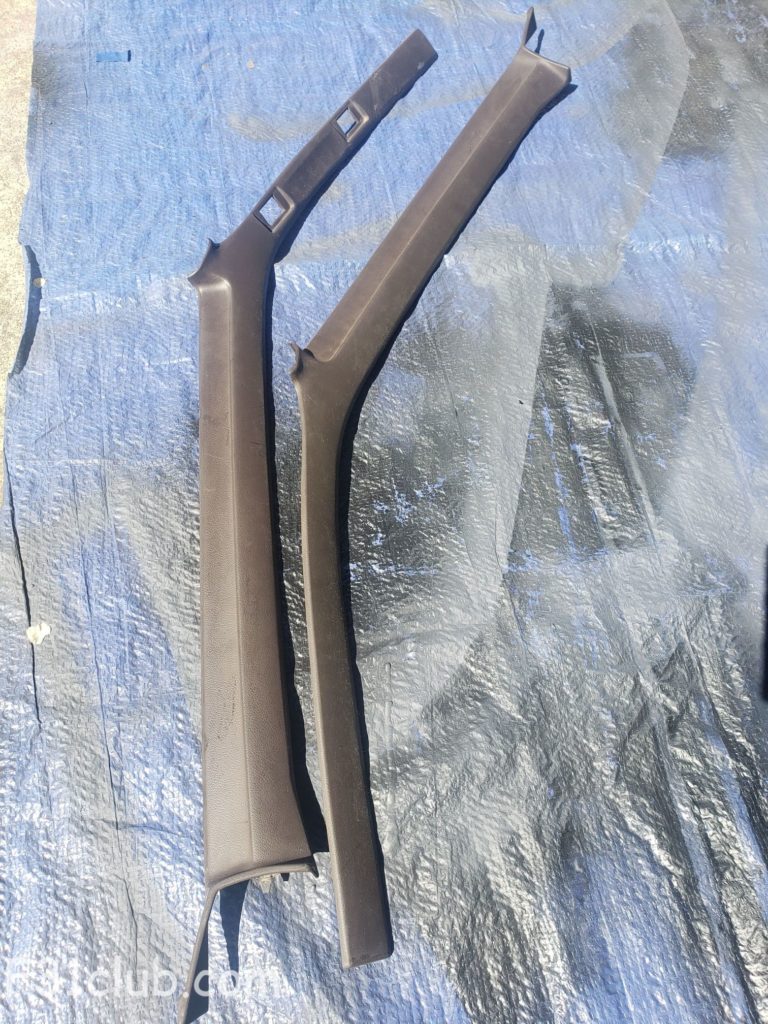
I’d rather save the grey ones (which I love grey) and use the brown ones so they get used and not go to waste.
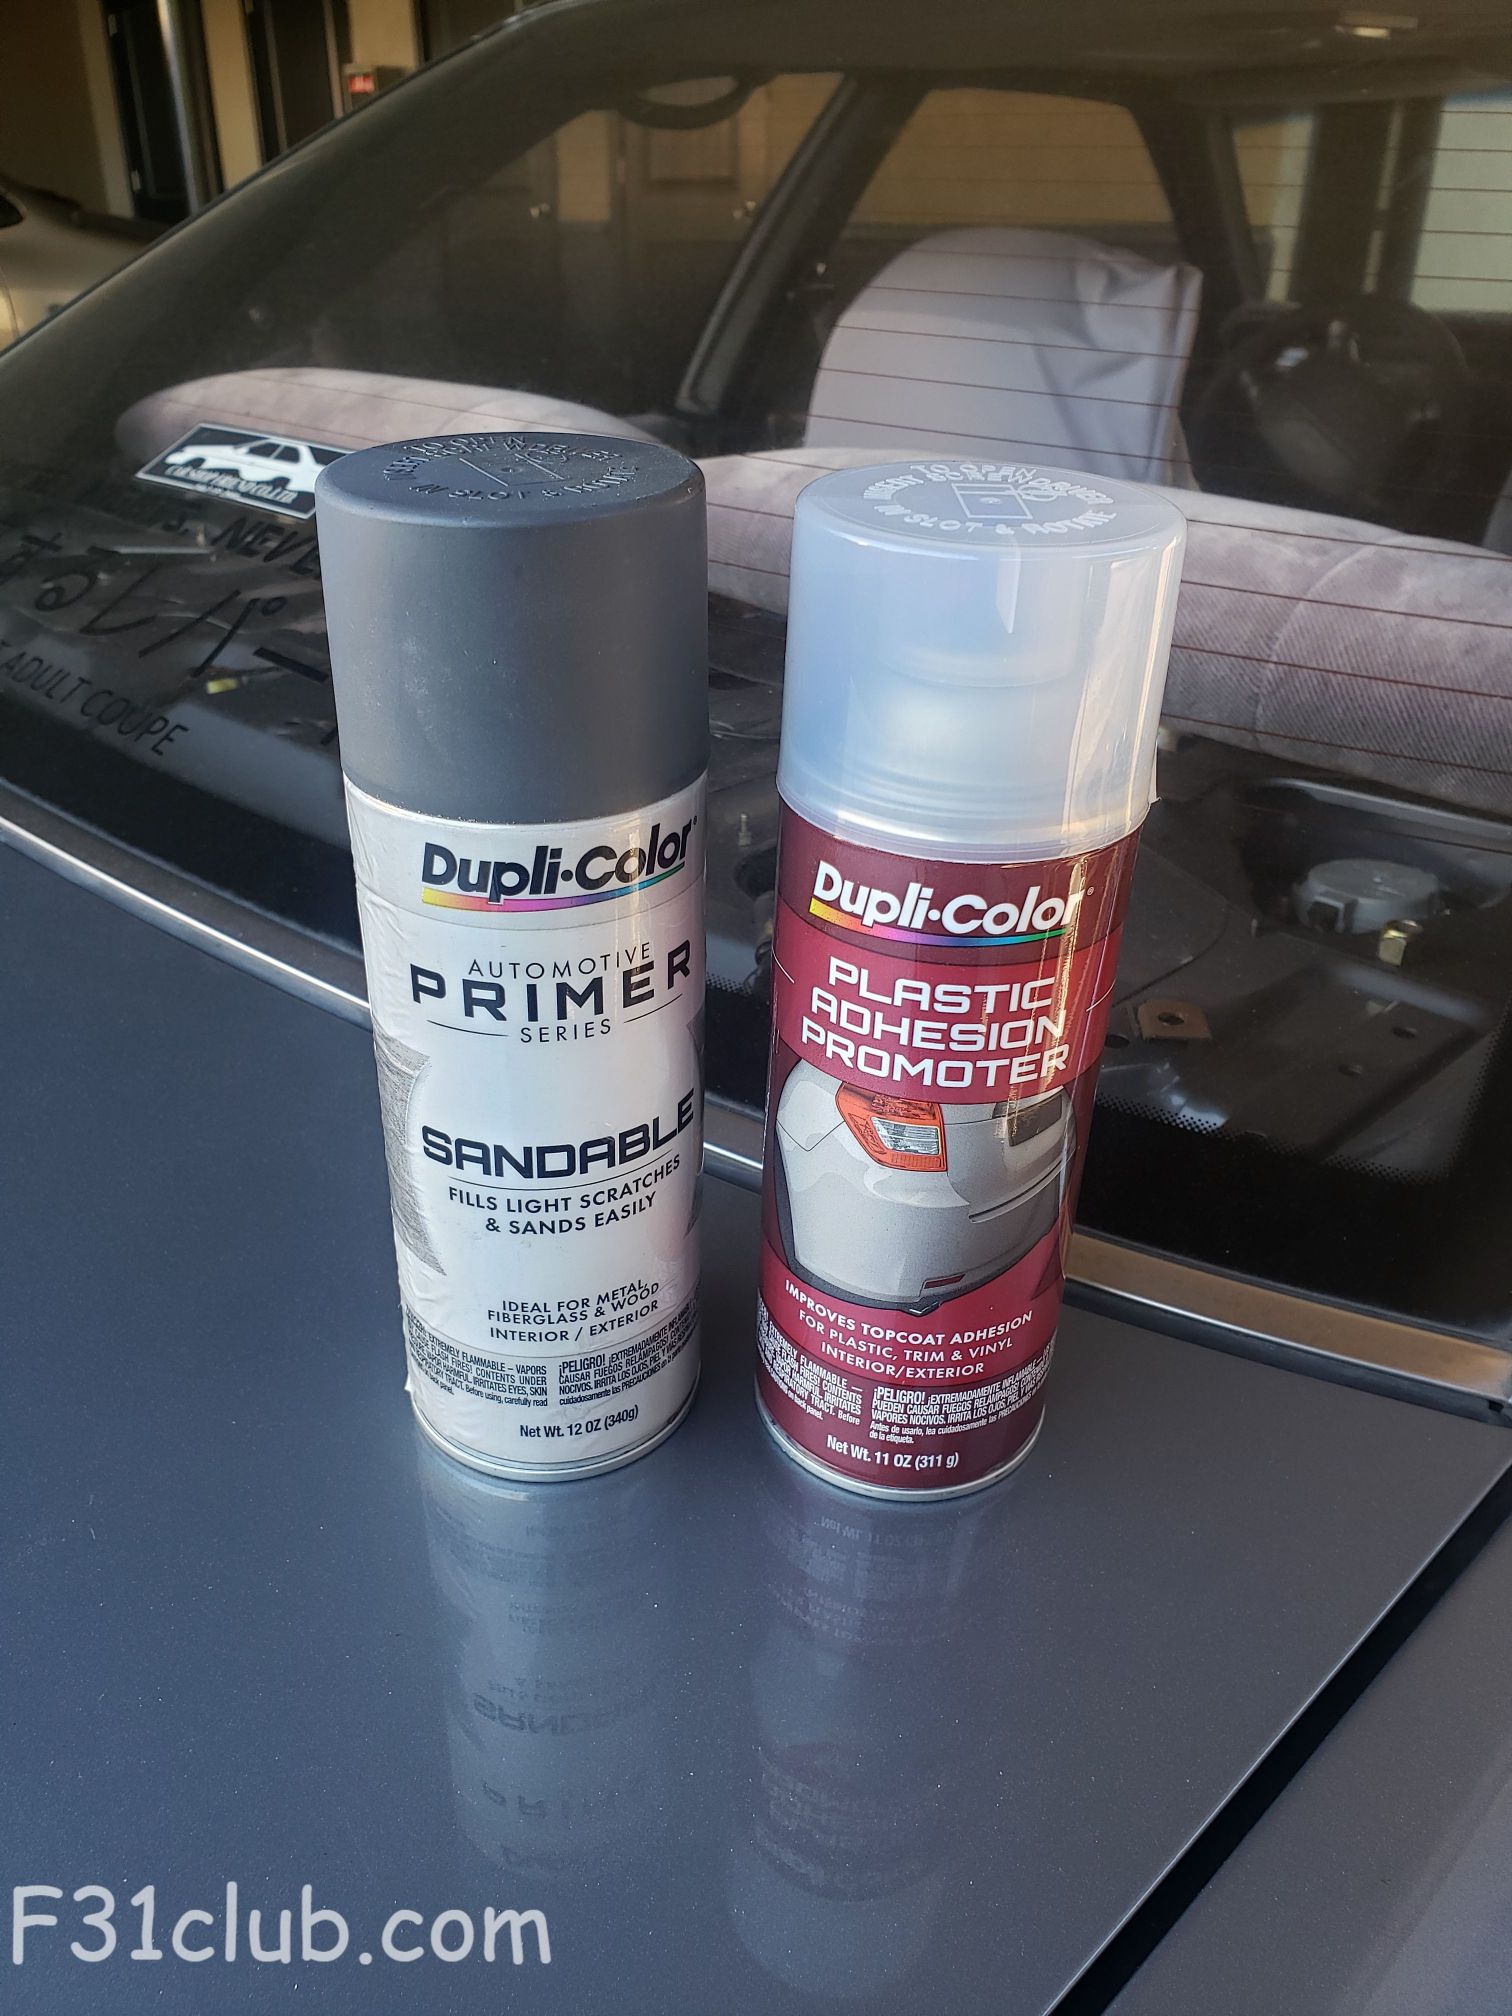
My friend Matt told me to use some spray on adhesive for plastic surfaces before just primer.
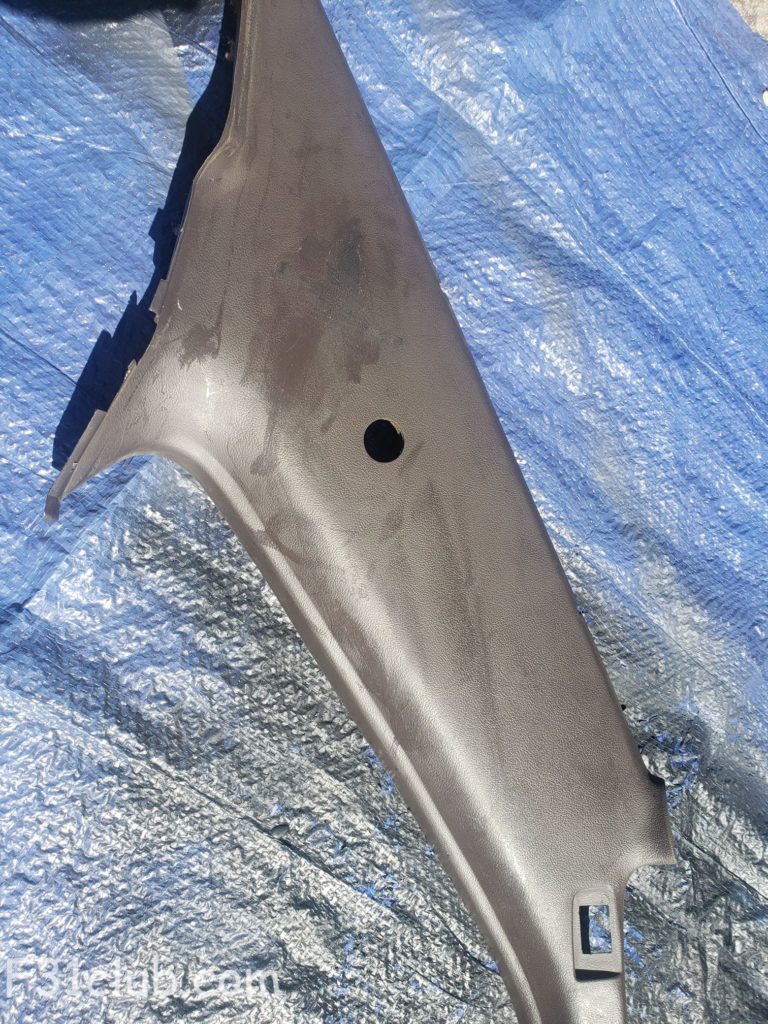
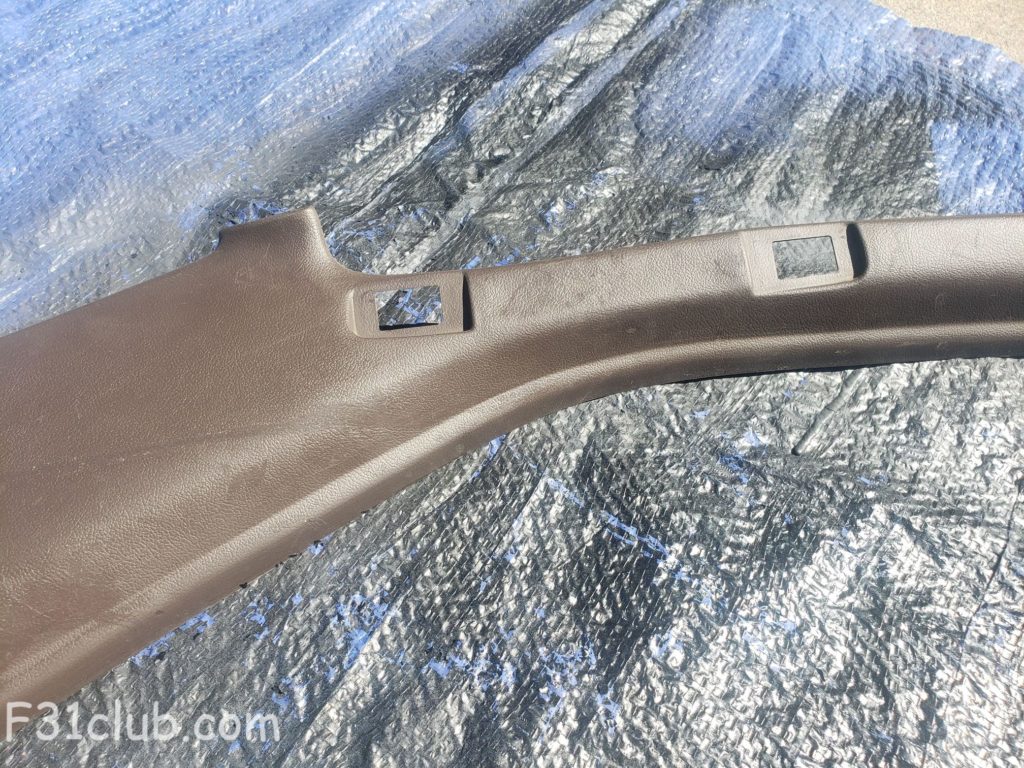
The brown trim is rough condition in the sense that it’s sticky (the surface material is breaking down) and they previous owners scratched up the trim horrible. It was super dirty, so I spent a few hours cleaning them.
Still, the surface was breaking down and it was sticky.
After spraying 3 layers of adhesive (3 minutes intervals), I sprayed primer with 10 minute intervals. 5 layers to be exact. It so far has came out pretty nice. I will probably hit it with t more layer before sanding down.
After that, I need to figure what theme to paint. It’s definitely black with some silver flake.. but if I can make some cool design on it.. I will!!!

