

After the setbacks, I had to just step away for a bit. Now, I’m back on track. Time to get up to speed.
Narrative that had to change
The narrative of Project Leopard was something of an amazing idea. Bring a dead car back to life. Rebuild everything from the ground up with established JDM companies and quality parts. While I loved the idea of working with the original builder and parts suppliers, I found myself in limbo as my the engine wasn’t getting done. The car’s body work and paint was in Arizona being worked on and that lead to exposing Sakura Garage as a scam artist.
Use Quality parts
- JDM Companies – that I respected and enjoyed were going to be a focus on this build. Greddy, HKS, Blitz, Pivot, Tomei, Nismo, Defi, Yashio Factory, Apexi and Enkei
- Australian/New Zealand Companies – These regions have pushed the RB tuning limits with some great products.
- New technology – While there will be some newer technology used (Link ecu), I really want to keep it hidden.
Tribute Car
- Nismo Leopard – Having the Zenki front end, I really wanted to imitate the Nismo Leopard, but have a bit of Nismo parts to back it up. People don’t know about the Nismo Leopard.
- Era Correct – I really wanted to keep it 80s-2000s type of tuning. During this era, I was fascinated by all the HKS piggybacks from the 80s. Having a 90s car and growing up in the 2000s era, I wanted to pay tribute by making somewhat of a pseudo time capsule. This includes the aesthetics of the car.
- F31club tribute – This car is also built for my old school brotherhood within the F31club forums and people that have helped me. This includes my brothers in Japan that have helped me accomplish what I though was impossible.
Representation
- This car is my vision of an F31 sports car. NOT A DEFINITIVE VISION, my interpretation.
- Saving a historic car and rebuilding to its former glory. This includes rebuilding from the ground up (which is a huge undertaking!).
- A blend of Japanese and American ideology of the F31.
History
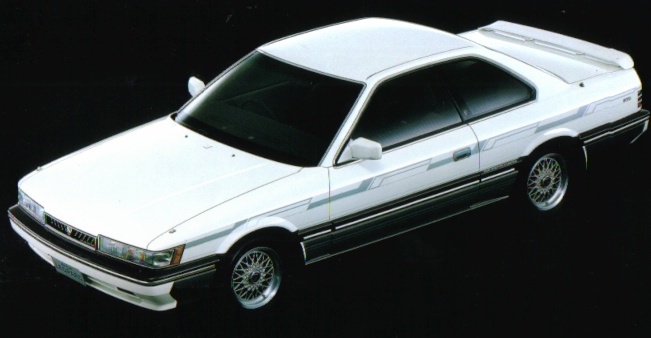
Remember, this was once a magazine cover car.
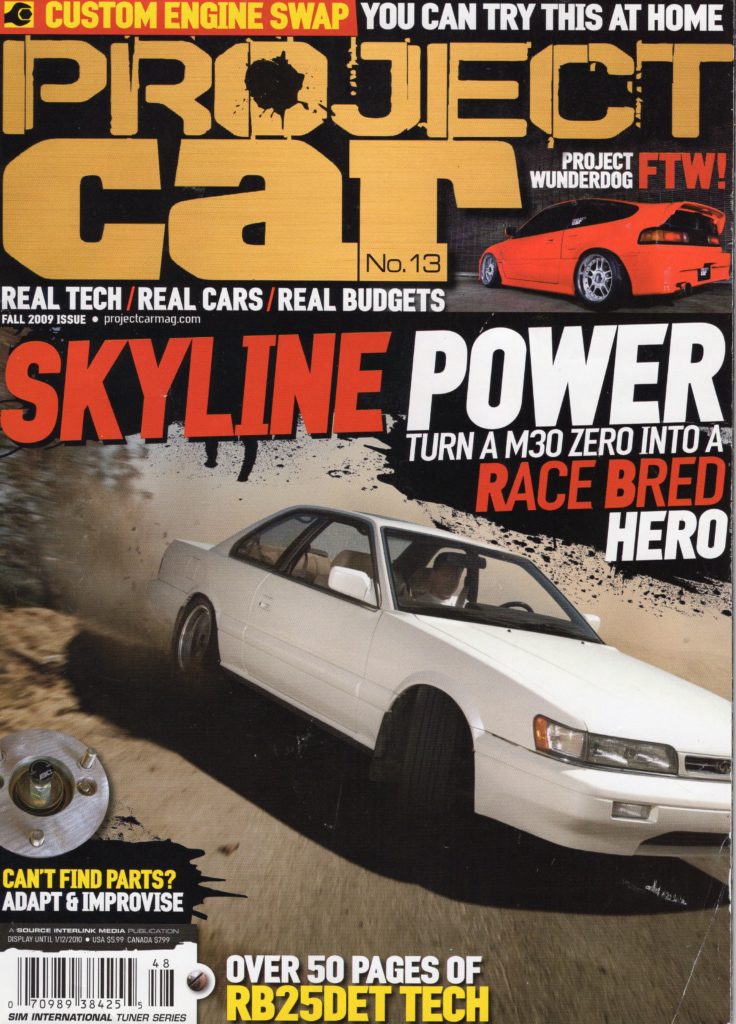
And over 10yrs after, it was various people’s drift missile.
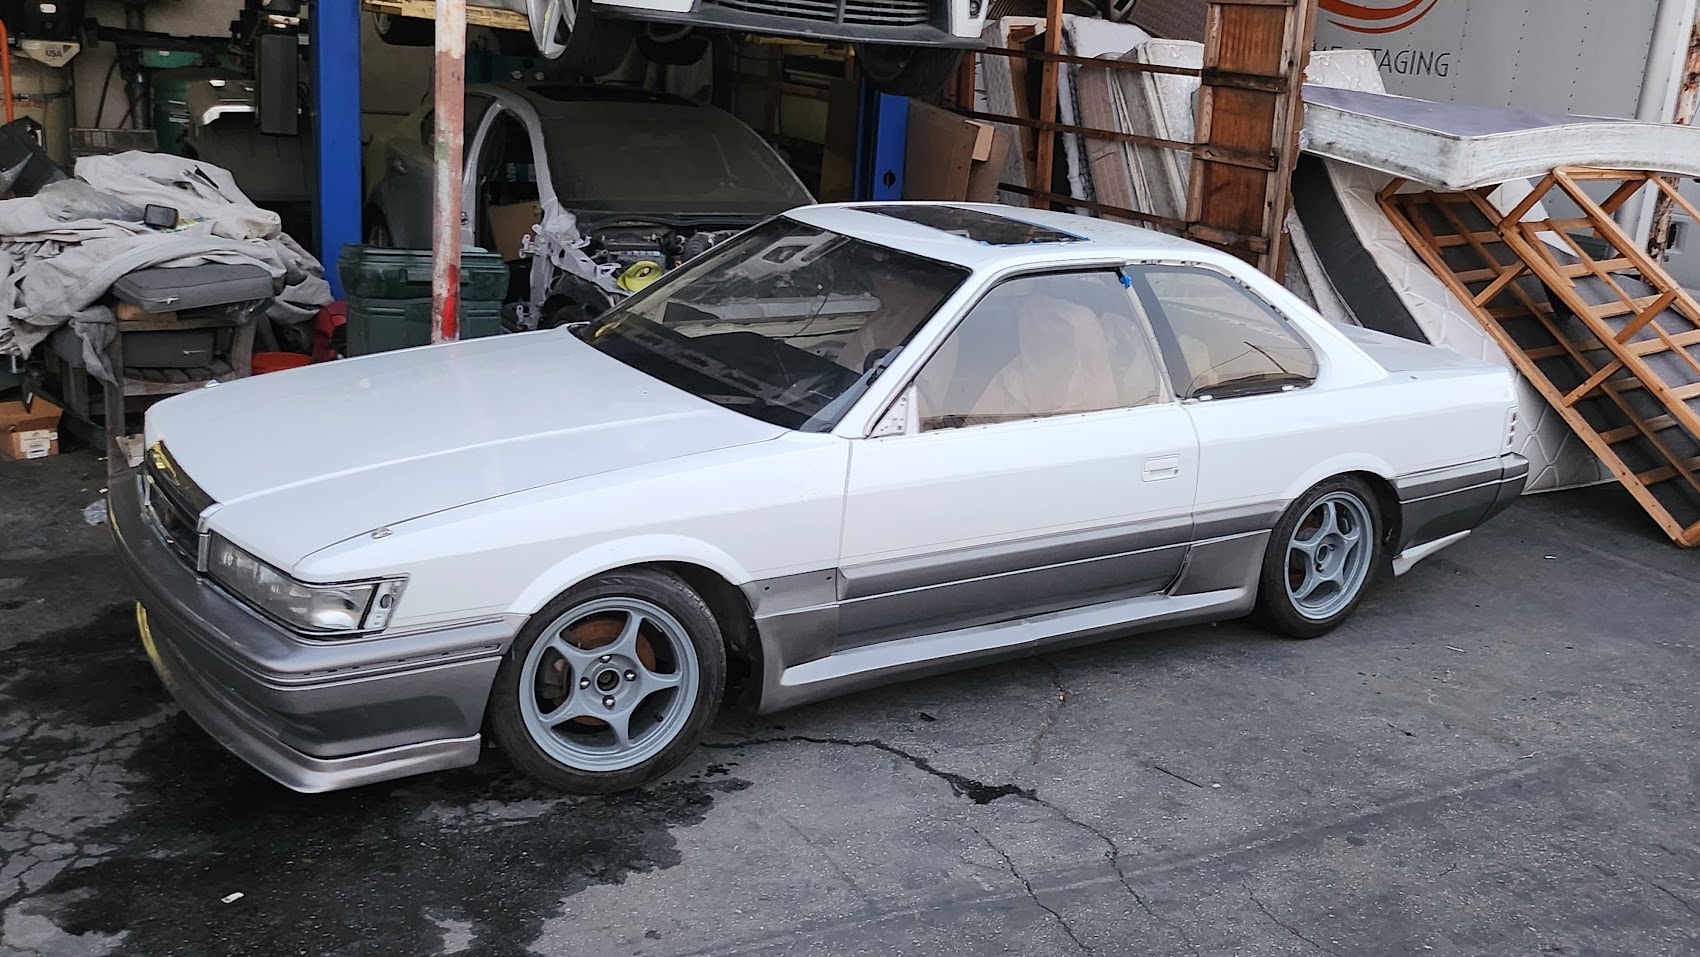
Exterior
The Zenki front end was an idea back in the 2000s. Early 2000s had many people doing custom conversions. This was also the time that many JDM cars were getting cut in half for the motor and front end. This never materialized in the American M30 community. Fast Forward to 2017. I started piecing together the pieces of the car. Over a couple of years, I was able to piece what I needed together.
But the major parts were from Itabashi-san and a crashed zenki.
Changed parts
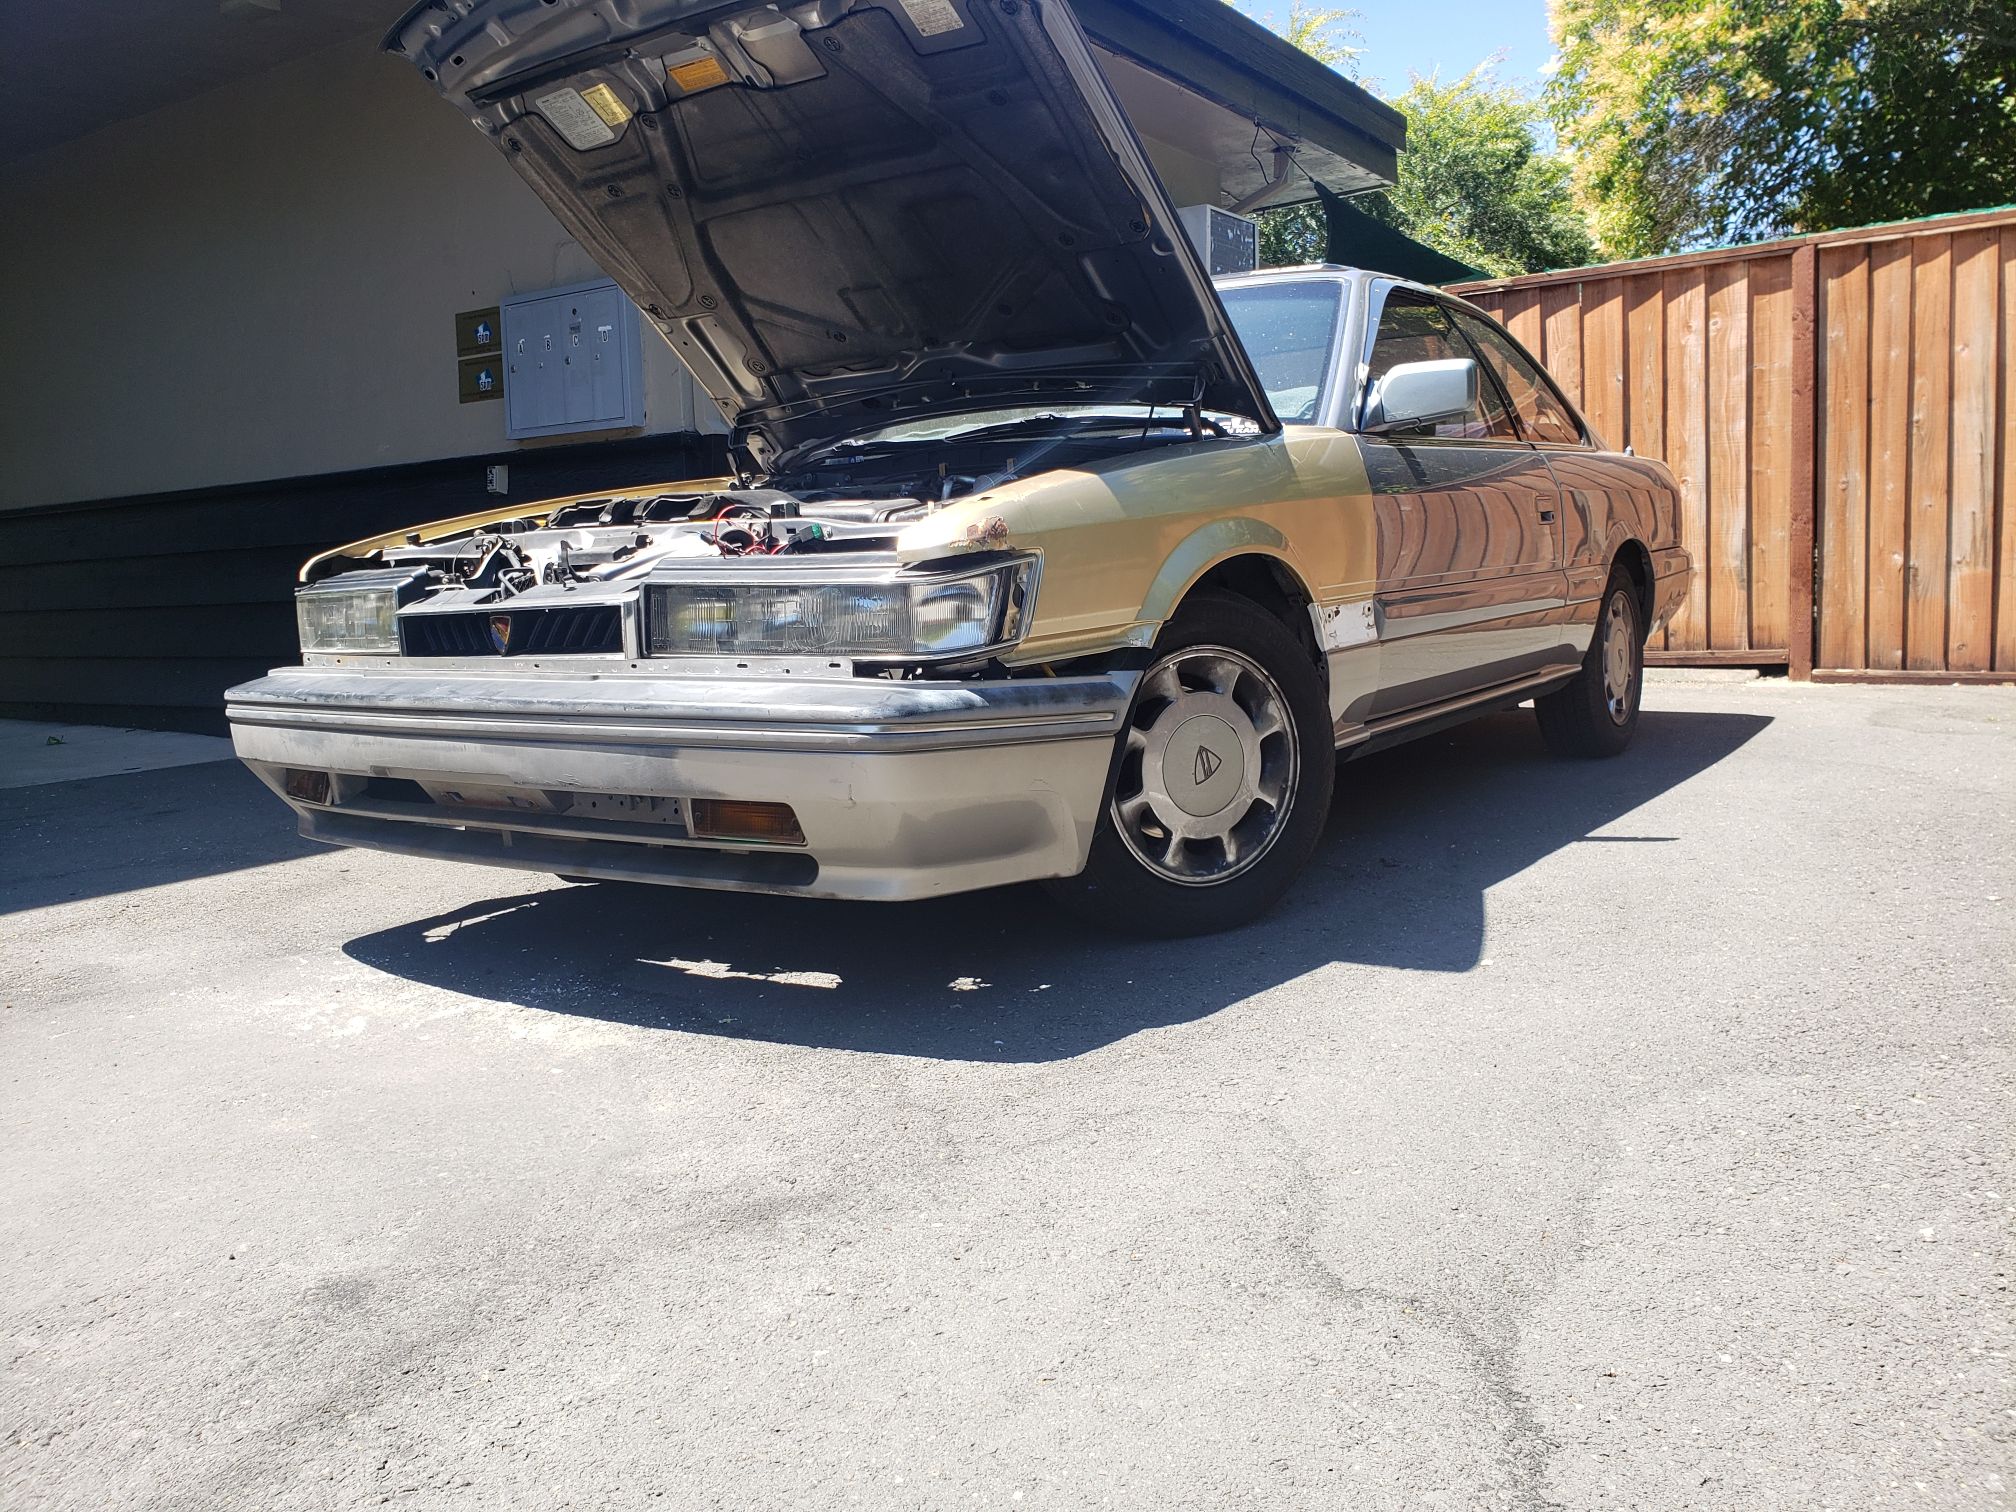
Since it was a drift car, it came with it’s fair share of damaged parts and dings/dents. At some event, the hood flipped up, but didn’t smash anything. When a M30 popped up in the junkyard, I went and got stuff I needed. This happened often! Besides getting stuff I would normally get, the good thing about the car being taken apart is finding those messed up parts and changing them.


Zenki front changed
Originally, the zenki F31 front was going to be on my Blue M30. Then I got the Diana Kit. That changed everything. Since Project Leopard was going to be redone anyway, why not put the zenki front end and that is when I had the inspiration to get it to look like a Nismo Leopard.
.
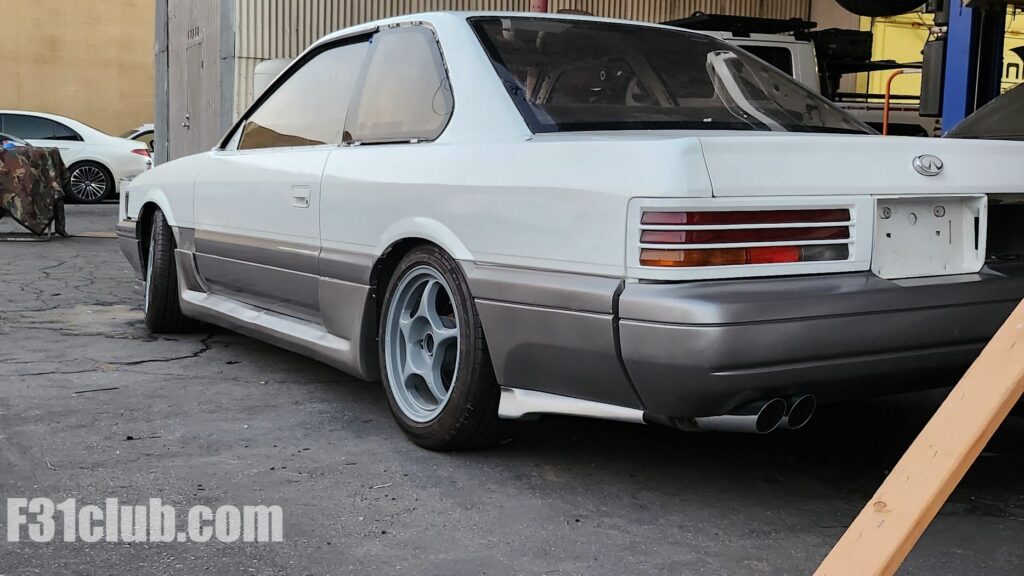
- Aero – CSF front lip, Piko Racing side skirts and West Yokohama rear pieces.
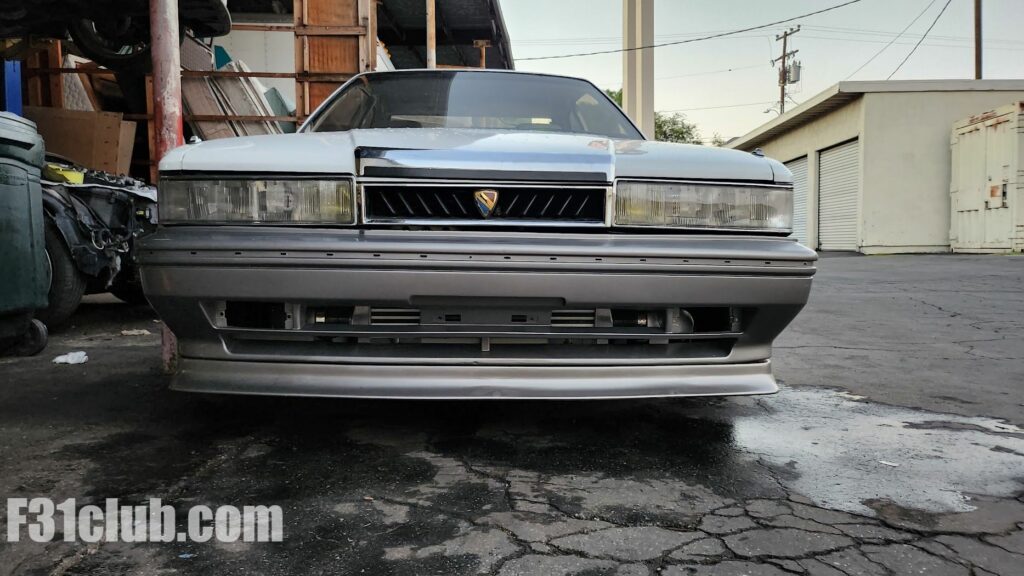
- OEM Zenki F31 Leopard front end
- Chrome bonnet piece.
- Zenki tail lights (louver style)
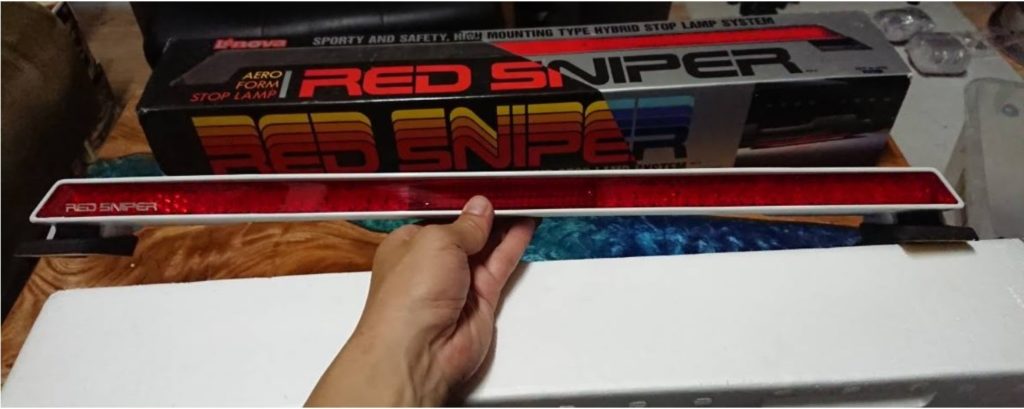
- Red Sniper 3rd brake light
- Mirrors need to be put together and painted
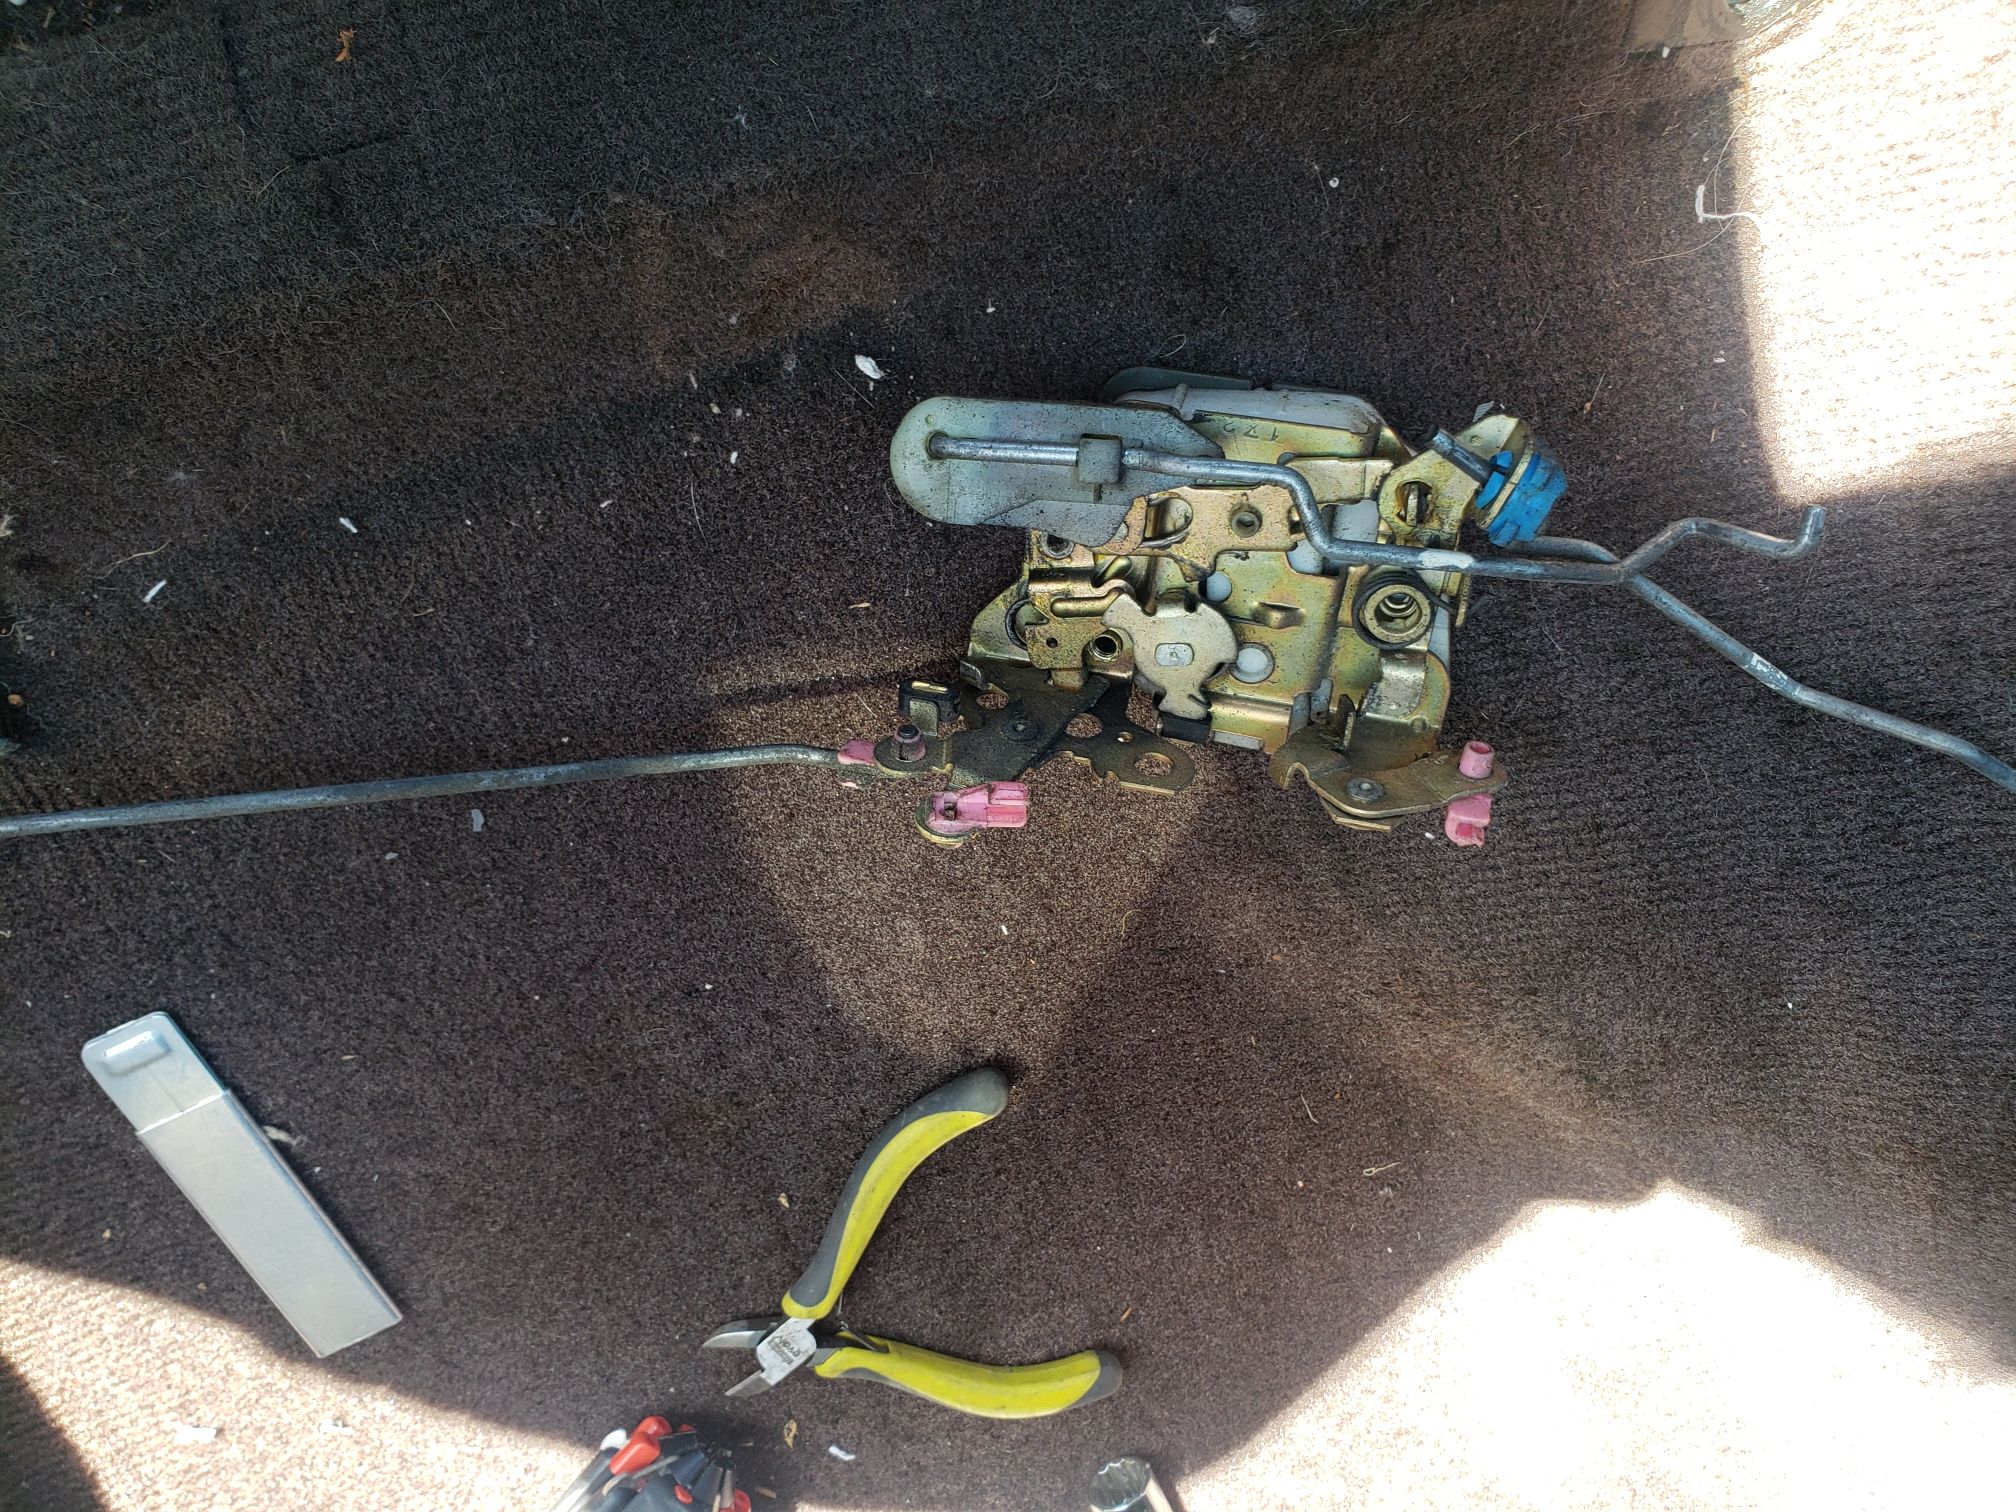
- Door handles need to be assembled and mounted
- Window trim (all around) needs to be mounted
- Fender molding needs to be mounted, this fender molding has the Leopard emblem
- Front Bumper – install the chrome trim
- Rear bumper/spats – put on brackets
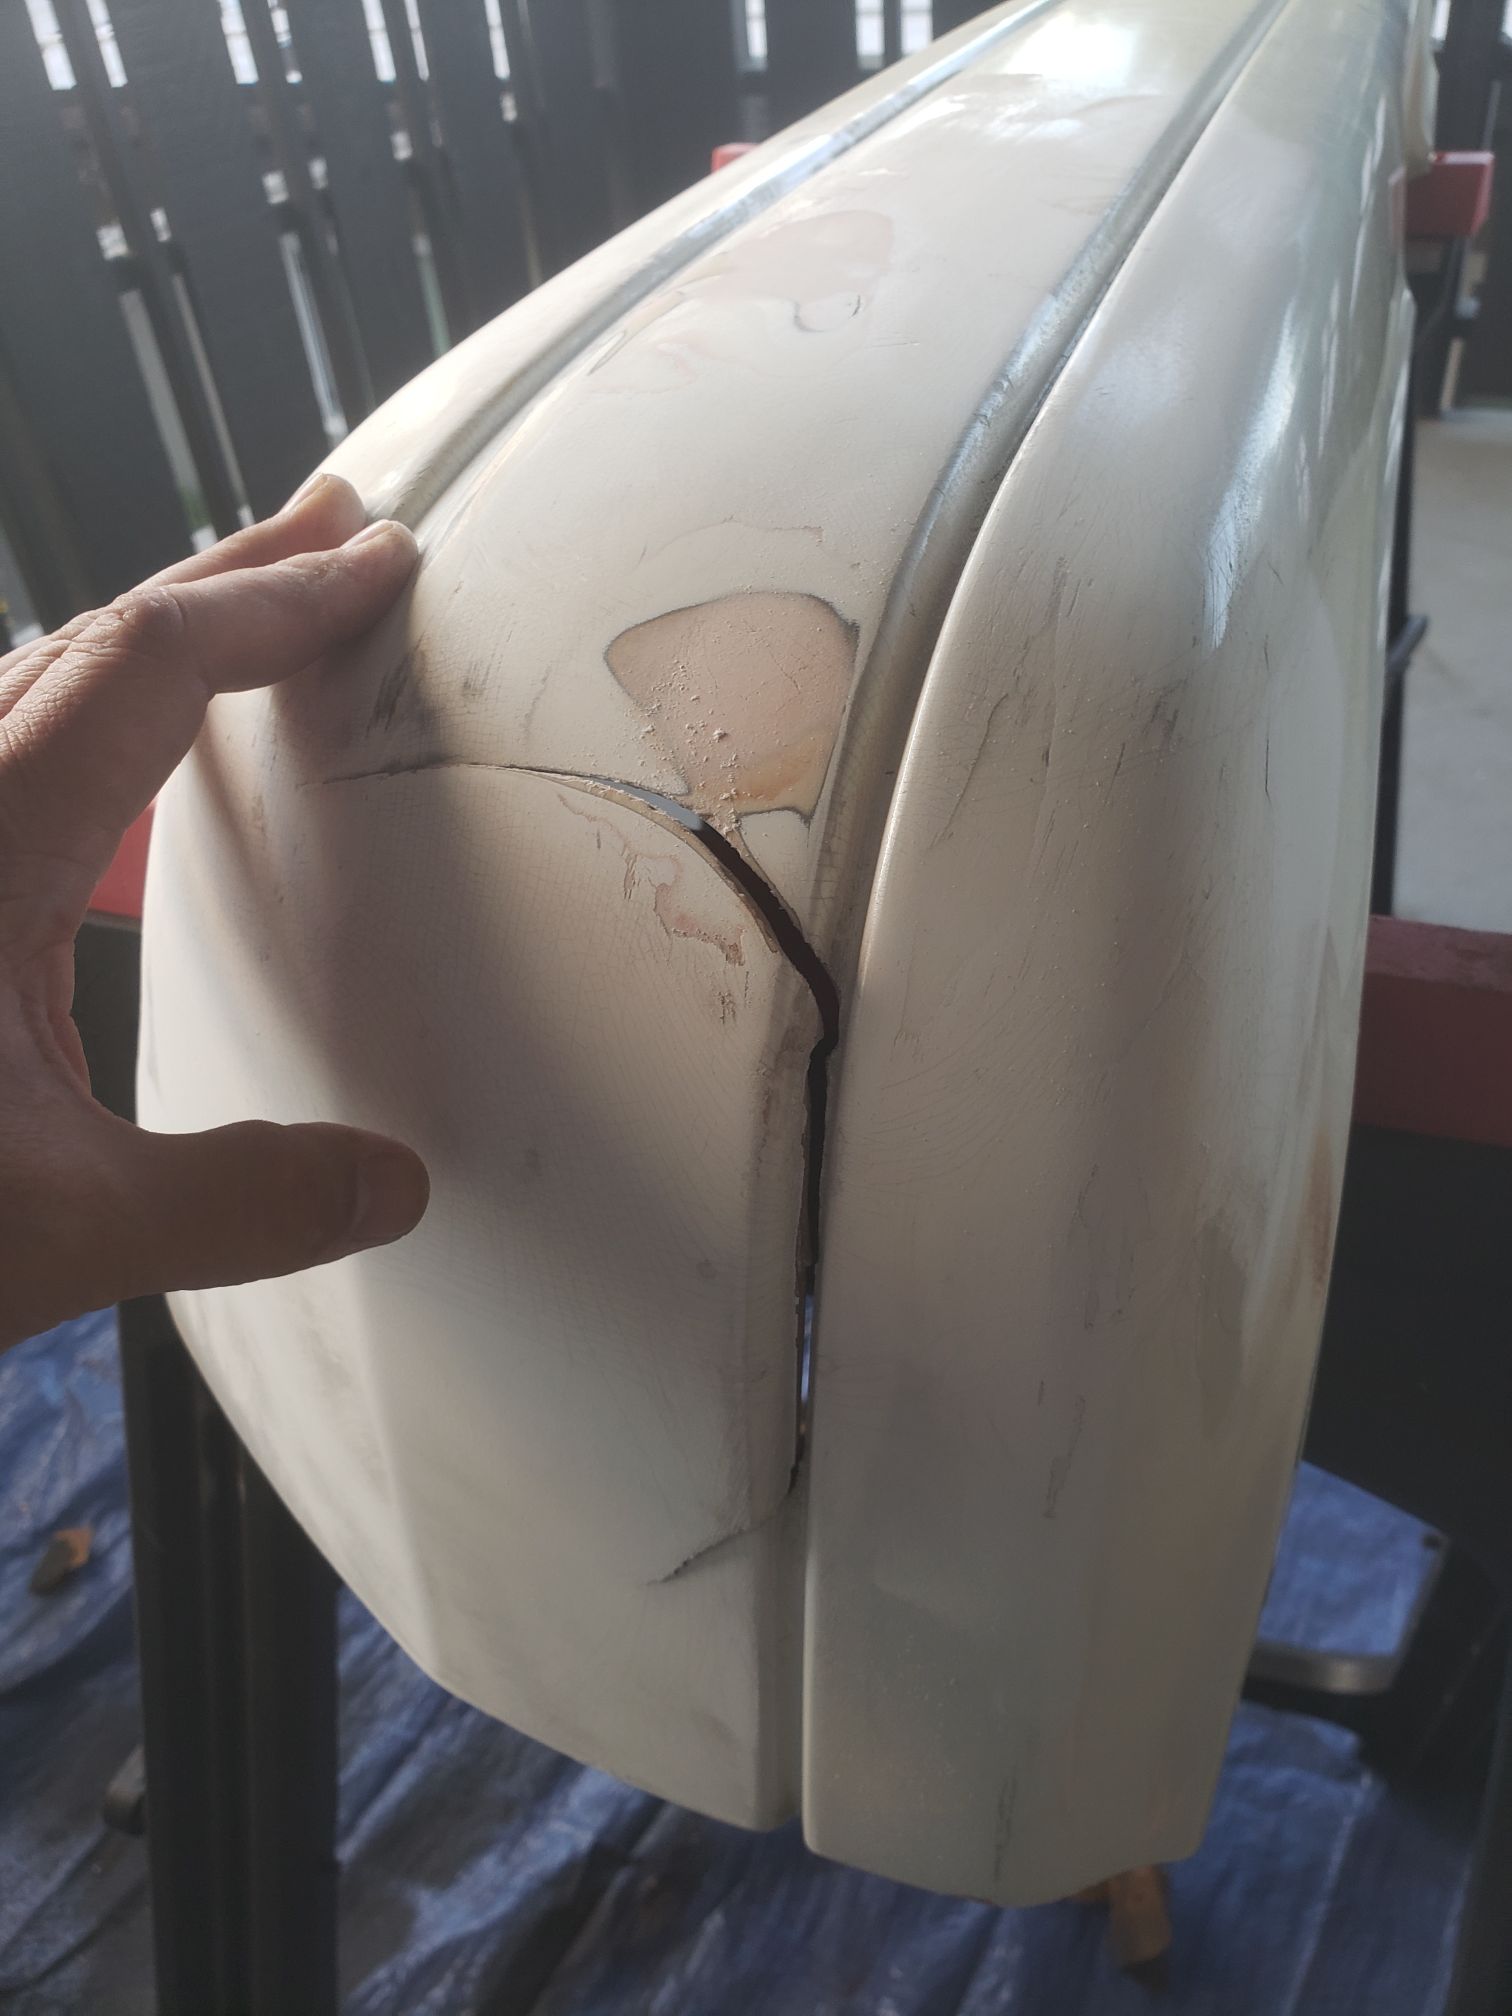
Paint
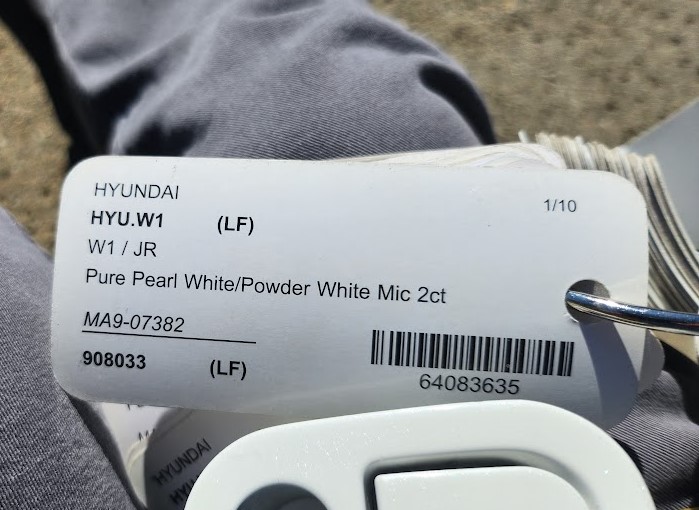
The original idea was to have a bright white with a slight blue pearl. This was a white car and I asked him to repaint it white with a grey bottom. That even proved too much for him. Unfortunately at the time, I trusted our past friendship too much.
While Sakura Garbage‘s paint work was trash, it is something that I will work with right now. There were things that he did that didn’t make sense and I have to redo those mistakes. One thing he did was take off the doors and everything within such as the windows, door handles… etc. After it had to get redone, I didn’t know what SG used. I went to match the handle and this is what I found that closest to match. In person, this color matched the handle (but doesn’t look like it on camera).

Exhaust
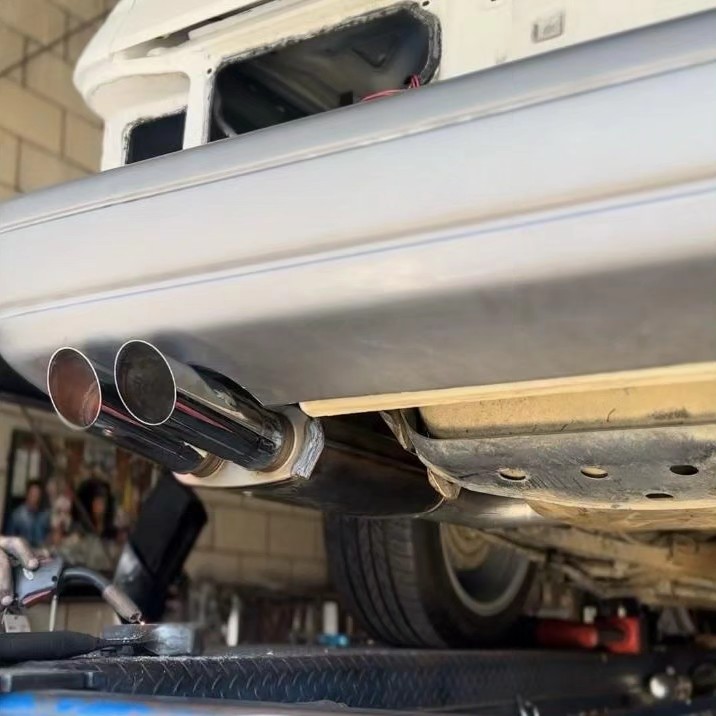
When thinking of getting exhaust done, I knew it was going to be custom. Originally, I wanted to get a Kakimoto Exhaust, but when my exhaust situation happened, it happened pretty quick as it was suppose to get tuned shortly after (which didn’t happen).
From the Tomei turbocharger, then to the Syko Elbow, then to a Greddy downpipe, then to a custom 3″ to a dual tip Magnaflow deep tone exhaust (which I love the sound).
Wheels and Suspension
Since this car was a drift missile, a lot of the suspension was beat up. The whole suspension needed to be redone. While there, I also had the steering rack being rebuilt, all bushing replaced and mostly new suspension components. Also original in the car are adaptor plates for the rear suspension.
- Enkei RP01
- New OEM S13 front lower control arms
- GK Tech outer tie rods
- ISR inner tie rods
- Riaction Coil overs
- Voodoo 13 front tension rods (kept from previous build)
- S13 coil over rear adapter plates (custom from original magazine build)
- S13 tie rod boots (new)
- S13 front spindles (original build)
- Z31 rear bushings MEVOTECH MK90103
- Front sway bar bushings
- Rear end links bushings
- Rebuilt steering rack
- Energy Suspension steering rack bushings (s13)
- Solid steering shaft bushing
- Enkei blue Valve stems to replace current valve stems (the ones on the car have a leak)
Braking
Braking hasn’t been on my high priority list as I still have other things to take care of first. I do want to upgraded to the z32 calipers with upgraded brake lines as well. Once I clear a lot of other hurdles, I’ll focus on that. I also deleted the ABS module.

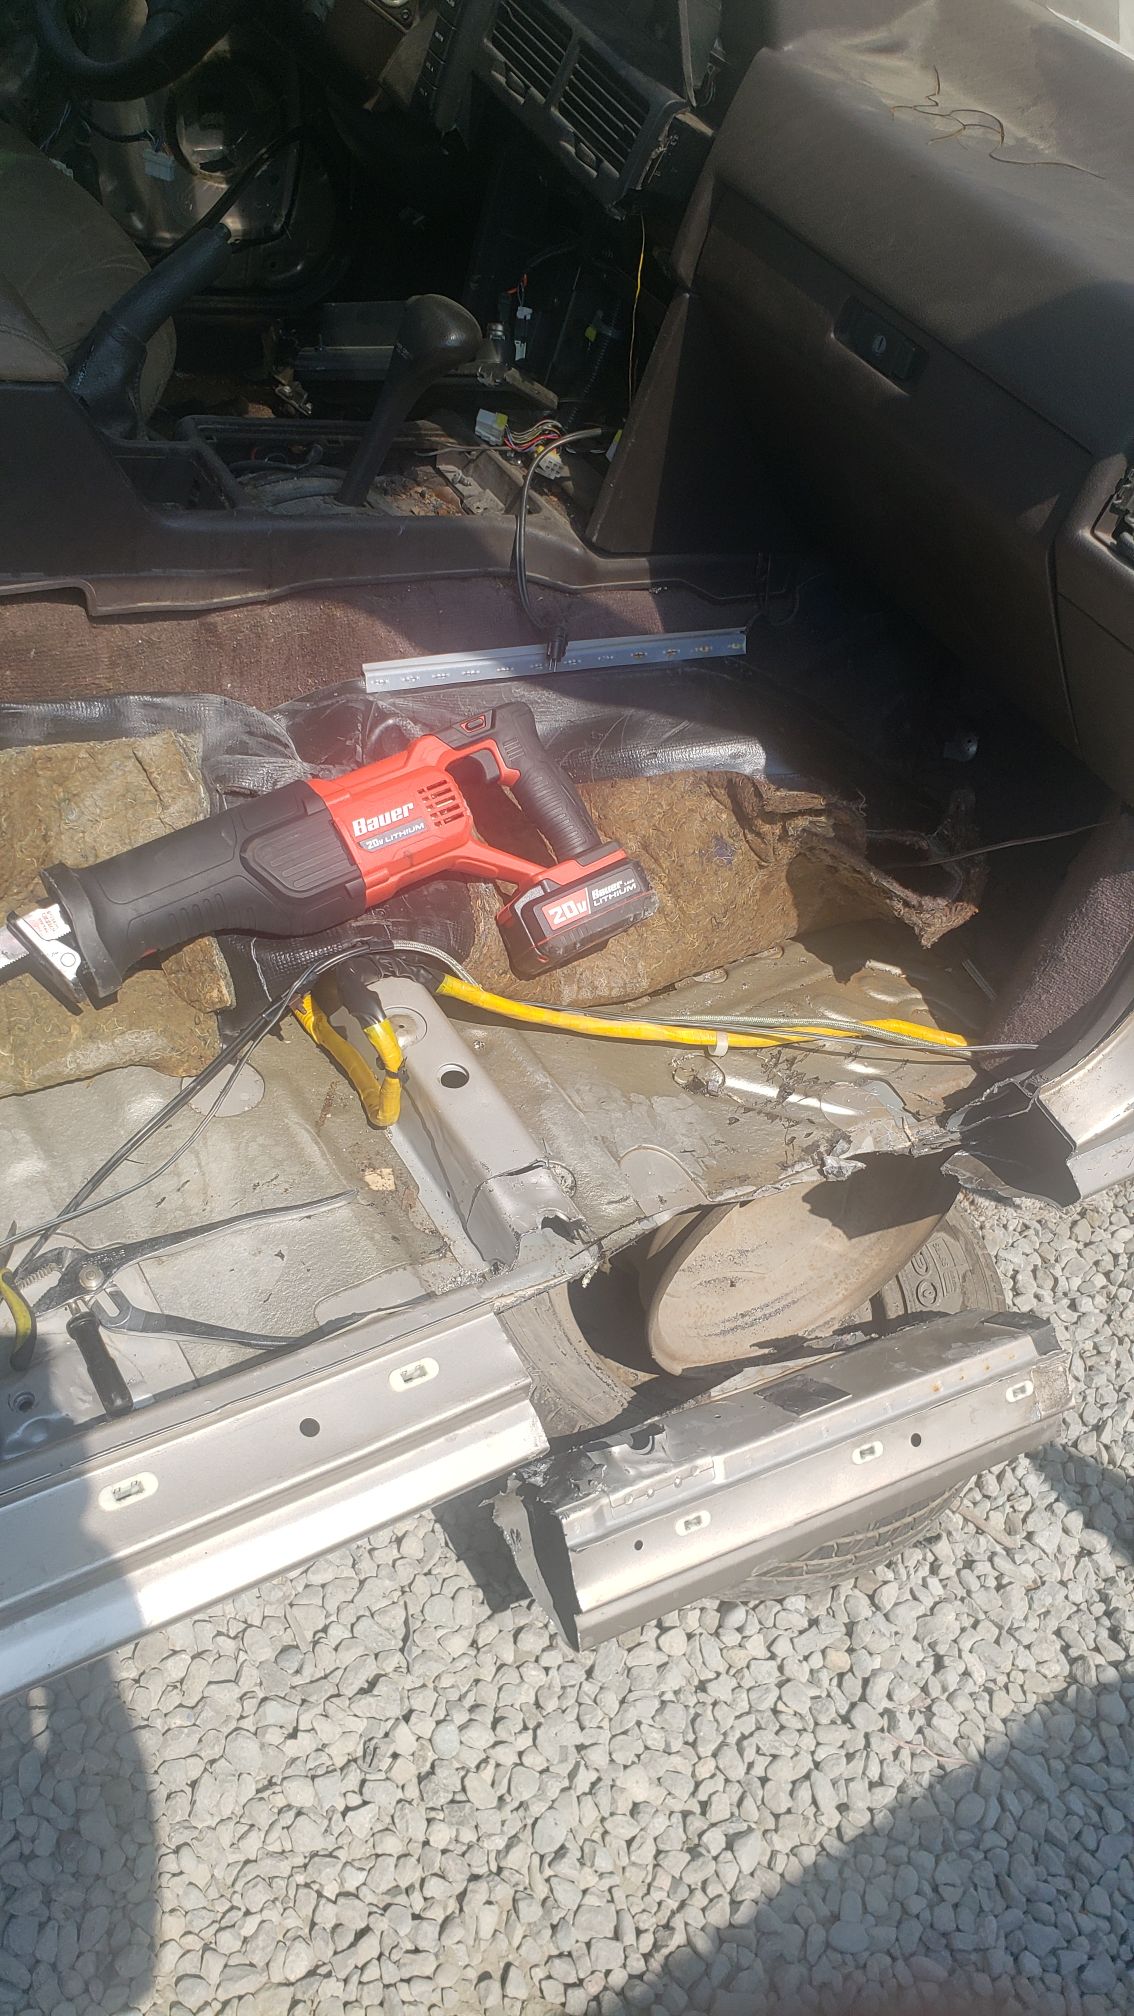
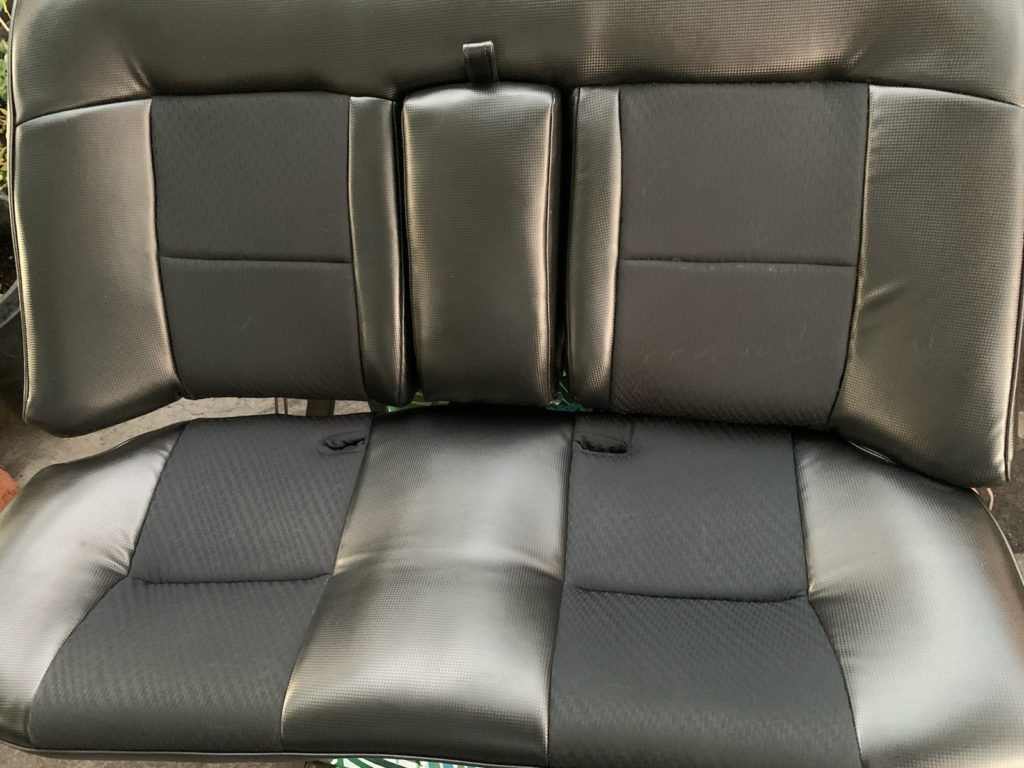
Interior
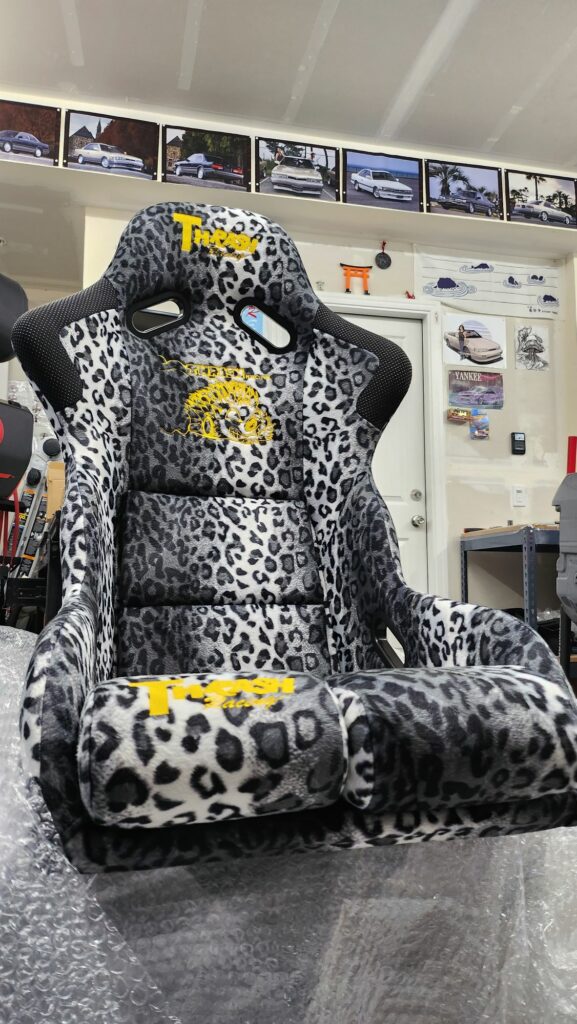
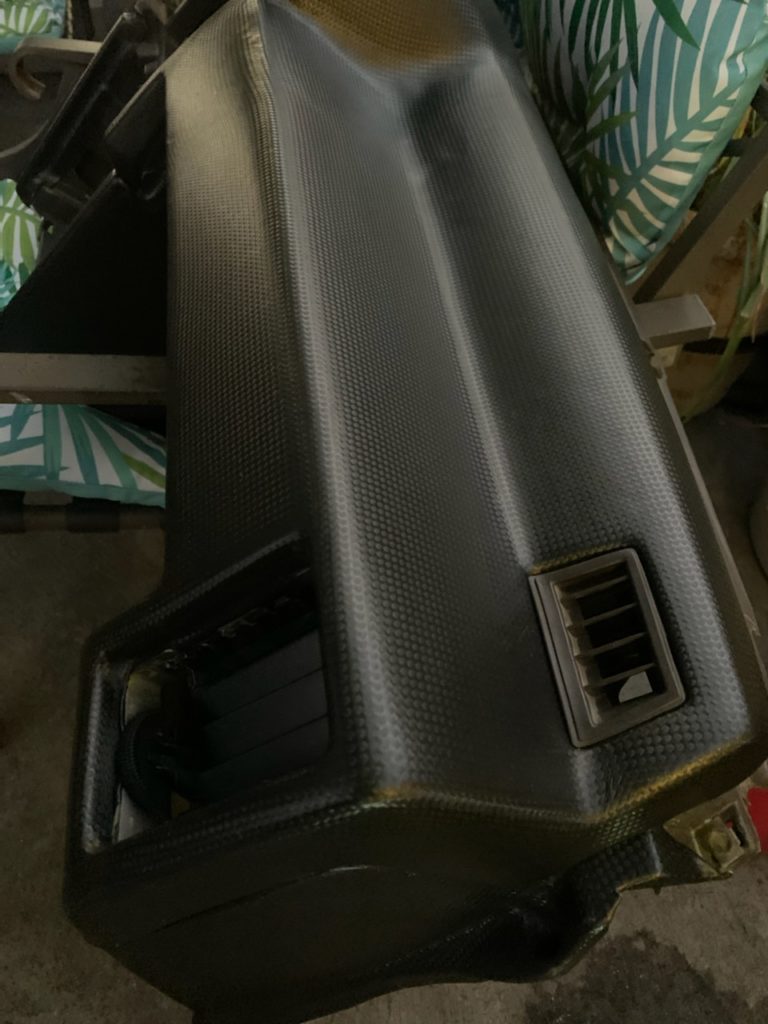
While I had the most of the interior redone (dash, rear seats, rear side panels), I also changed the original brown/tan headliner and carpet to grey, which I had extensively detailed to “feel new”. I also got Thrash Racing Snow Leopard racing seats to go with the leopard them. A lot of additional bits to make it feel a bit different. R31 Center console/armrest.
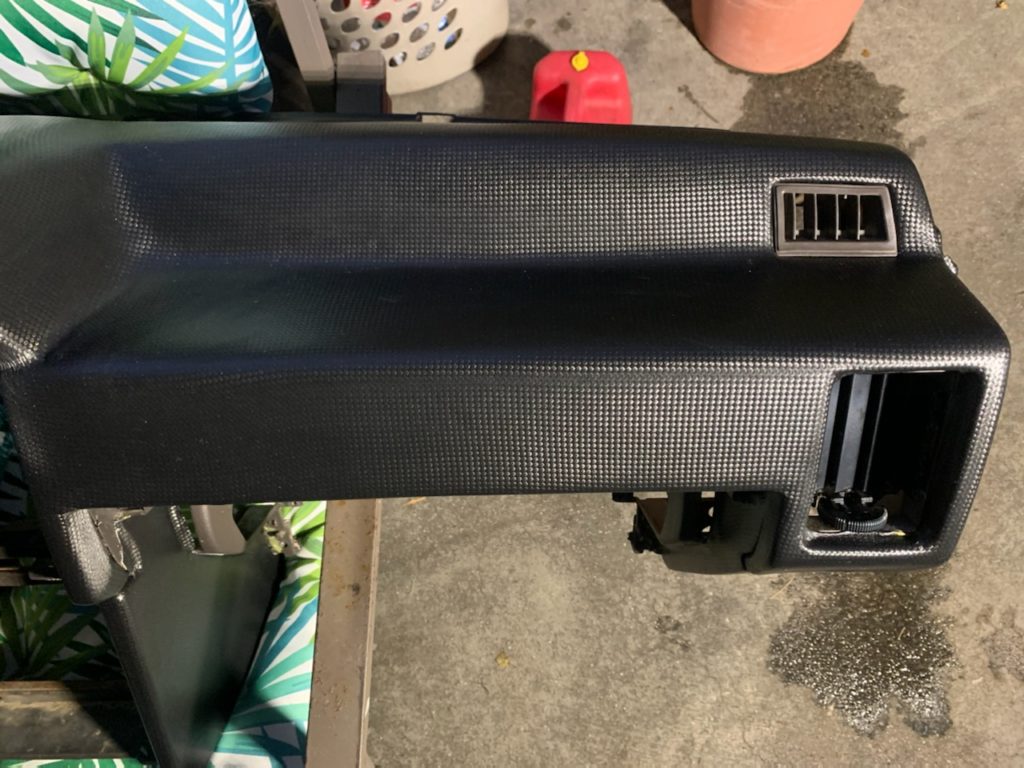
- Redone Dash, rear side panels, rear seats and glove box
- R31 Center console
- Thrash Racing Seats
- PLM mounts
- Razo pedals
- R31 Door cards – different than the M30/F31s as expected. Inside handles location are different.
- Need to make brackets for the racing seats
- I definitely want to add a partial, bolt in roll cage
Interior Electronics
When I first got into the Japanese car scene, I was fascinated with the high powered cars having gauges and all kinds of gadgets. With this car, it was one of the main reasons why I wanted to have an older looking car and be “era correct“. While most of the HKS electronics are old piggyback and won’t work with the LINK ECU that I have, I wanted to have that “nostalgic look” of those lights. That is the main goal, to have it look like a car from the 90s.

- Zenki F31 Leopard digital dash
- HKS “ABC Tower of Power” electronics
- HKS – scramble boost with Trig button (button looks cool)
- HKS Turbo timer
- Pivot Shift lamp
- Pivot Kilometer reader
- Pivot VCAPA
- D’efi BF gauges (boost, oil temp, oil pressure)
- Yashio Factory Water temp gauge
- Yashio Factory water sprayer
- NTK Wideband 02 system
- Ignited Push button ignition
- Carrozzeria stereo install (animated graphics)
- Razo illuminated 5MT position
- SARD Attack Meter
- Dakota Digital – Going to need to update jump harness
- Digital dash needs to be fitted. This means cutting a bit and mounting it properly and secure.
- Also the digital dash panel for this needs to also be cut and trimmed to fit the M30
- There is an idea for making a “Panache” style steering console box.
- Making a “HKS” glove box insert for the HKS Tower of Power electronics
- NTK wideband monitor, but hook up an Autometer AFR gauge
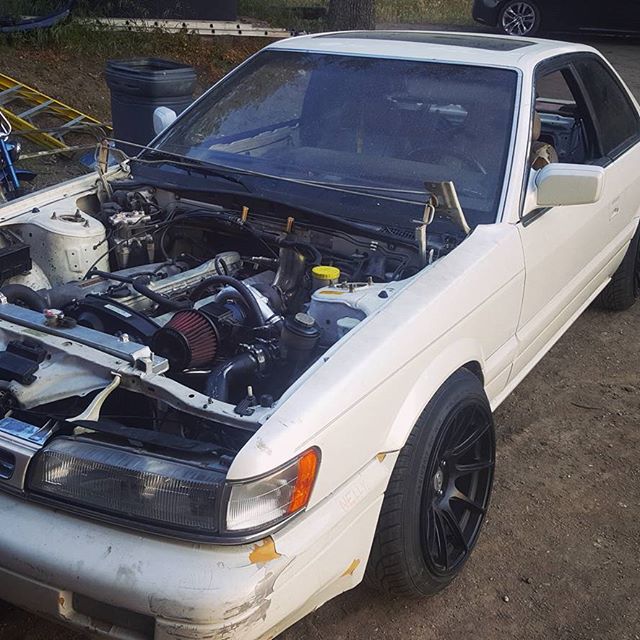
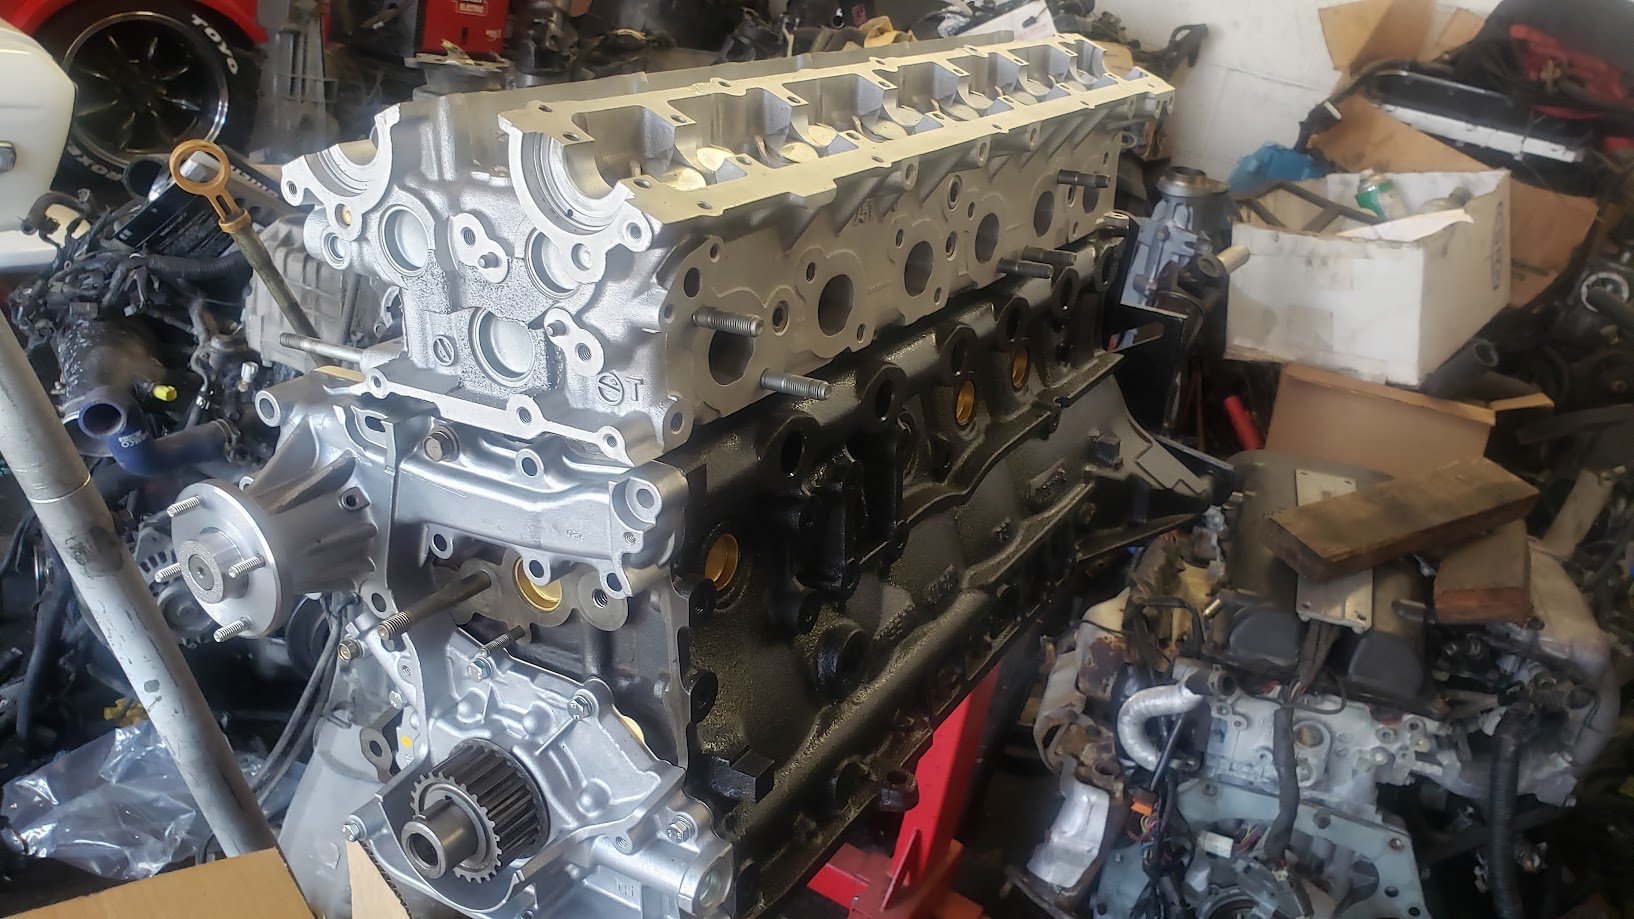
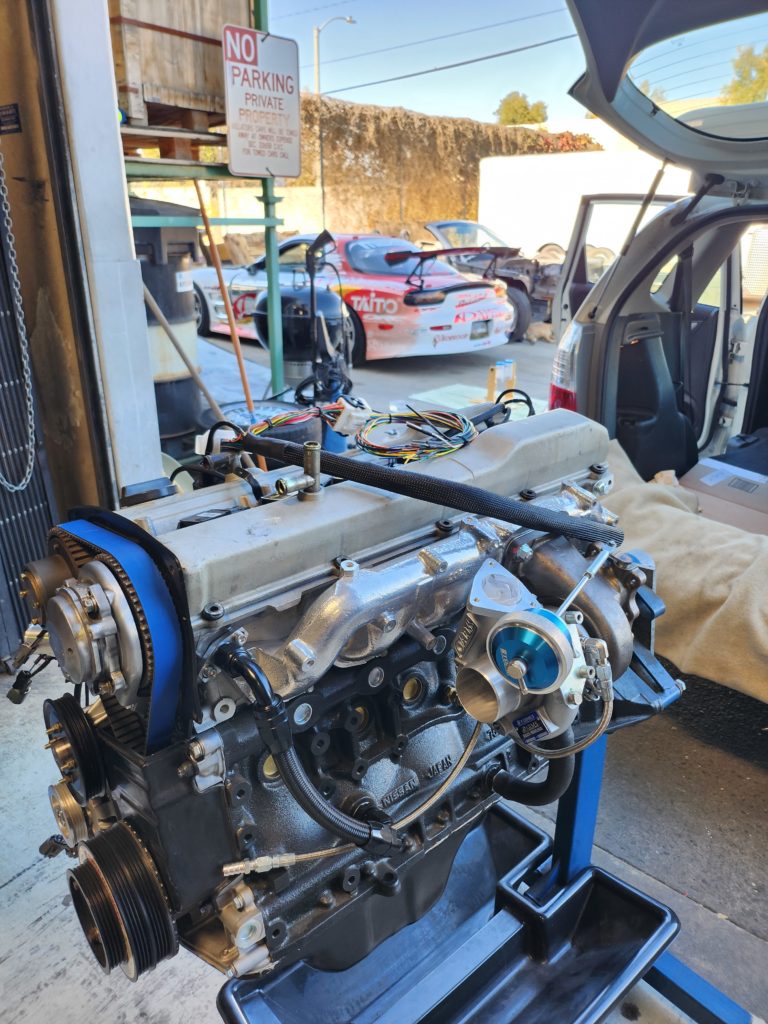
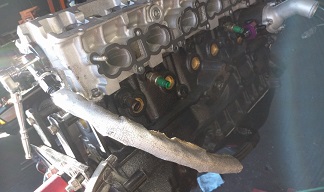
Engine
The engine used is the original RB25det from Project Magazine’s build. As part of the purchase, I was given the engine in pieces and of course, missing parts. Over the 10+ years it was a drift car and multiple owners, it had seen it’s fair share of abuse and minimal maintenance and upgrades. Eventually it would fail on the previous owner, which is why it was taken apart.
I was stuck with a couple dilemmas once I got the engine and car.
- Is it worth to rebuild or should I get another RB25det?
- What was the cost for a complete engine vs rebuilding it?
Well, I decided to rebuild the engine. This would take me on a journey to pretty much make the engine new and costs to skyrocket.
- Block sent to machine shop to check for cracks, hone and bore cylinders.
- Changed out freeze/welsh plugs
- Upgrade to forged internals and new parts (pistons, rods, rings, bearings…etc)
- All engine block components (N1 water pump, oil pump..etc)
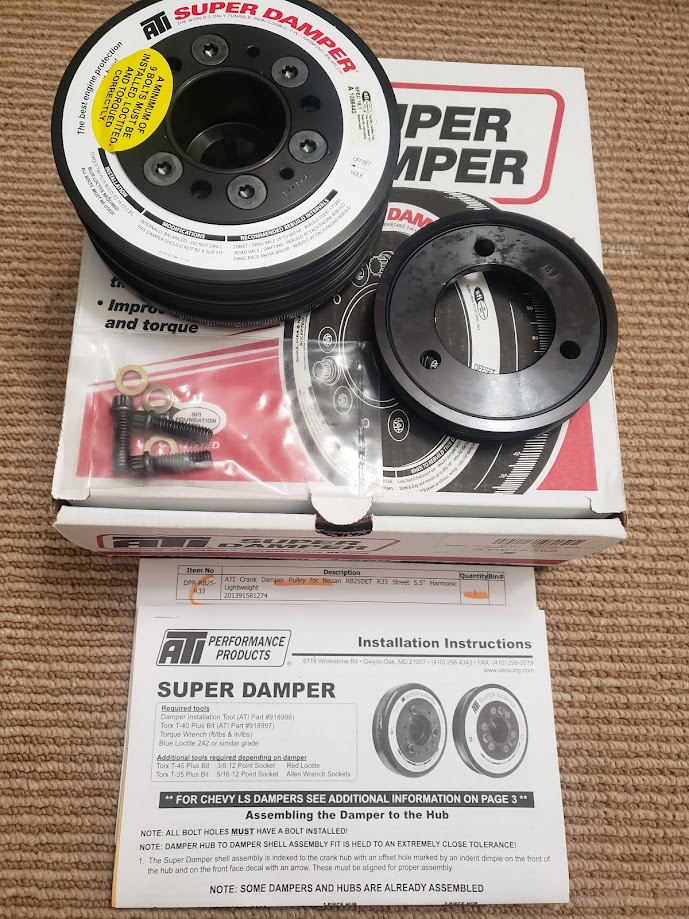
- ATI RB25det harmonic balancer/pulley
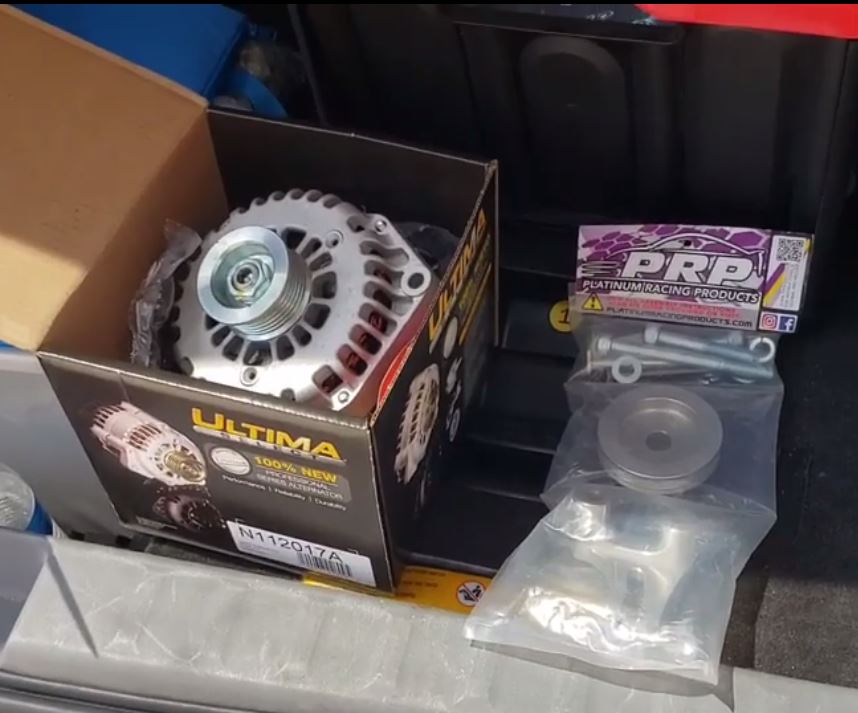
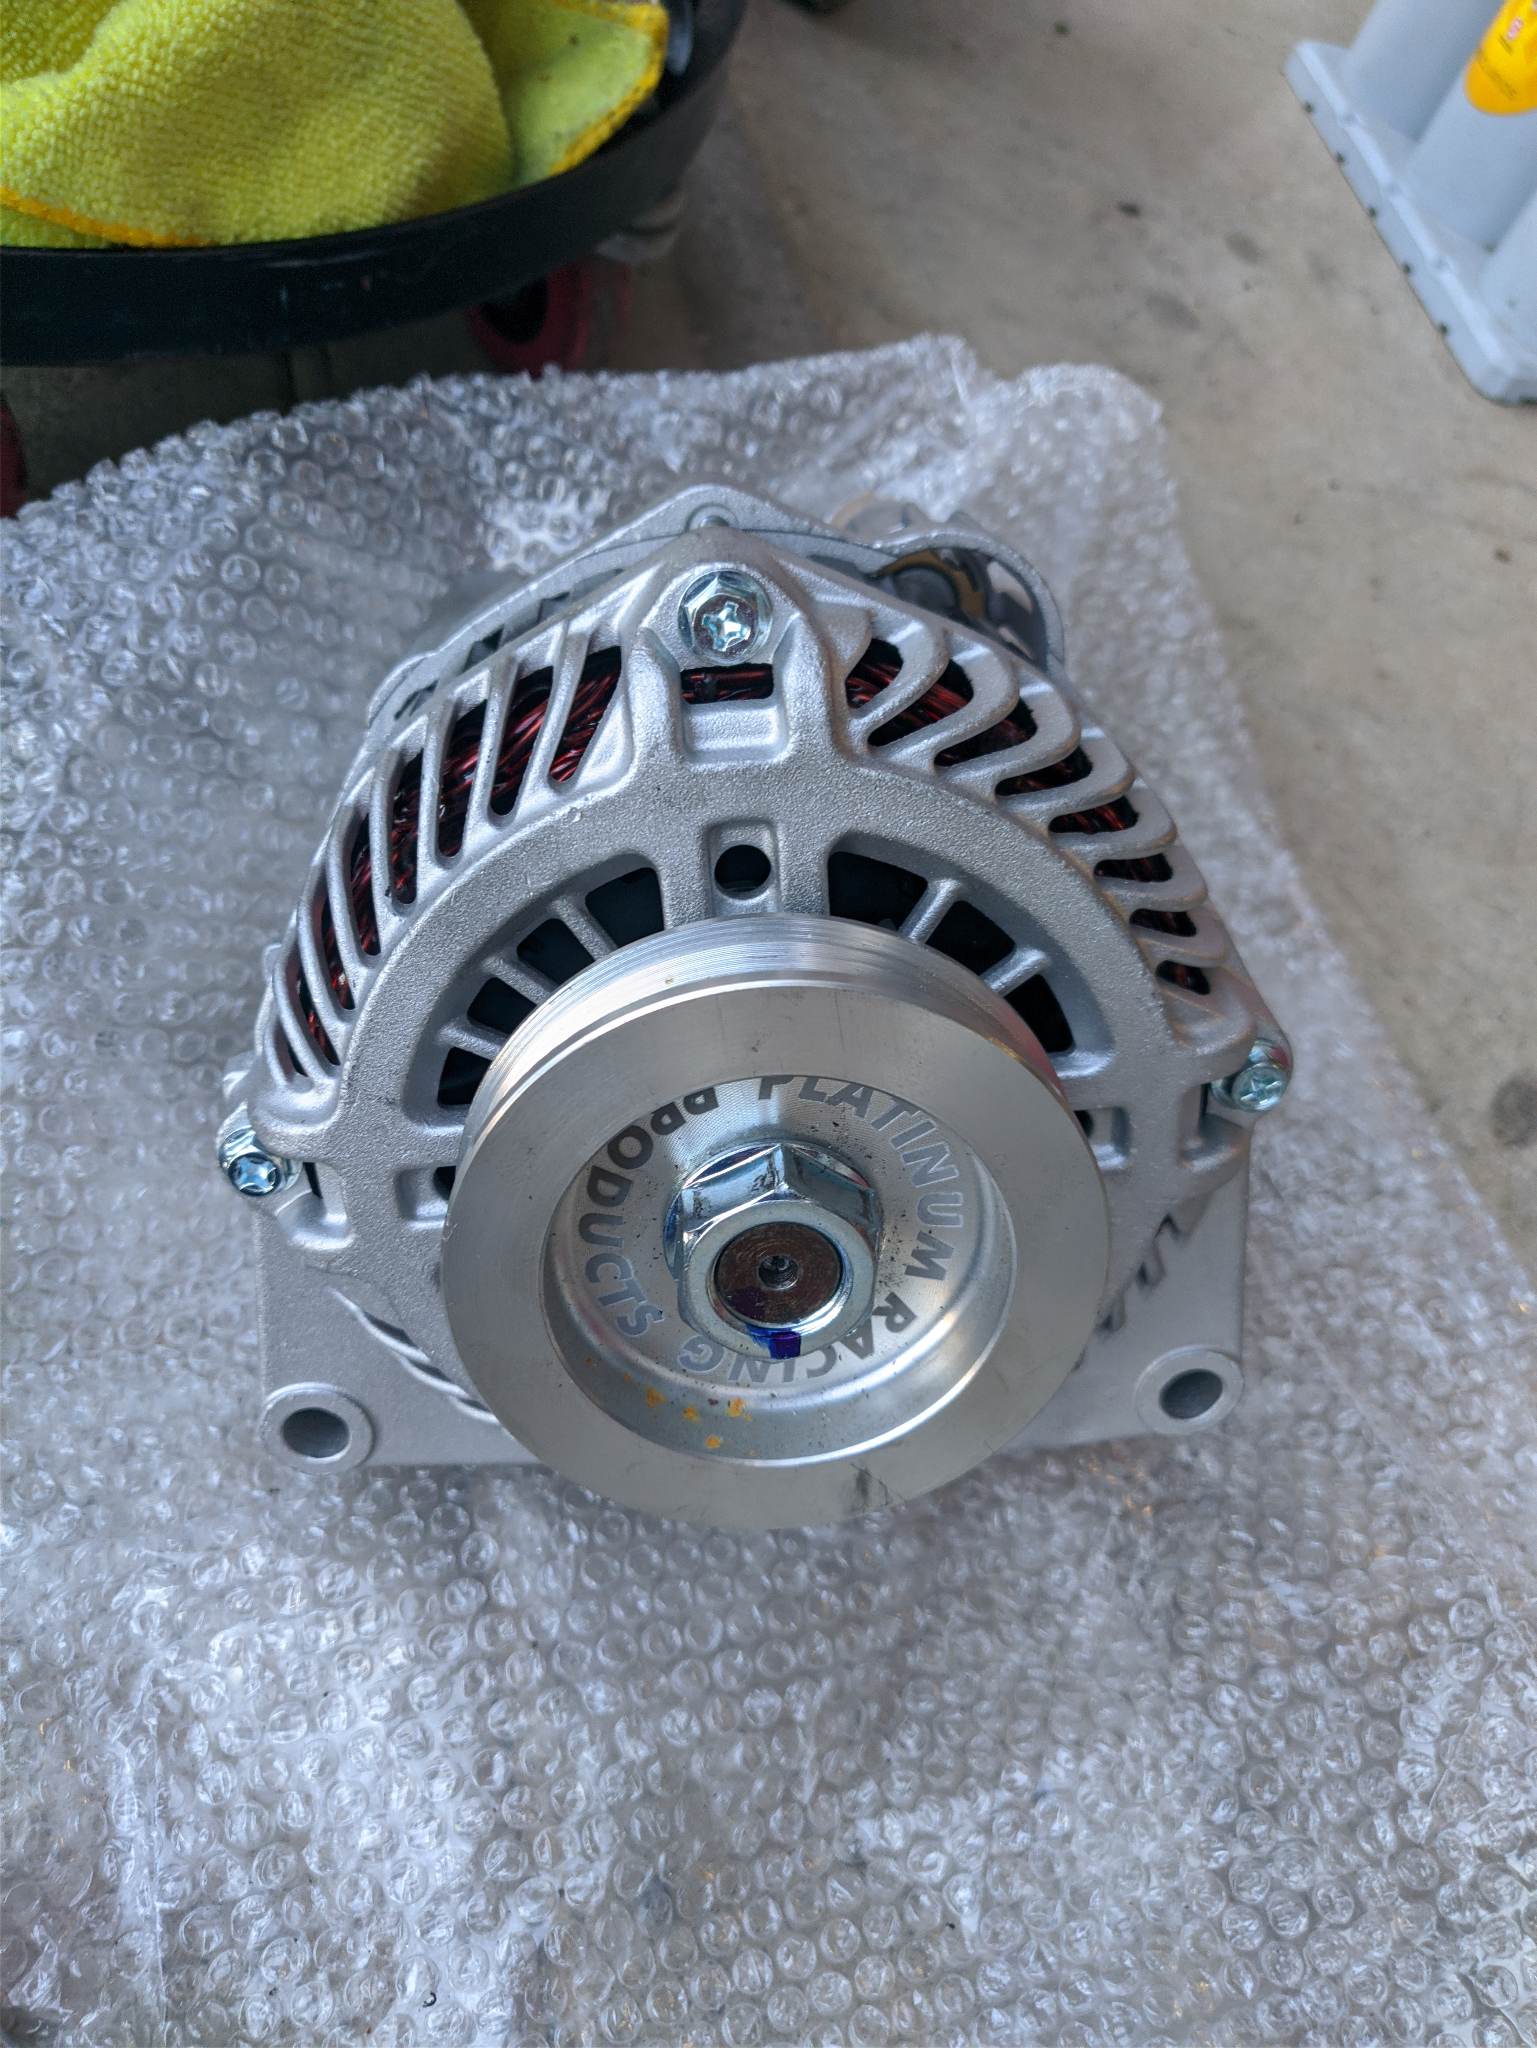
- PRP LS v8 alternator adapter kit
- V8 Alternator
- OEM timing tensioner and belt


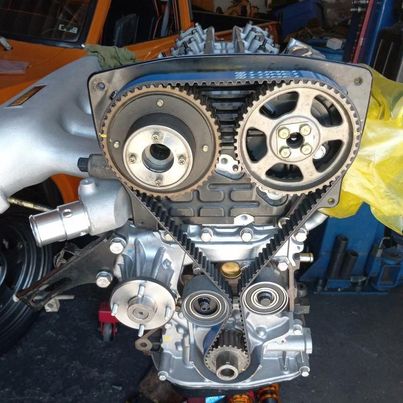
The head was also at the machine shop where it was all checked and cleaned.

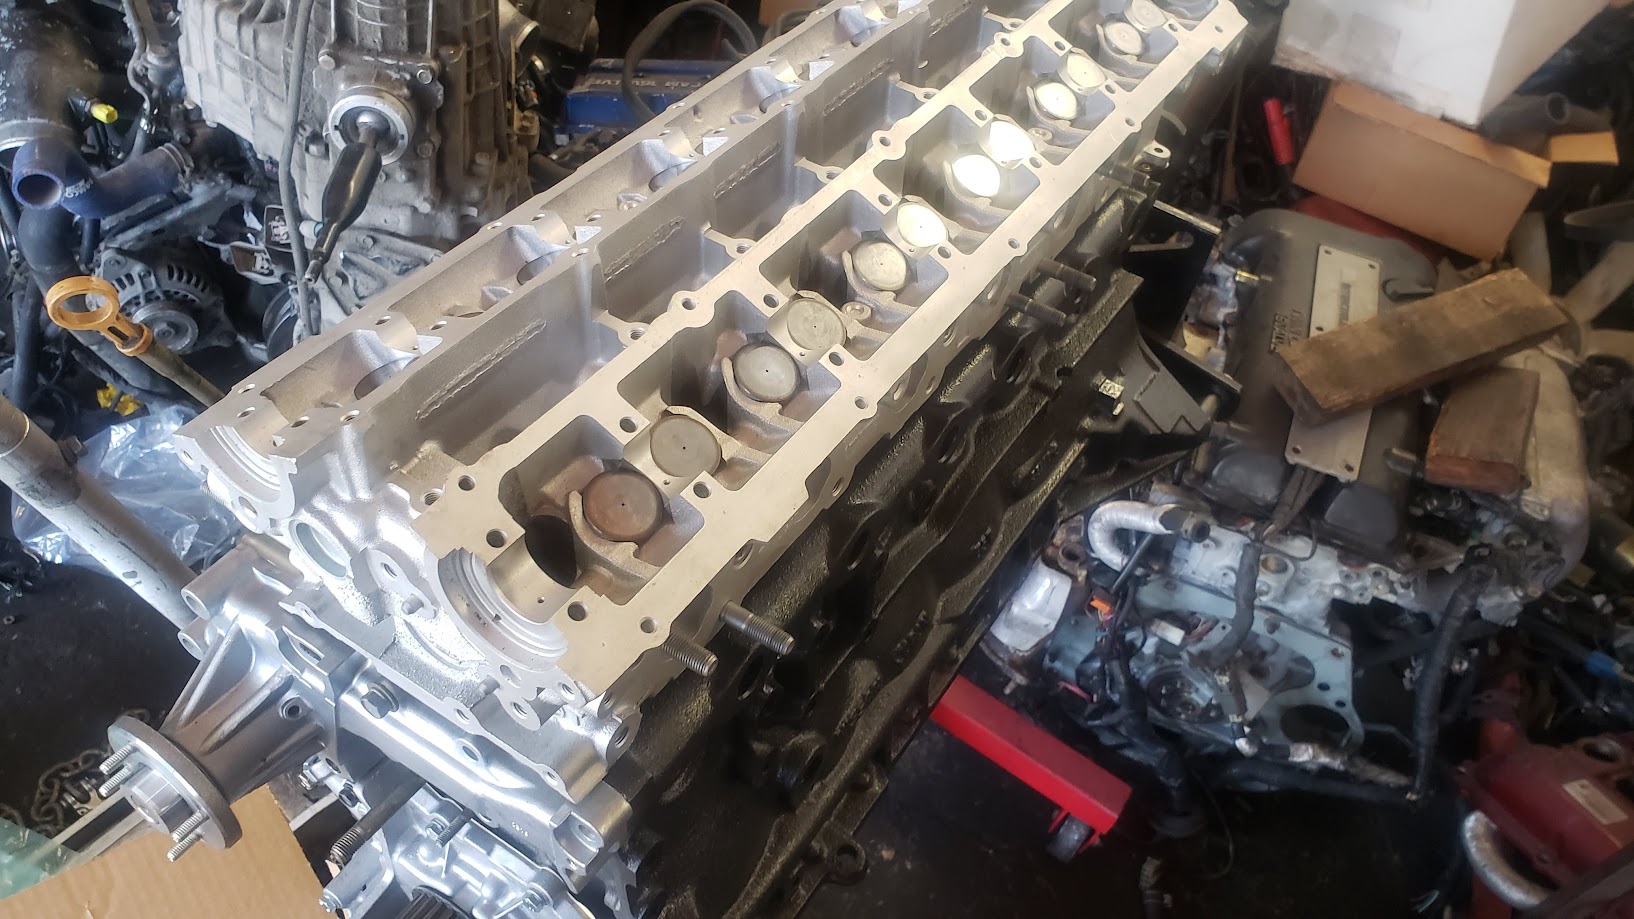
- Tomei valve springs and guides
- Tomei Poncams
- Exhaust manifold studs changed out
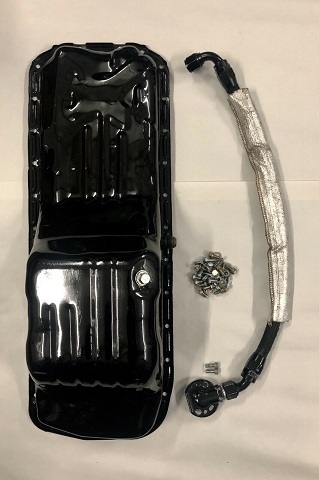
Addressing common RB engine issues
While I had the engine out, I wanted to do preventative maintenance. I considered many things, but since this mostly just to build a nice car, I decided to do some upgrades, but not to the extreme.
- Franklin Engineering head drain kit
- New oil pan with welded bung for drain kit
- Nitto extended crank collar (oil pump issues)
- Tomei oil restrictors

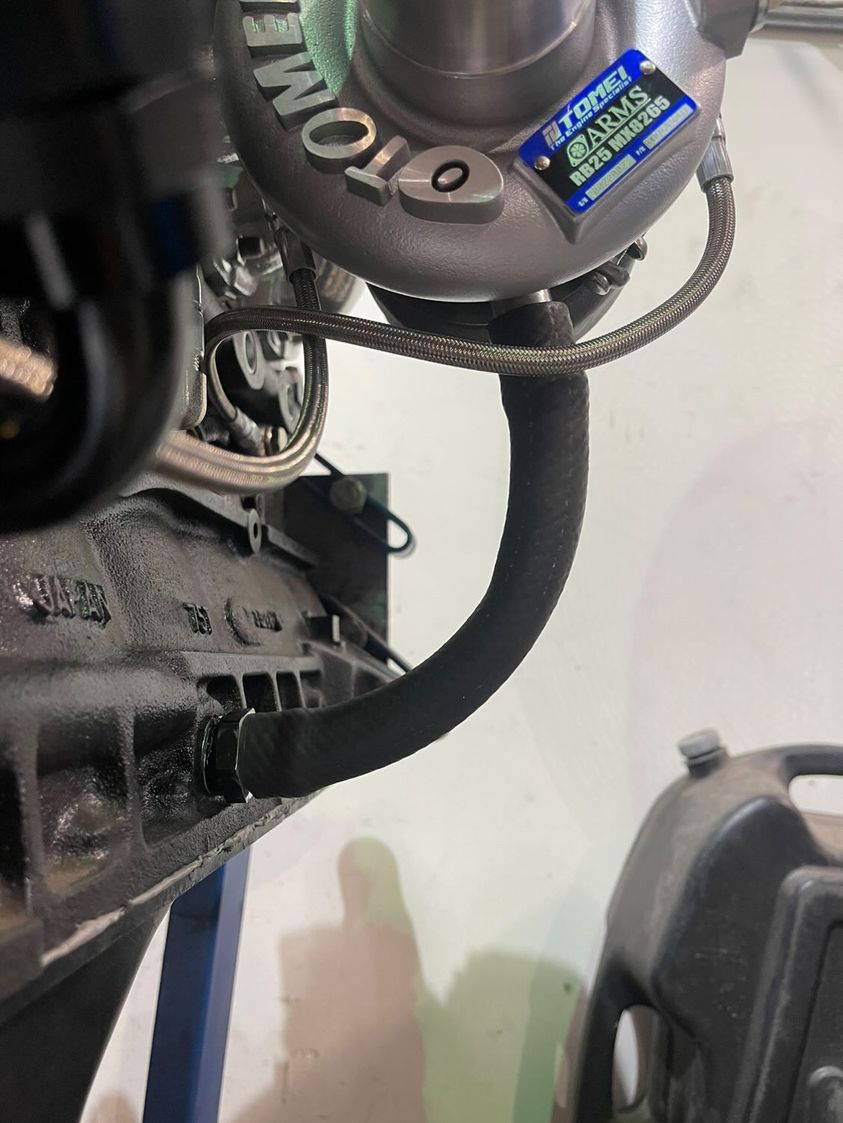
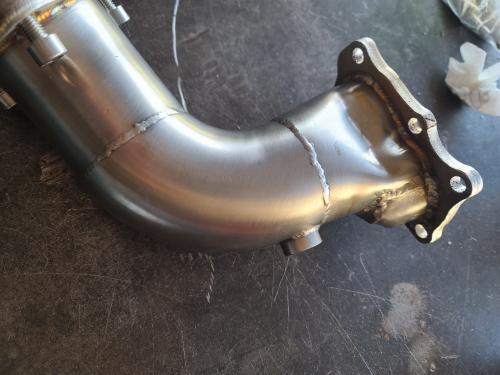
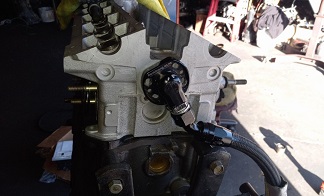
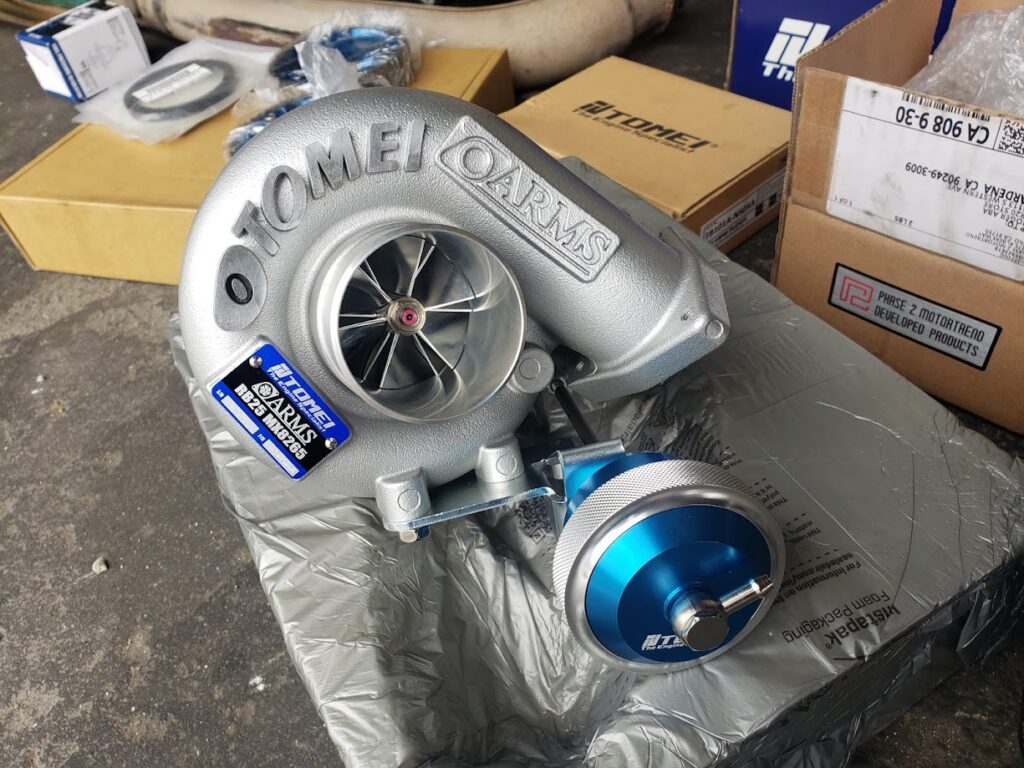
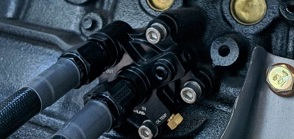
Turbo
The main components missing were the exhaust manifold and turbocharger. Originally, I wanted to do top mount and bigger sized turbo, but I needed the quality to match the price and during this time, I spent money on the engine. The manifold has to be made by a reputable company (which my personal choice would have been Future Fab’s expensive, but quality built manifold) and the same with the turbo if I went that route. I was talked out of it by the original builder saying many crack, but the original iron cast manifold won’t. If I used the original exhaust manifold, I will have to use Syko’s turbo elbow get over the steering shaft. Once everything started to come together, we found out the elbow and Tomei’s MX8265 turbo with internal wastegate had clearance issues.
- OEM RB25det iron cast exhaust manifold with Cerakote high temp ceramic coating
- Tomei MX 8265 turbocharger system
- Syko elbow (modified for internal wastegate clearance)
- Greddy SR20 down pipe
- ARP Turbo study exhaust housing studs
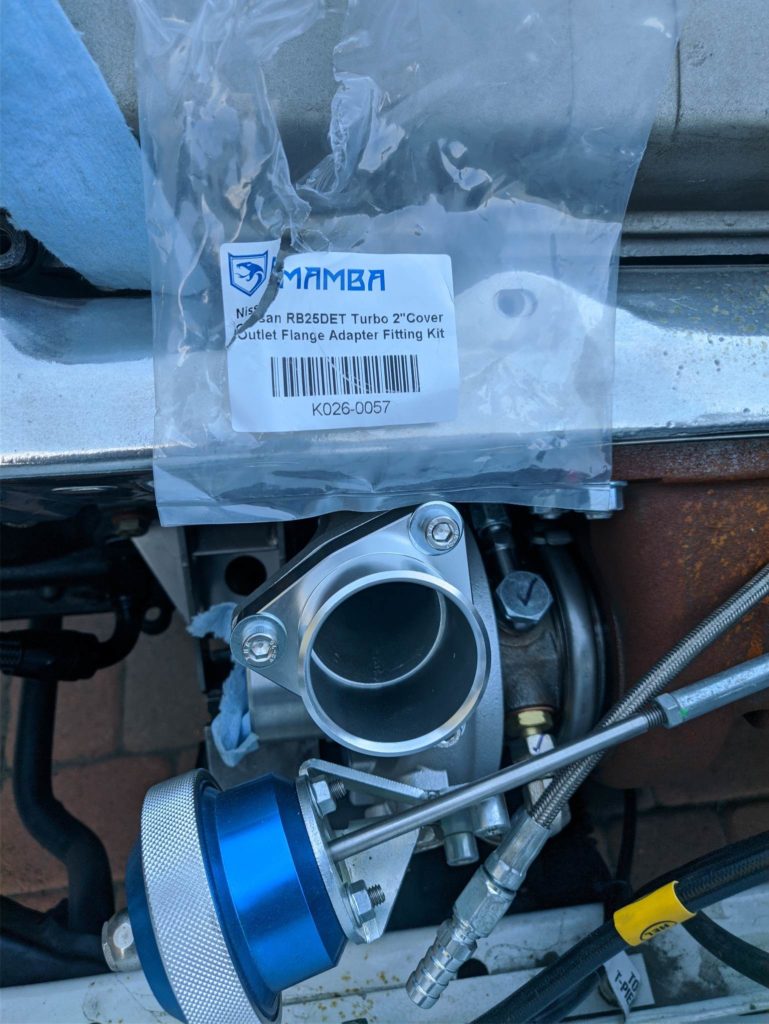
- Turbo compressor outlet flange adaptor
- HKS SSQV Black edition blow off valve
- Mamba 2″outlet flange
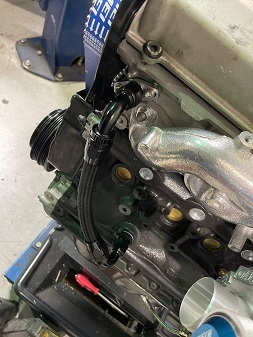
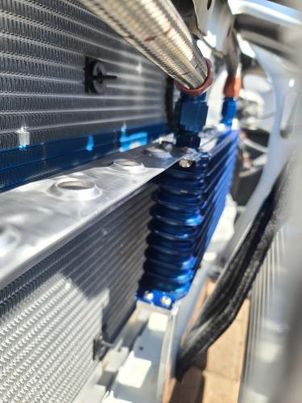
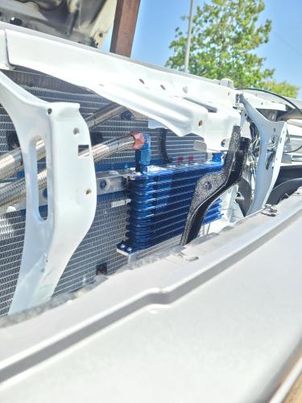
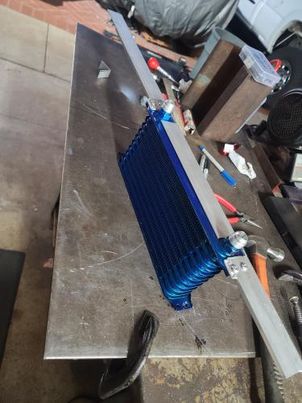
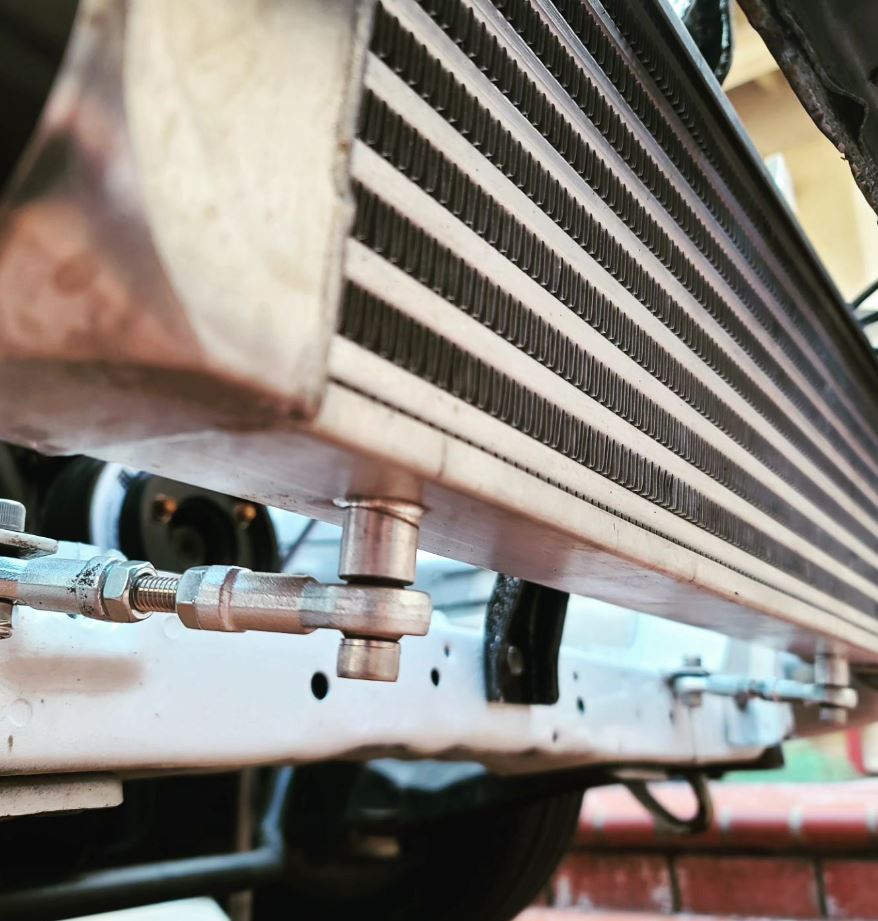
Oil components
I got a new N1 oil pump and new gear. One of my friends in Japan gave me his old Trust Oil cooler. To complete the circuit, I got the Taarks oil block adaptor, Grex oil filter relocator and lines. I also had to have a custom mount set up.
- Trust oil cooler
- Taarks oil block
- Grex oil filter mount
- Thrice engineering mounts
- Franklin Performance head drain kit
- VCT drain kit


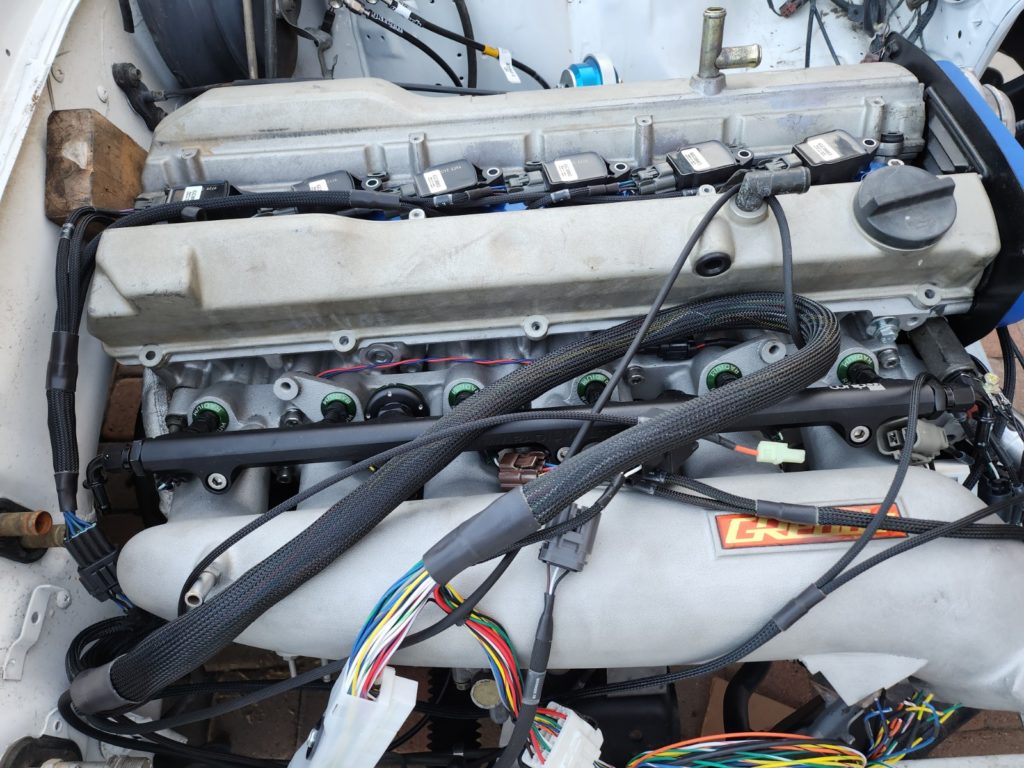
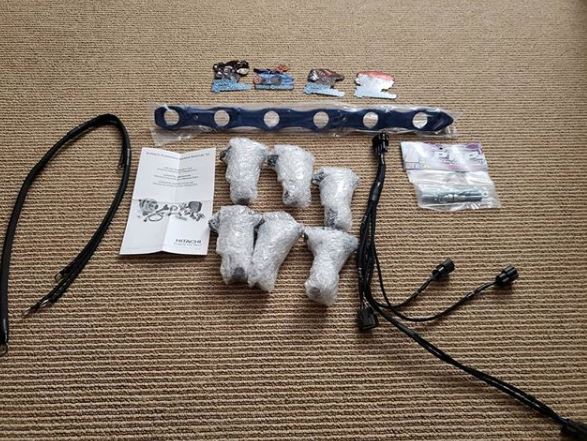
Coil packs
I decided to go with R35 Hitachi coil packs. I also got the bracket to hold them down as well as the harness for them.
- OEM Hitachi R35 coil packs (set of 6)
- PRP coil pack bracket
- Wiring Specialties harness
Engine Harness
While I was originally going to use the harness that they made during the Project Magazine build, there were some parts that previous owner/owners did some of their own splicing. I decided to get a new harness as it also offered a plug in play option for the Link ECU. I also had to get a few add ons. The other wiring in the engine bay is fine, but I will need to make a harness for the zenki headlights.
- Wiring Specialties GTR Pro harness
- Wiring Specialties IAT harness add on
- Wiring Specialties R35 coil pack harness
- Wiring Specialties 5 point ground harness
- Dual electric fan harness
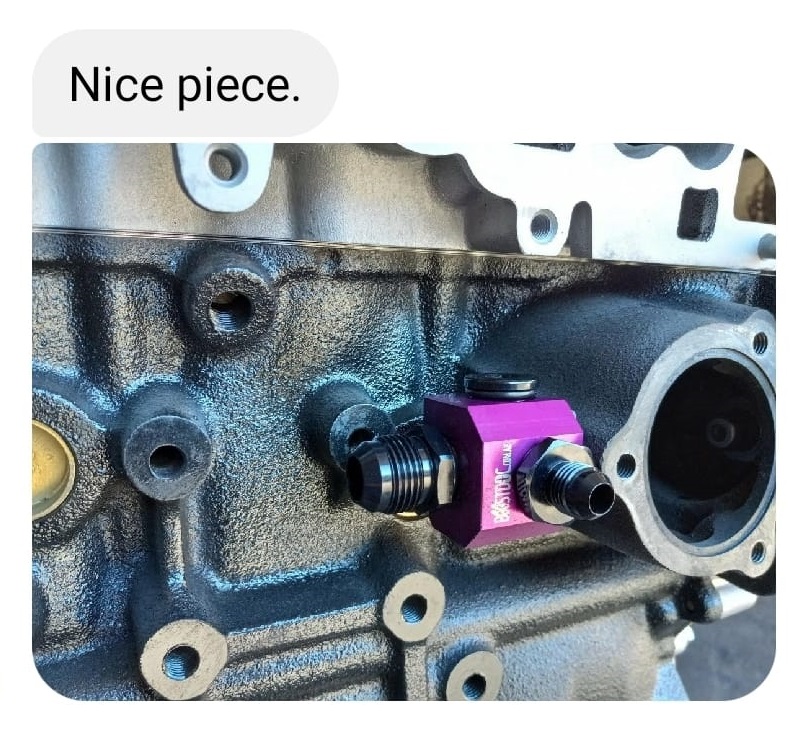
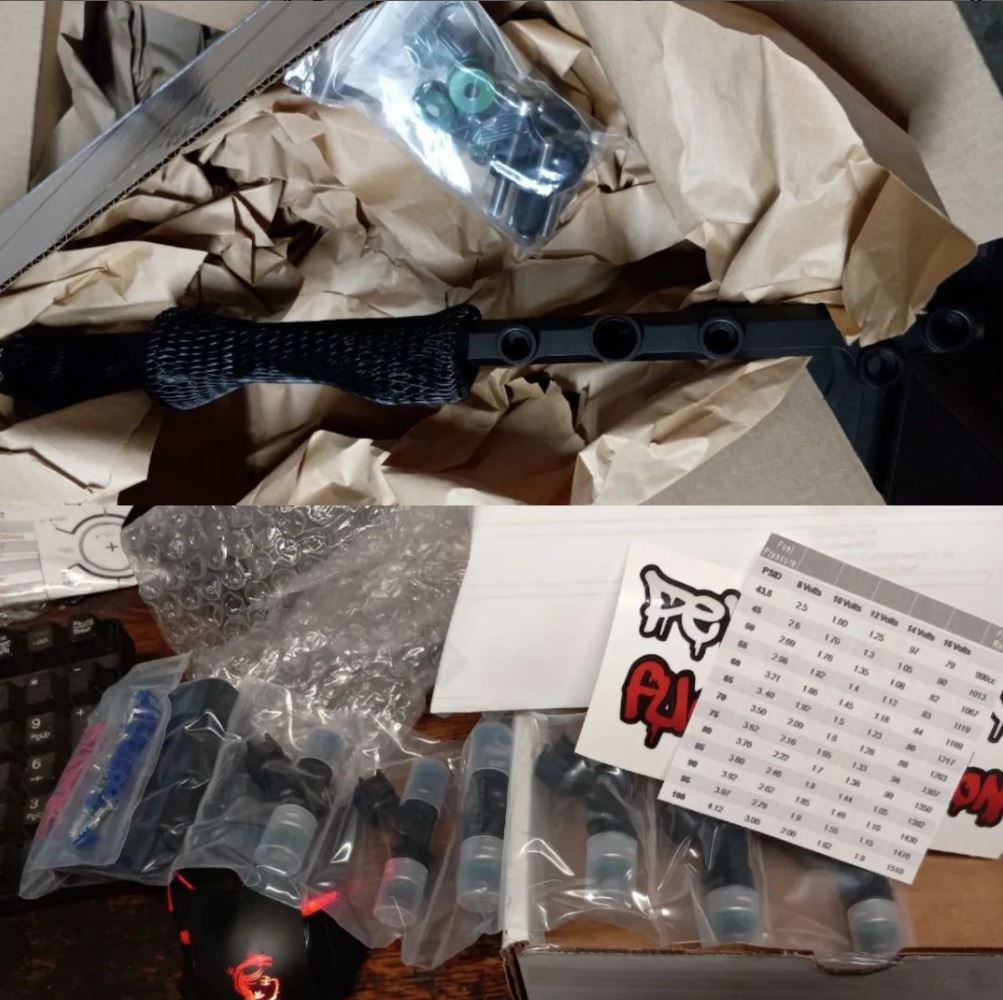
Fuel system
While I was trying to get a Phase 2 Motortrend rail and injectors directly, it failed. P2M and the original builder, were never able to provide it. I eventually went with a Radium top feed fuel rail with new Bosch injectors. I will probably upgrade the lines to Vibrant fuel lines and a Radium inline fuel filter.
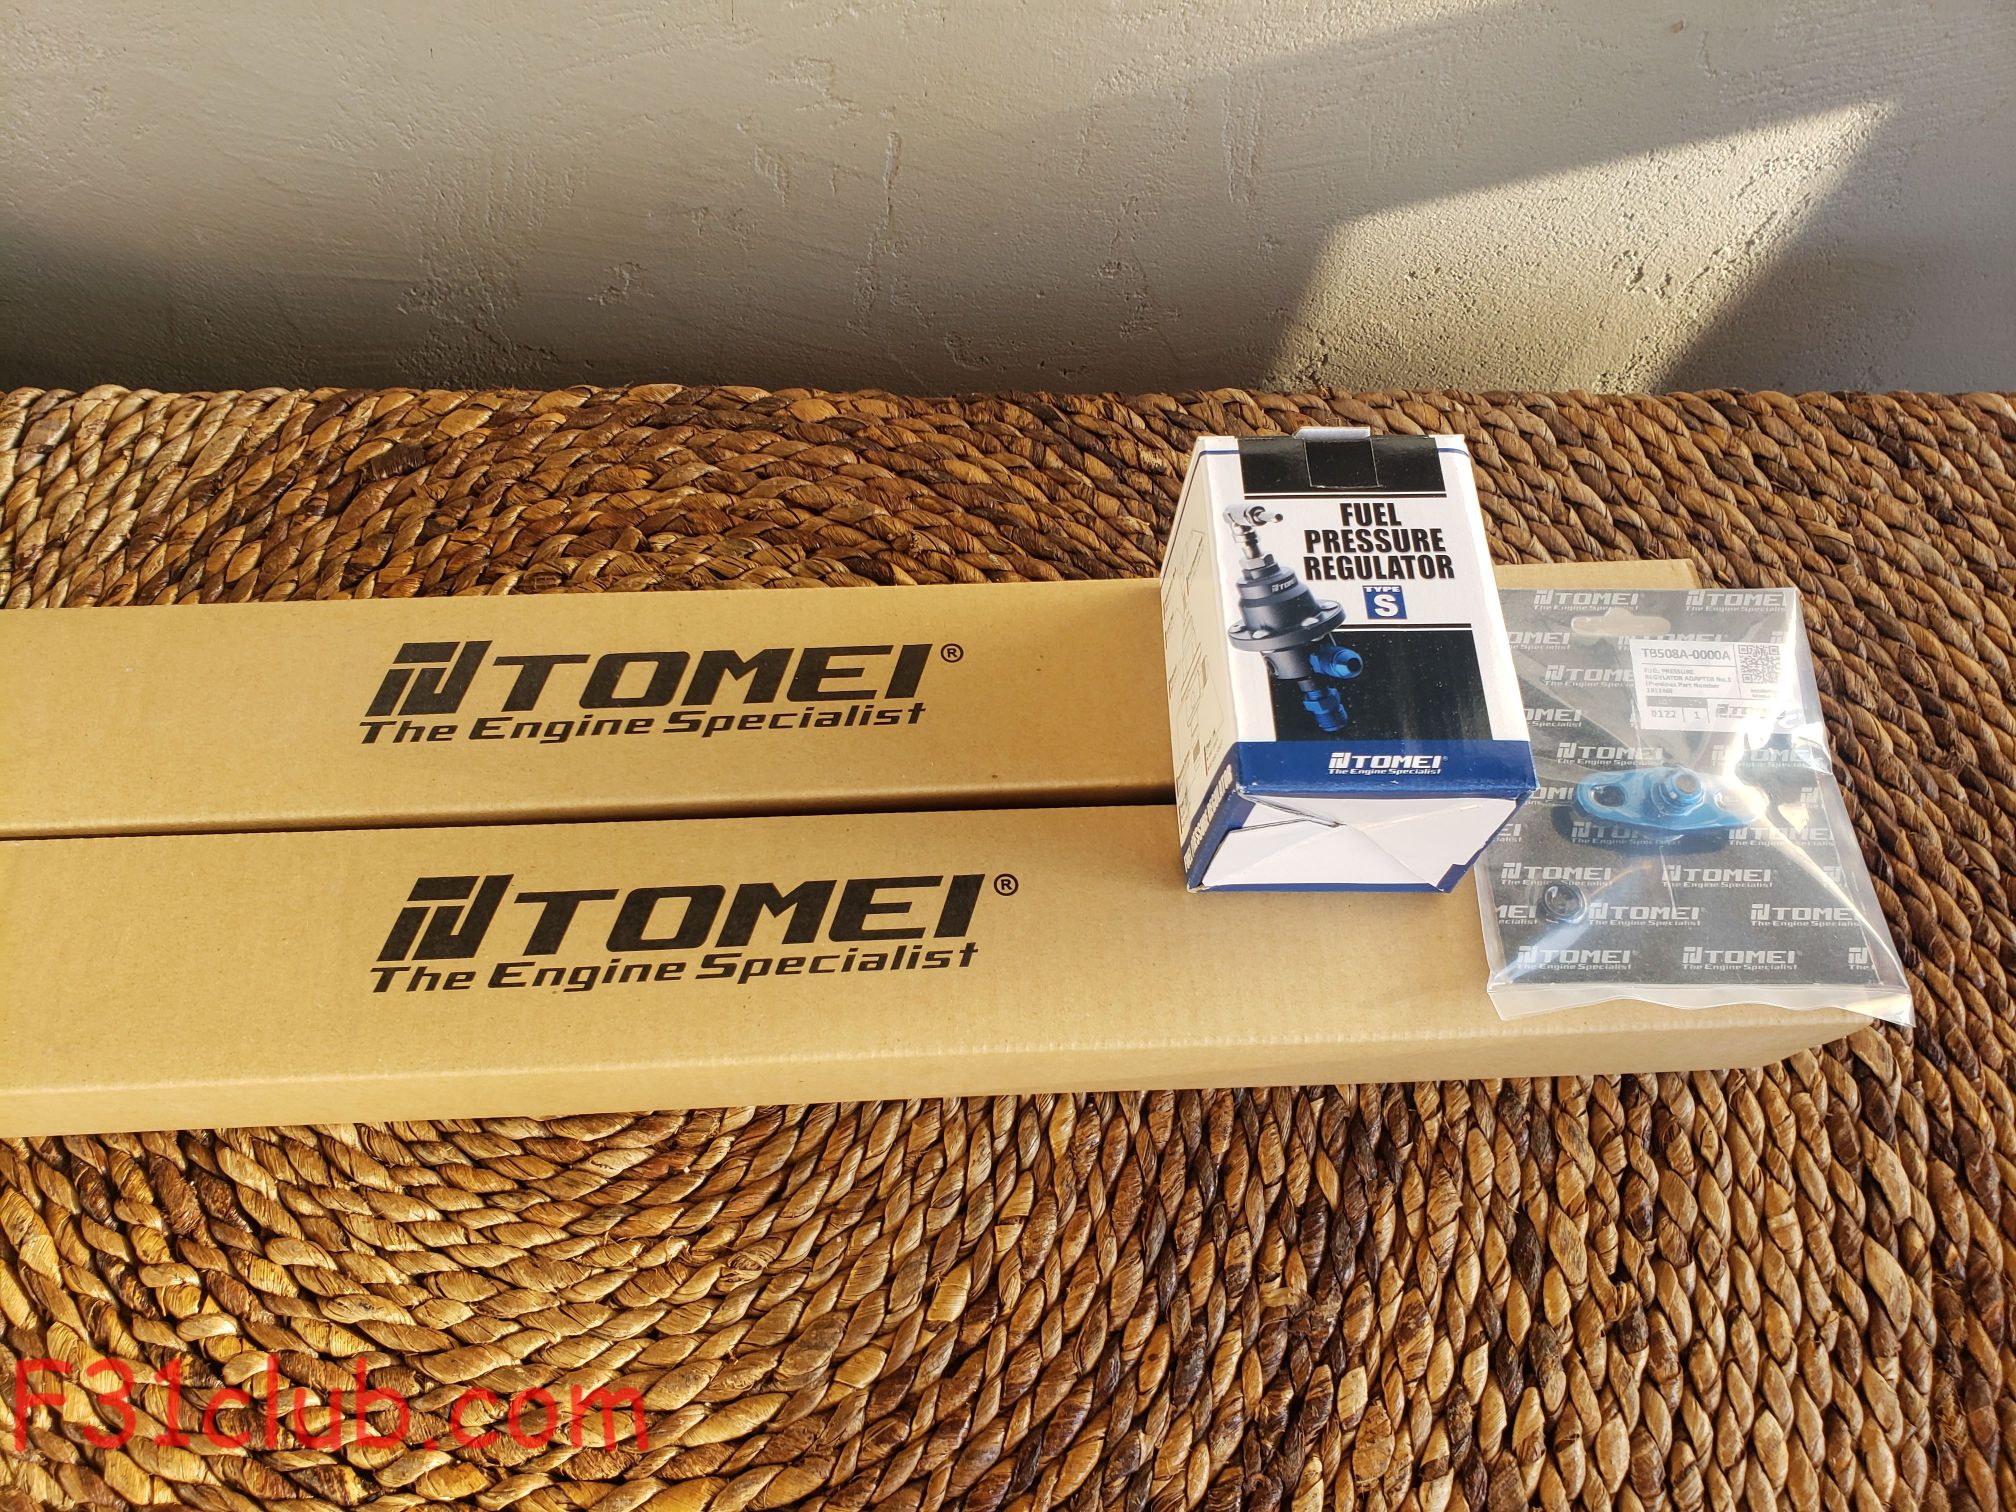
- Tomei fuel pressure regulator
- Tomei fuel gauge
- Radium fuel rail
- Bosch 1000cc injectors
- New fuel lines
- Radium Fuel Pulse Dampener kit (20-0176)
- 8an ORB fitting
- Earls 759156erl 6an 90 degree to 5/16 Vapor guard hose fitting.
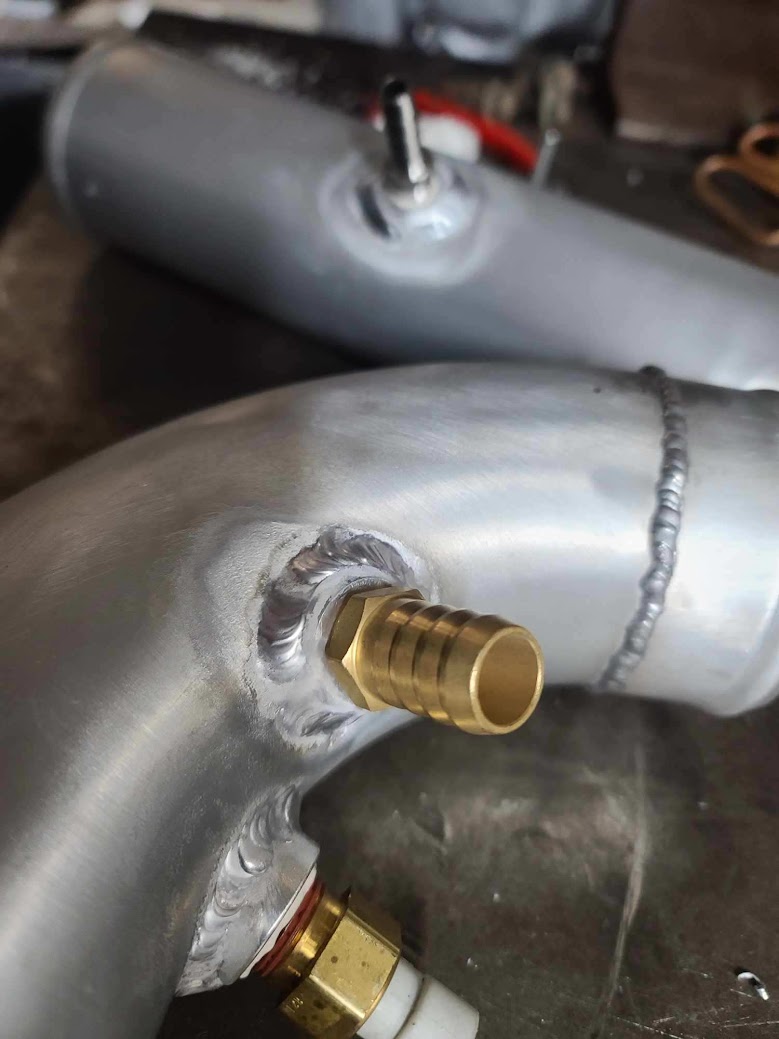
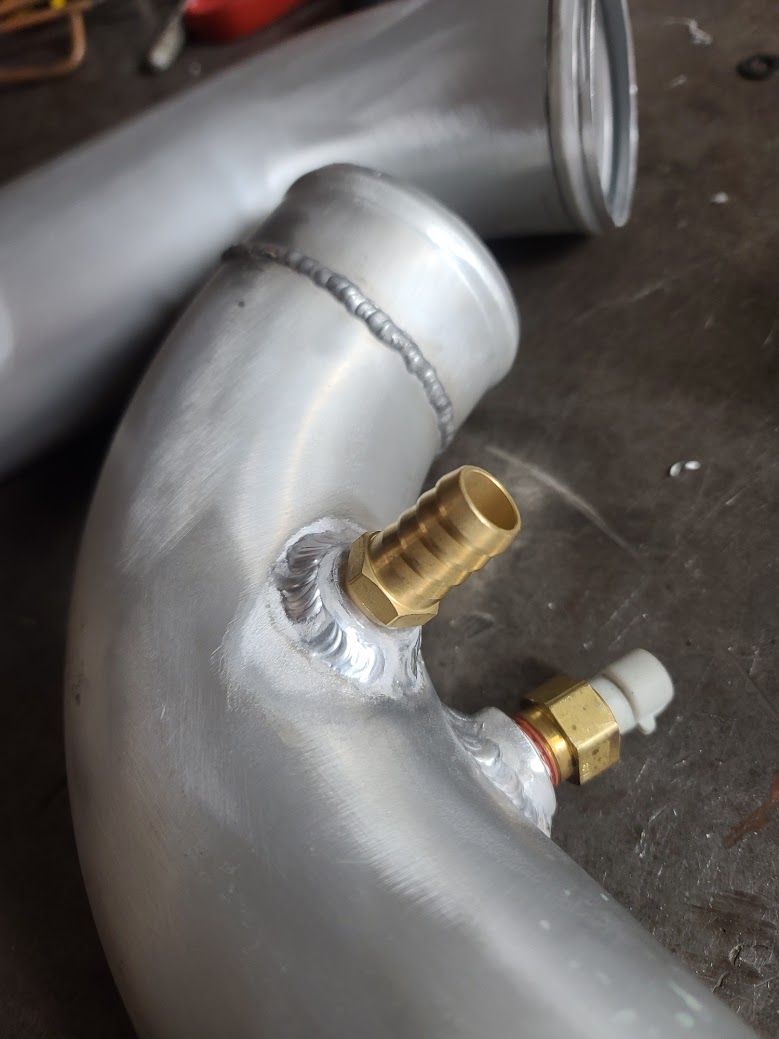
Intercooler system
Originally, I was going to use the original intercooler from the magazine build, but the shop of the original builder threw it away (without telling me). The piping I was also going to use, but those were also thrown away. While they were rough, I could have salvaged some of them. Now I had to get a universal kit (as there isn’t anything for the M30), but I also had to get the piping customized since we were going to reroute the piping. I had Thrice Engineering do the work.
- Universal intercooler kit with smaller size intercooler
- various sizes of reducers and connectors
- Custom piping with bung, barbs, and blow off valve mount
- Custom brackets for intercooler


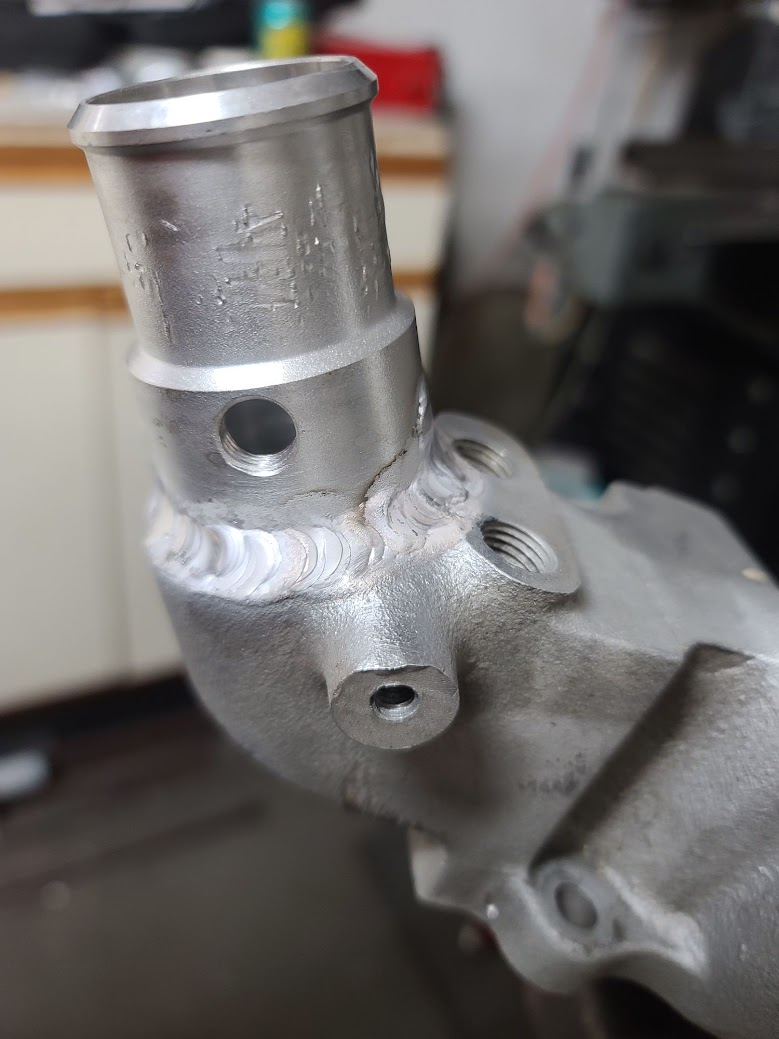
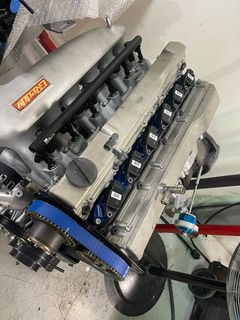
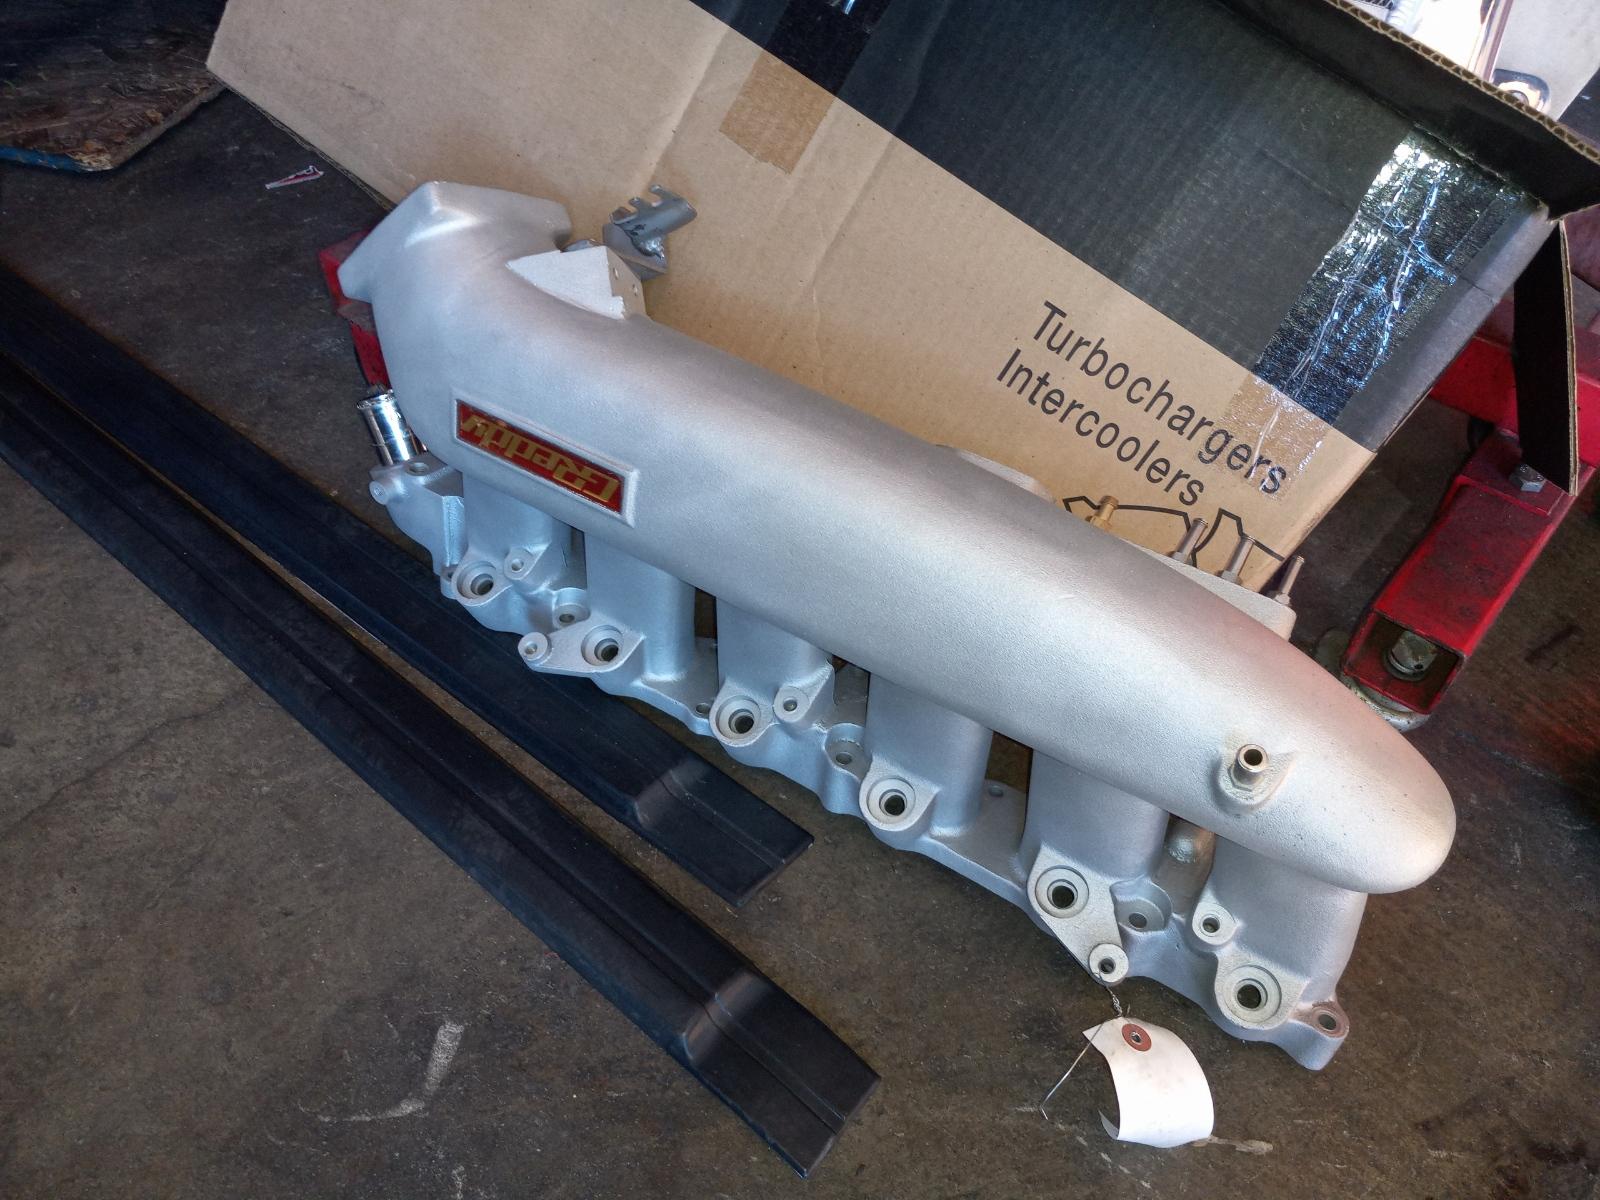
Intake system
Probably the biggest part of this was getting an intake manifold. The original Greddy was being used. So I had to get another. The issue with the one I got was that the water inlet insert was rusted out. These were pressed in and were not sold separately by Greddy. I had to get one from Boost Doc in Australia. The fitting was loose and eventually, it had to be welded in.
- Greddy Intake manifold
- Cometic intake manifold gasket
- New intake manifold bolts
- Q45 Throttle body
- HKS Super Power intake with green filter
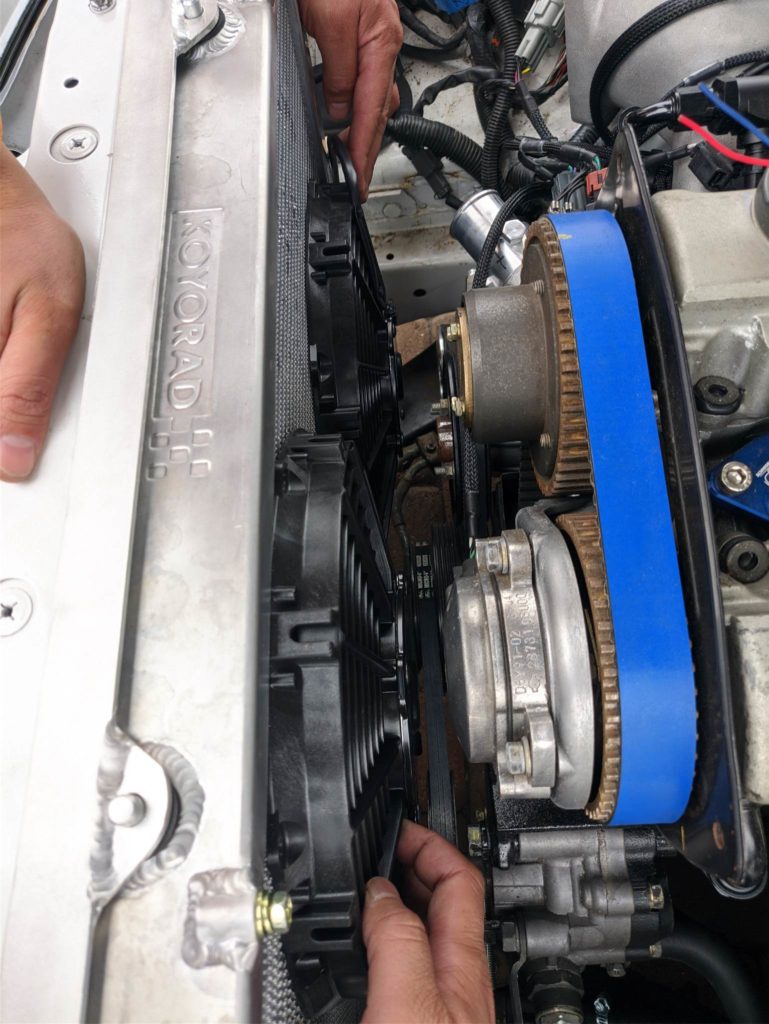
Cooling System
I had to update and upgrade the system. There were a lot of ideas of keeping OEM items, but like everything else, I had to upgrade. Getting a better radiator, which was thicker and how close it was to the RB engine, I had to go with slim electric fans
- Koyorad aluminum N-Flo dual pass radiator
- Koyorad radiator cap
- SPAL Dual electric fans
Bolts/hardware
The engine came to me in pieces, so boxes of parts and bolts… I figure that if I am going to upgrade everything, I will need to get new bolts for everything. Anything that ARP offered for the RB25det, I got. Other items that needed bolts, I got from Raw Brokerage/Nubis.
- ARP Head studs
- ARP Main bearing studs
- ARP connecting rod bolts
- ARP timing/tensioner bolt kit
- ARP turbo housing studs
- ARP Pressure plate bolts
- ARP flywheel bolts
- OEM slave cylinder bolts
- EPP bell housing bolts
- Greddy Intake manifold bolts
- Nubis rear main seal bolt kit
- Nubis Water pump bolt kit
- Nubis oil pan bolt kit
- Nubis Exhaust manifold studs
- Nubis engine bolt kit
- Nubis coil pack kit
- Nubis power steering bolt kit
- Nubis motor mount bolt kit
- Nubis oil pick bolt kit
- Zspec Upper timing cover backing plate bolts
- Zspec Upper timing bolts (long)
- Lower timing cover shoulder bolts
- OEM crank bolt
- OEM Power steering bolt
- OEM Starter bolts
- OEM cam cap bolts and washers
- OEM thermostat housing bolt kit
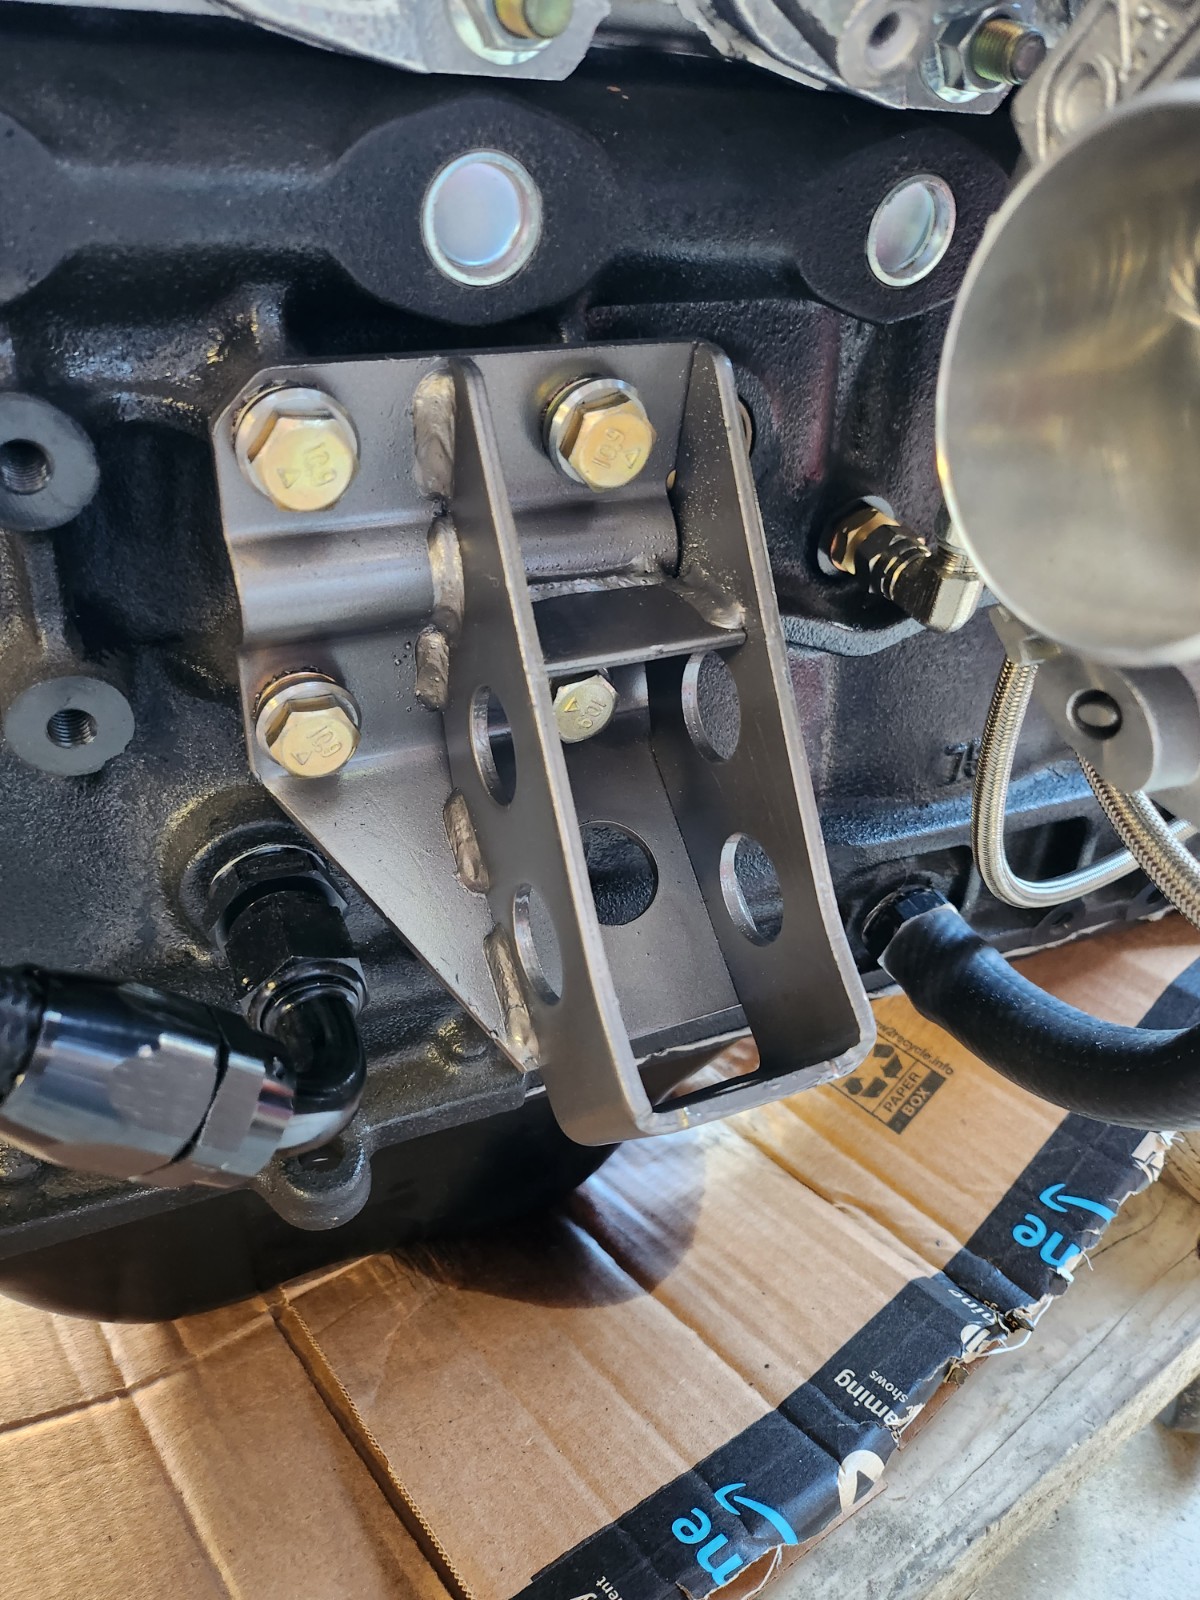
Mounting
This car was built in 2009, when custom welding wasn’t as common and research into what worked was also limited.. especially to rare cars. Koji took a chance on getting an R31 subframe from Australia and brought it state side. That was how they were able to mount the RB engine in the M30. Additionally, the transmission had to have a custom mount made as well.
I also got new Isolators for the engine.
I also got RB engine brackets

Transmission (FS5R30A)
There wasn’t a transmission when I got the car, so SR20 store got me one, but it was missing pieces. I didn’t realize it until we started getting it ready. Items I didn’t realize were missing. I was also told this transmission was good, but I’m leaning towards getting it rebuilt once the car is a better stage. Everything else has been, so might as well.
Rebuild info –
- rebuild kit – seals, gears and syncros
- Transmission is a PUSH RB25DET (bulkier than RB20’s).
- Nismo Pressure plate – 30210-RS245
- Nismo lightened Flywheel – 12310-RSR21
- Nismo clutch (but needed to be replaced)
- Custom transmission bracket (from original magazine build)
- Z1 clutch (240mm) – to replace Nismo clutch
- ARP Pressure Plate bolts kit – 102-2201
- ARP Fly Wheel bolts kit – 102-2801
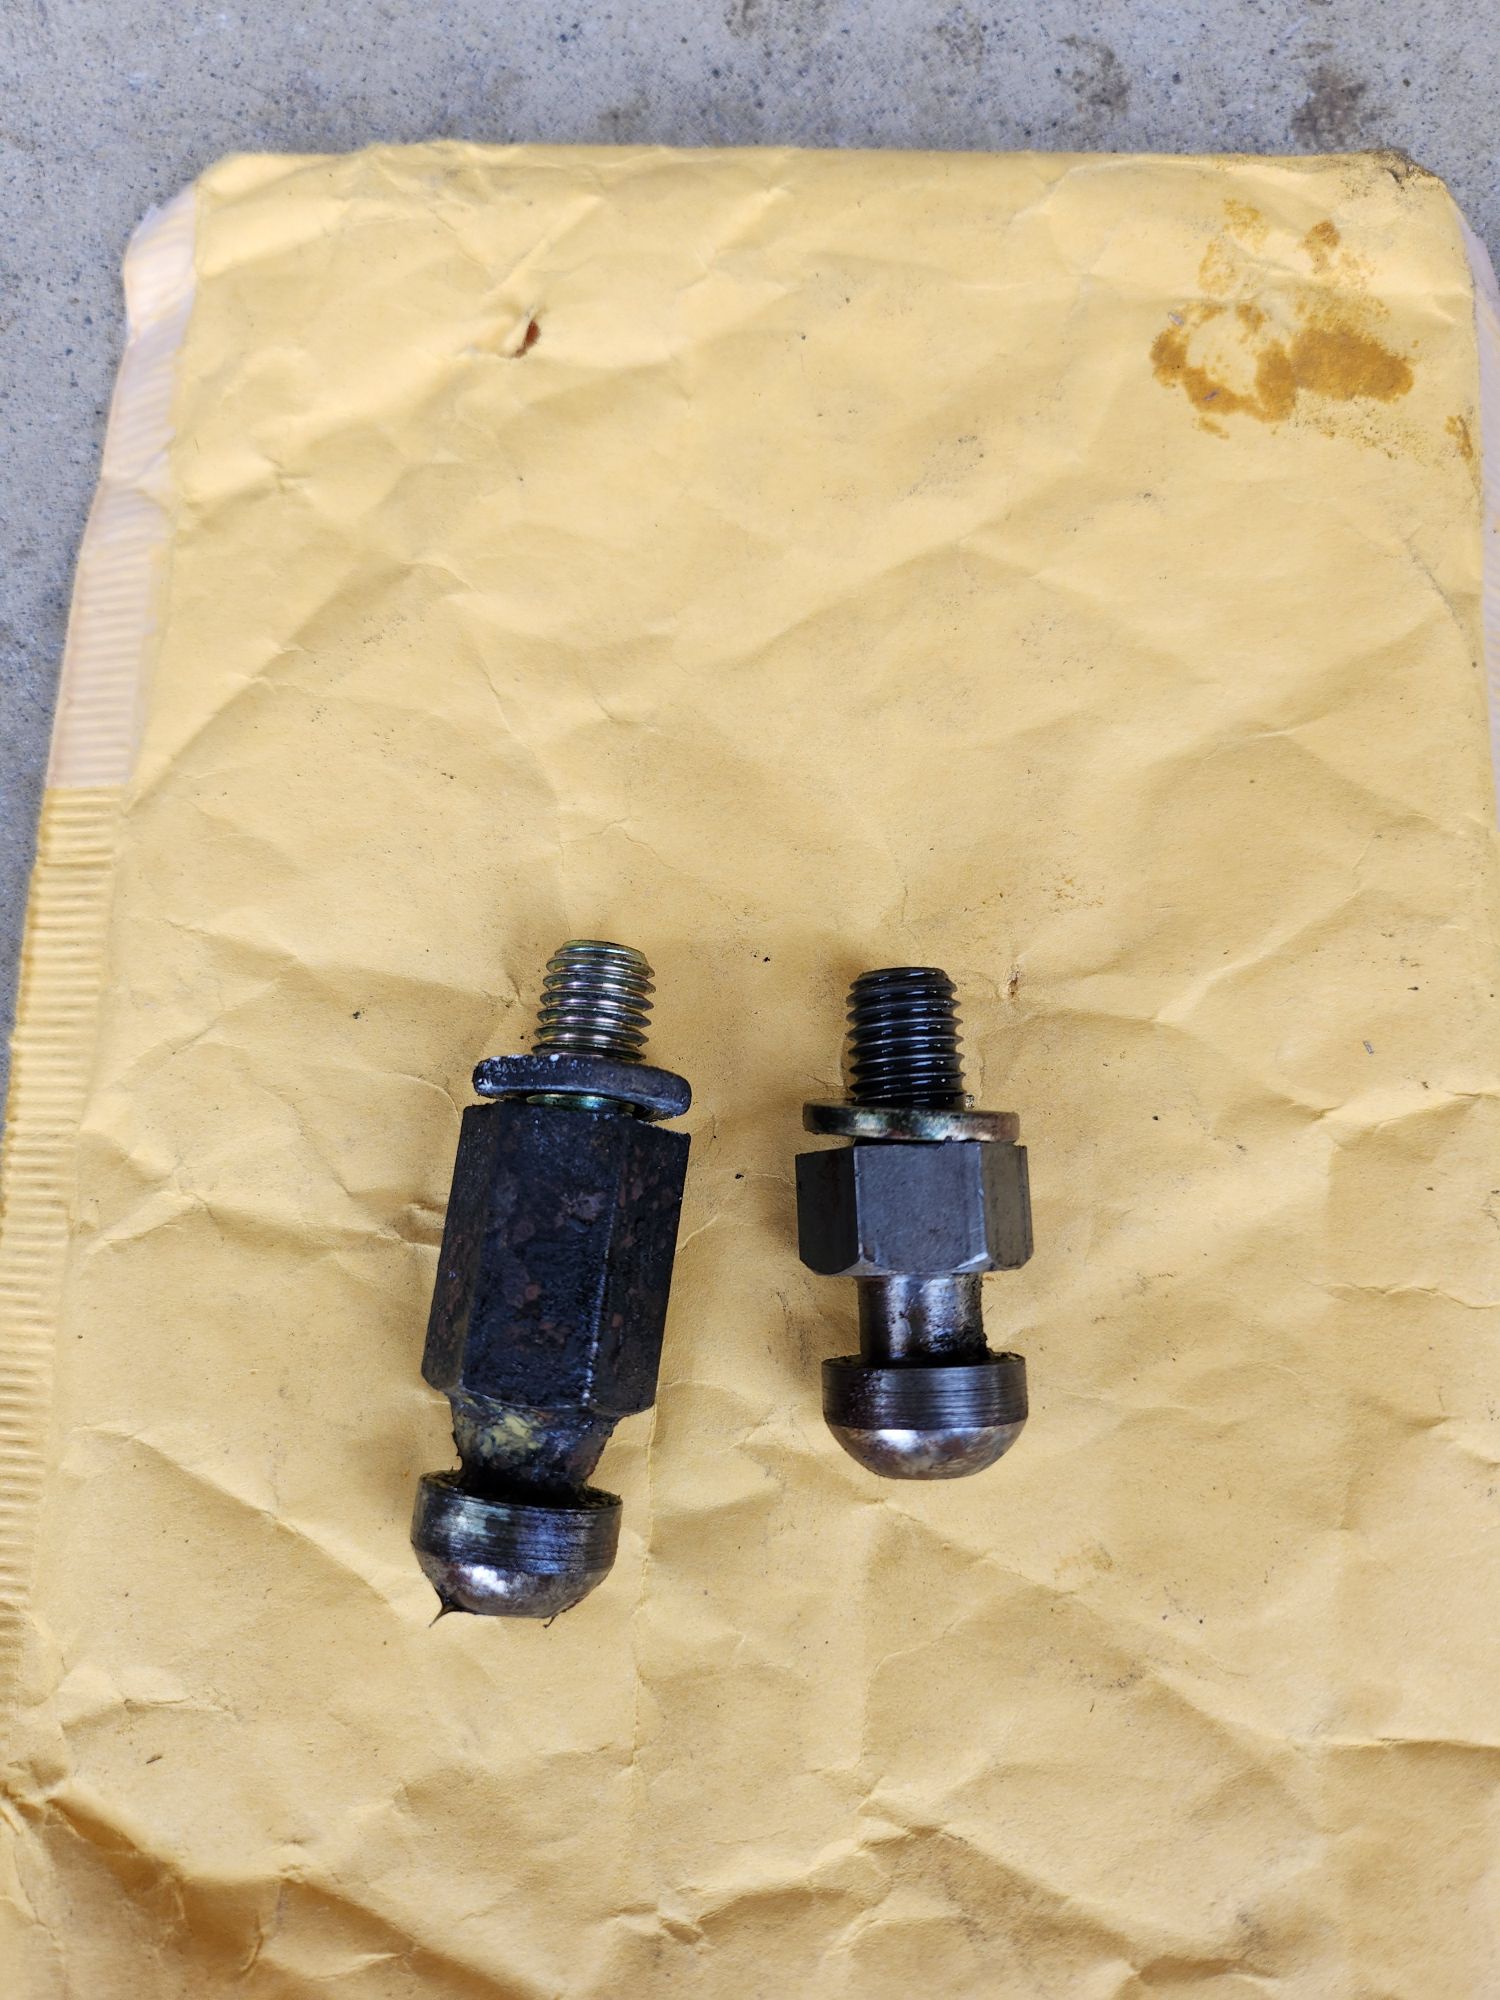
- Pilot bushing – 32202-B950A
- RB25det Clutch Slave Cylinder – 30620-21U23
- Slave cylinder bolts – 08121-02528
- Clutch fork – 30531-CD000
- Throw out bearing retainer clip – 30514-CD000
- Clutch fork retainer spring – 30534-66300
- Clutch fork dust boot – 30542-12U00
- Koyo throw out bearing – 30502-21000
- Clutch release bearing sleeve – 30501-S0284
- RB25det engine to transmission plate 30411-21U00
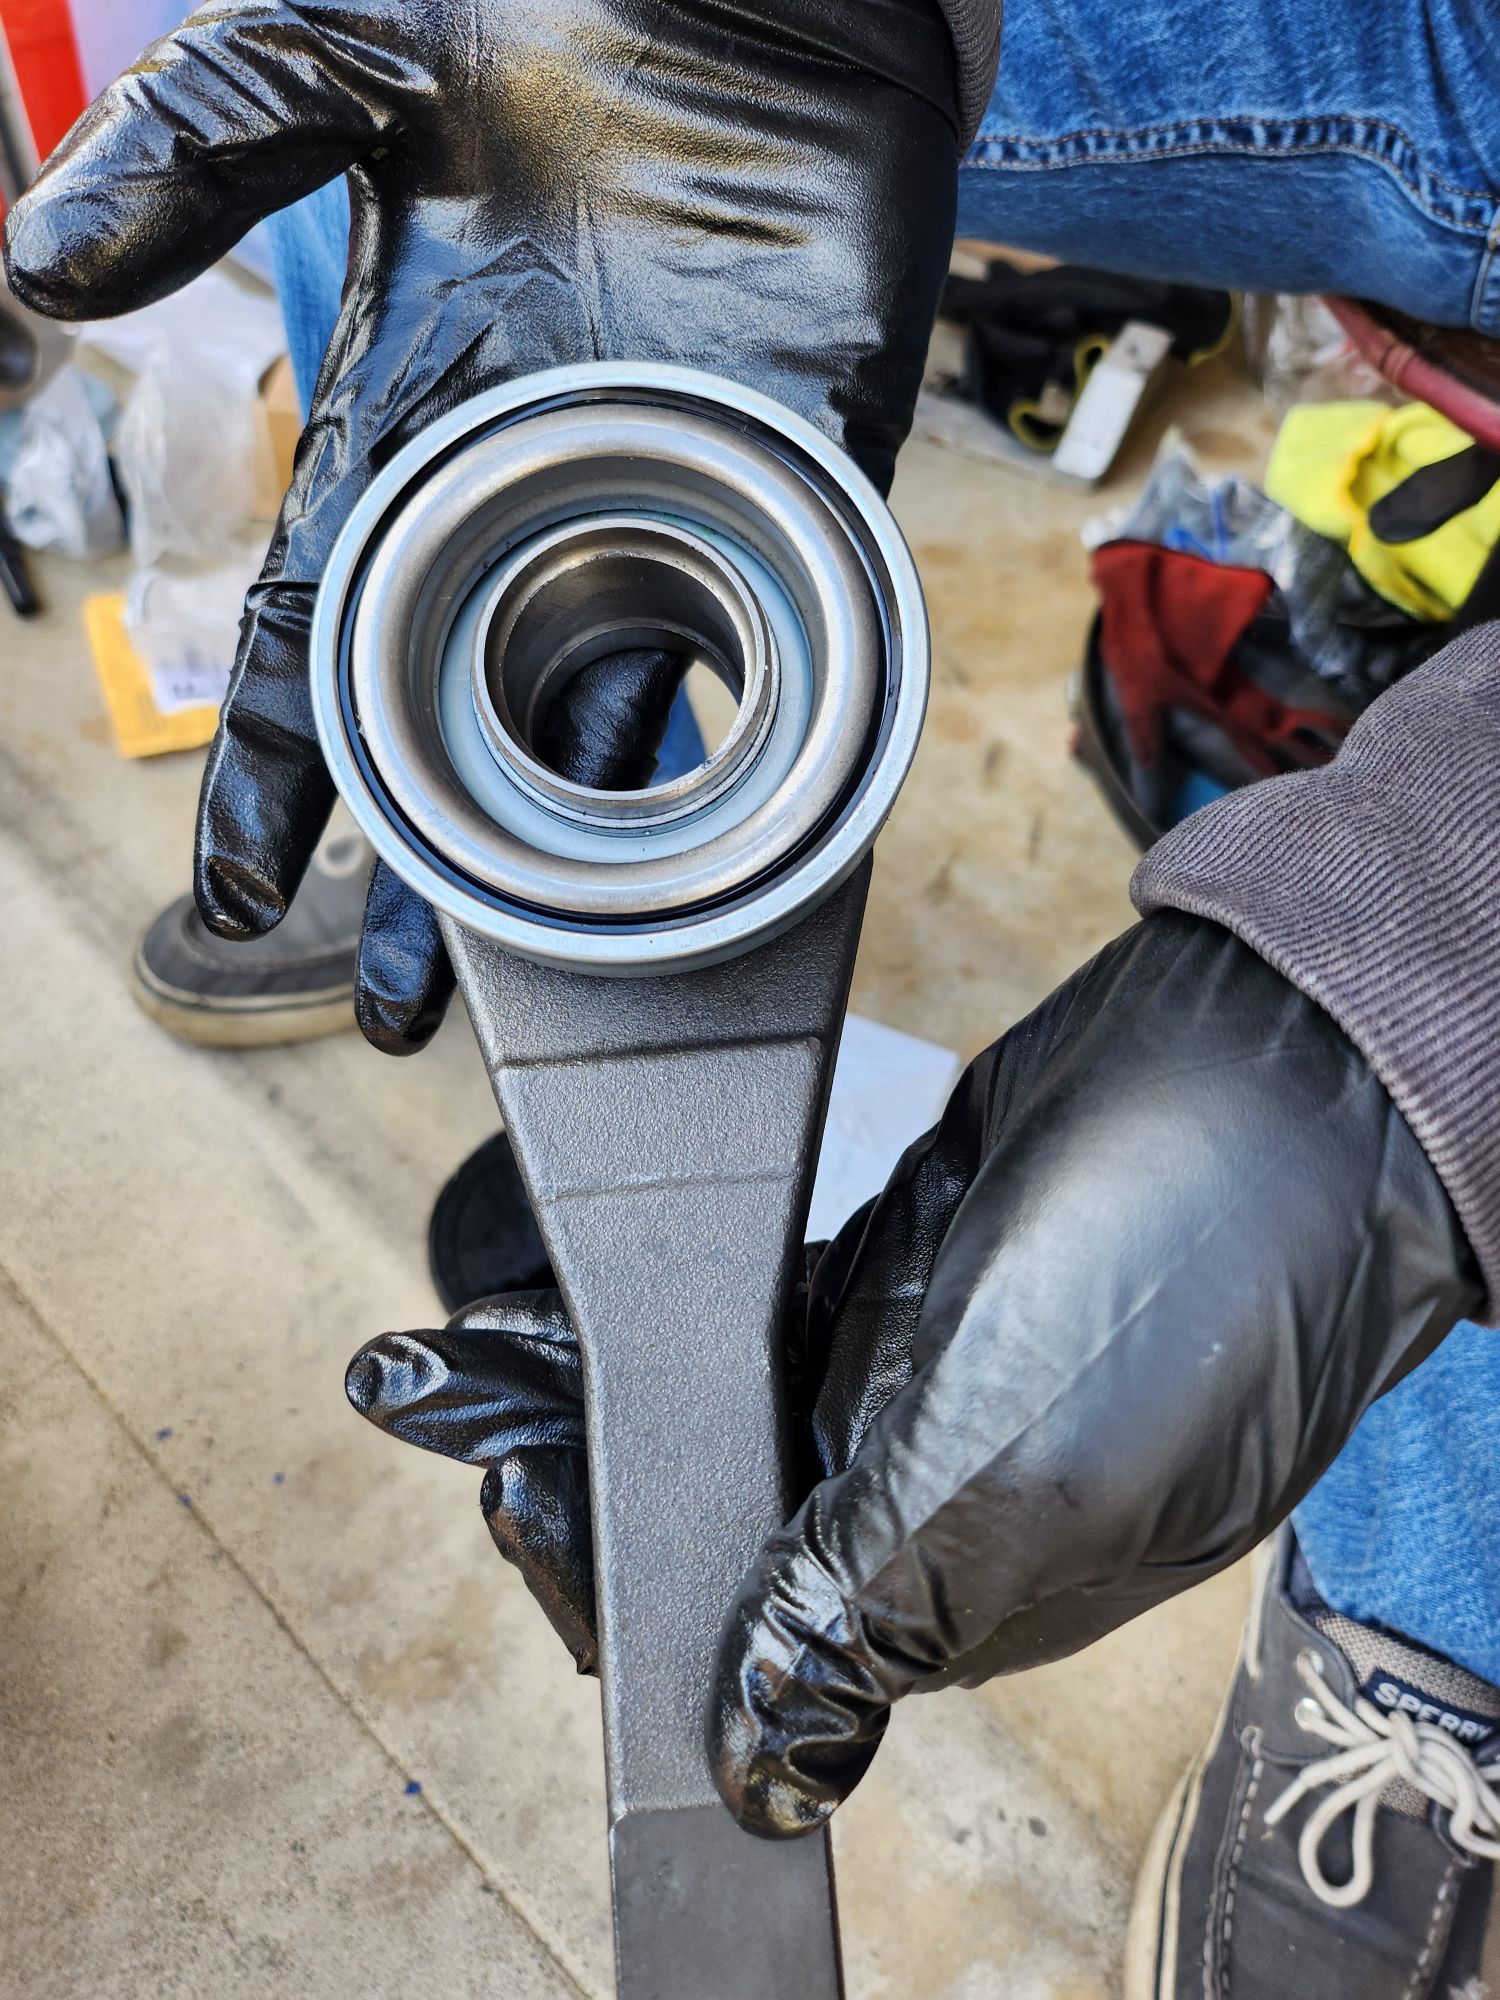
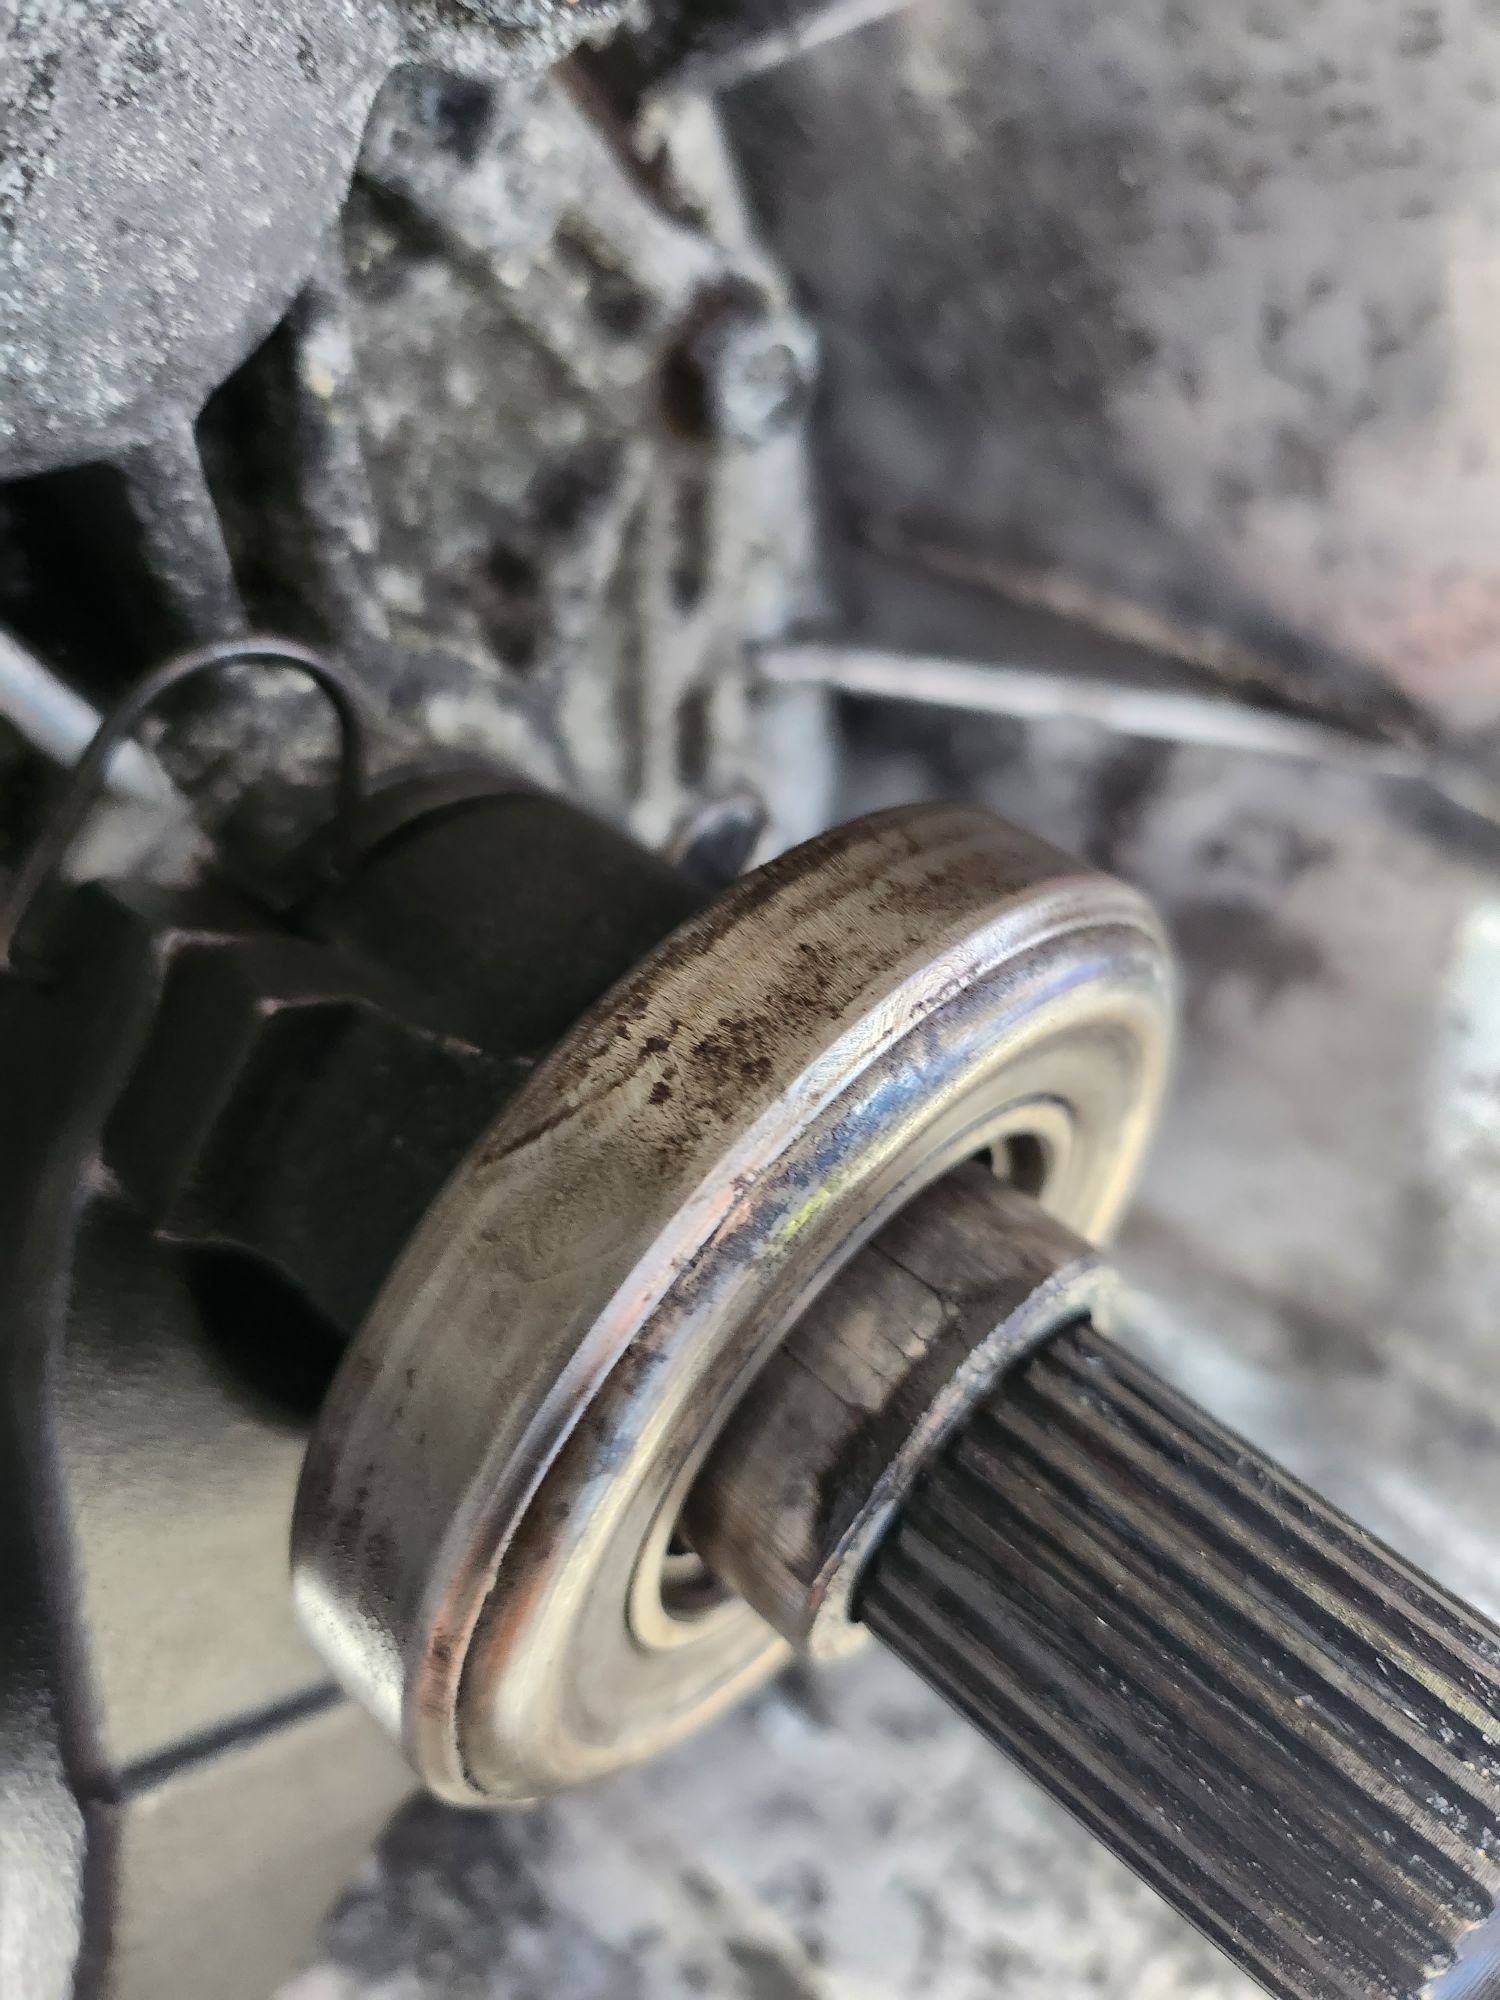
- National HB6 – carrier bearing – 3752141L25 for driveshaft
- Full M30 driveshaft (front part was missing)

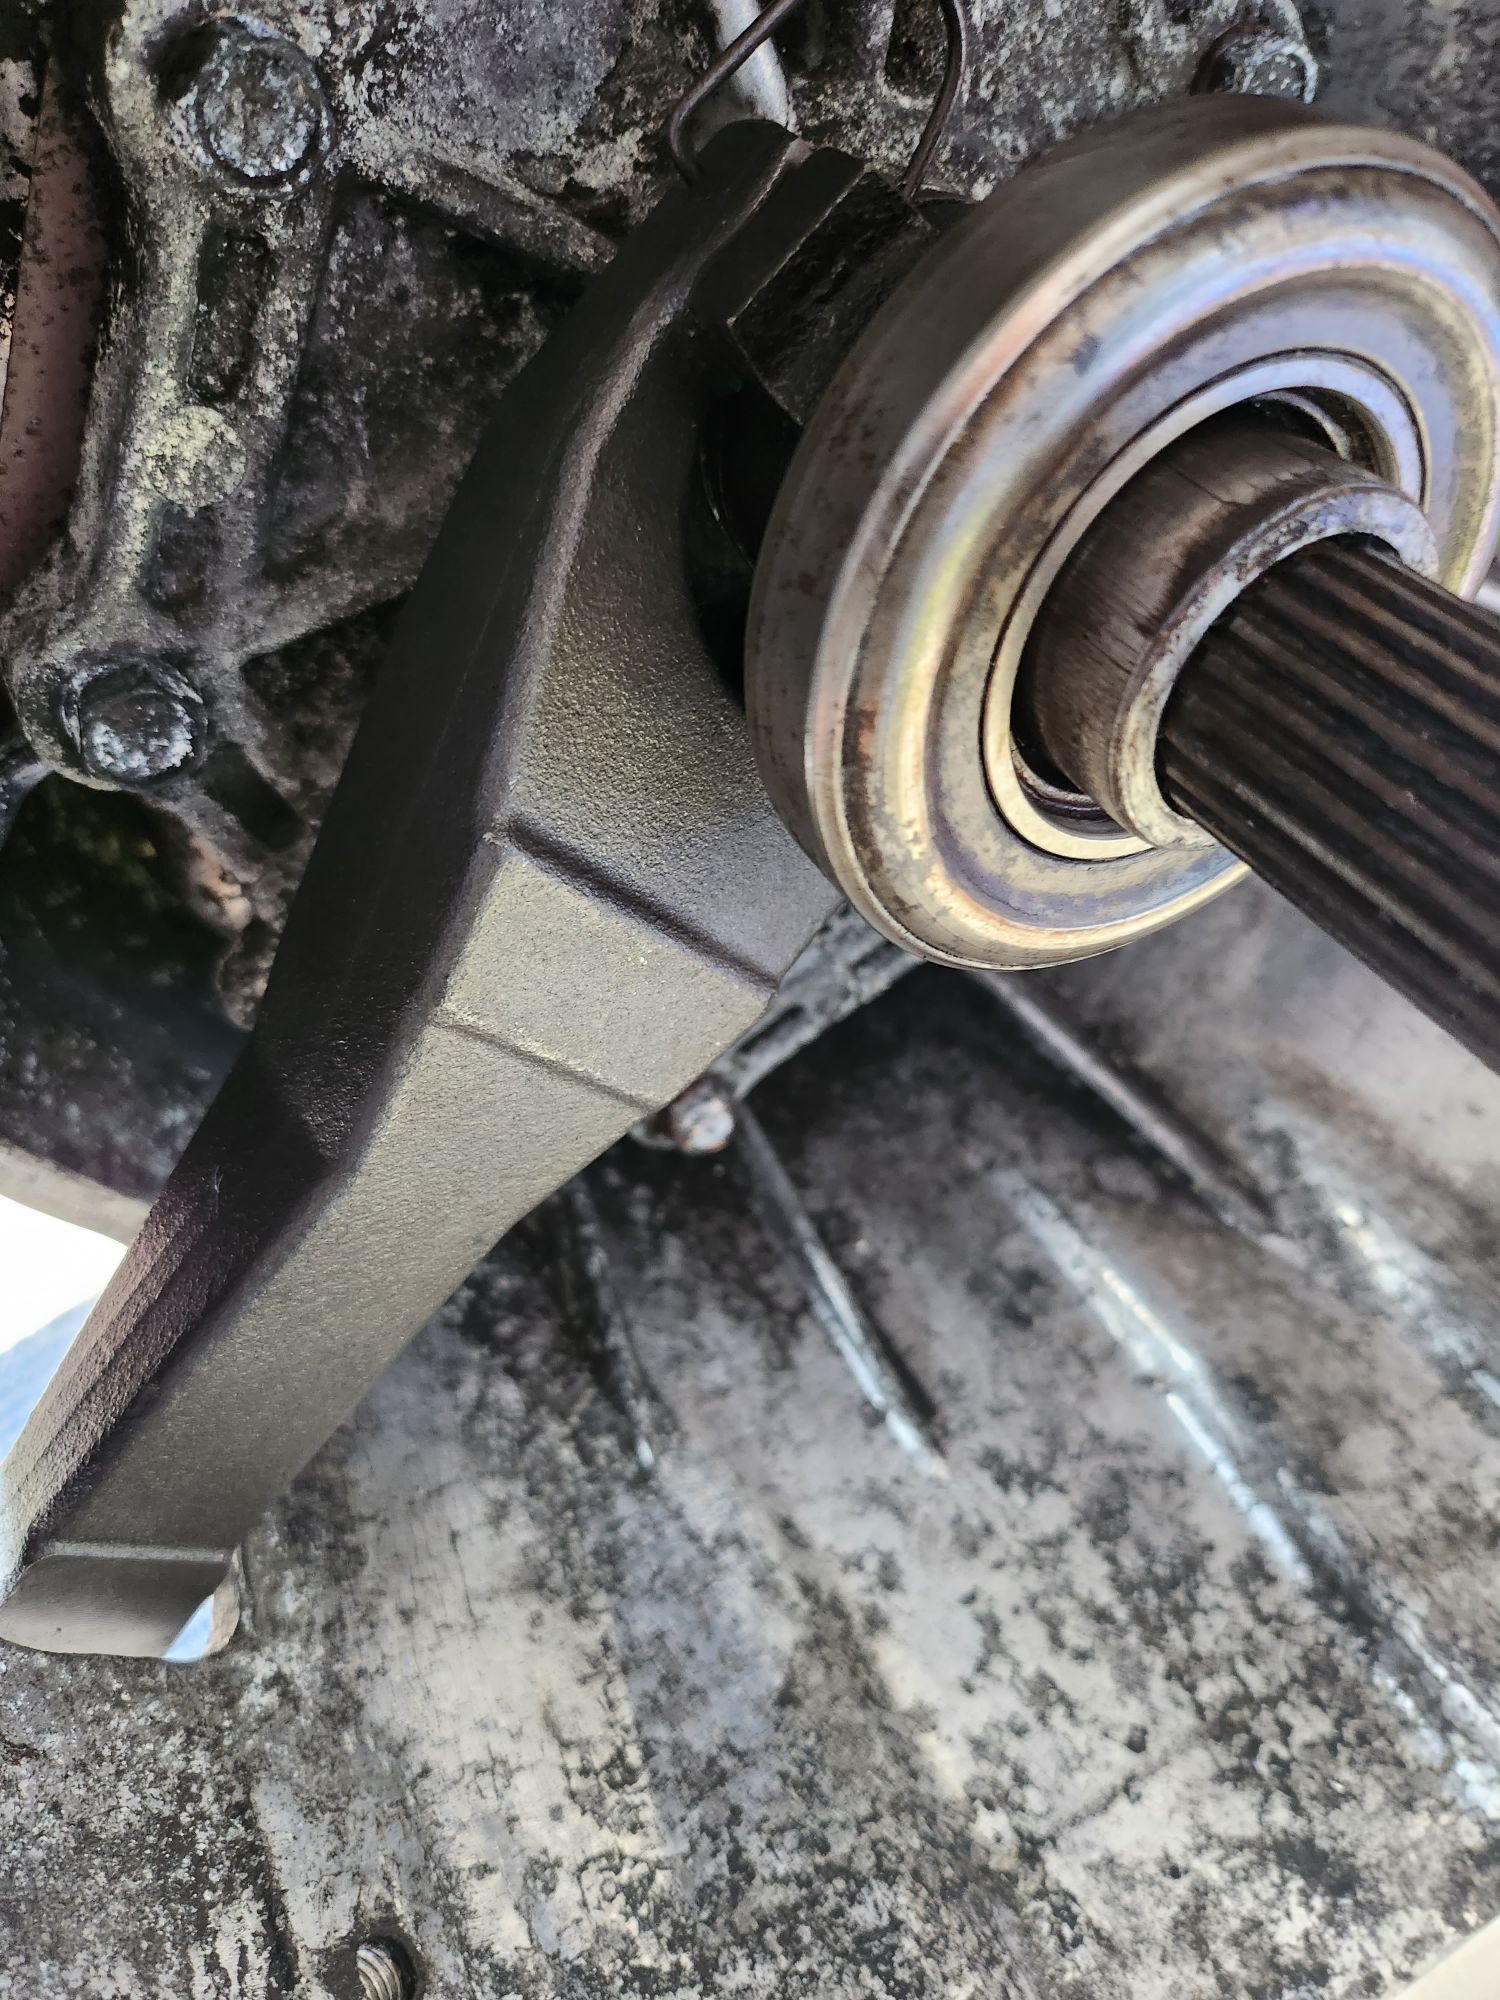
Diff
Another reminant from the original build is the M30’s rear differential. In the original build, due to time frame of the build (6 weeks), they ended up welding the rear diff. One thing I want to do is get a 1.5 LSD.
On the more extreme end, I would like to do the whole rear subframe and suspension to be S13 for that independant rear suspension. Future Fab did this in the late 2000s to I believe 4-5 cars in Arizona. Most of those cars are gone. I’d like to have this just to have a better built car in general.
Priority:
- Get wiring done for digital cluster
- door handles in place
- O2 sensor set up
- Mac Valve set up
Tune ECU
- Add gauges and other electronics
- Set up Dakota Digital
- Set up Fuel Wizard